

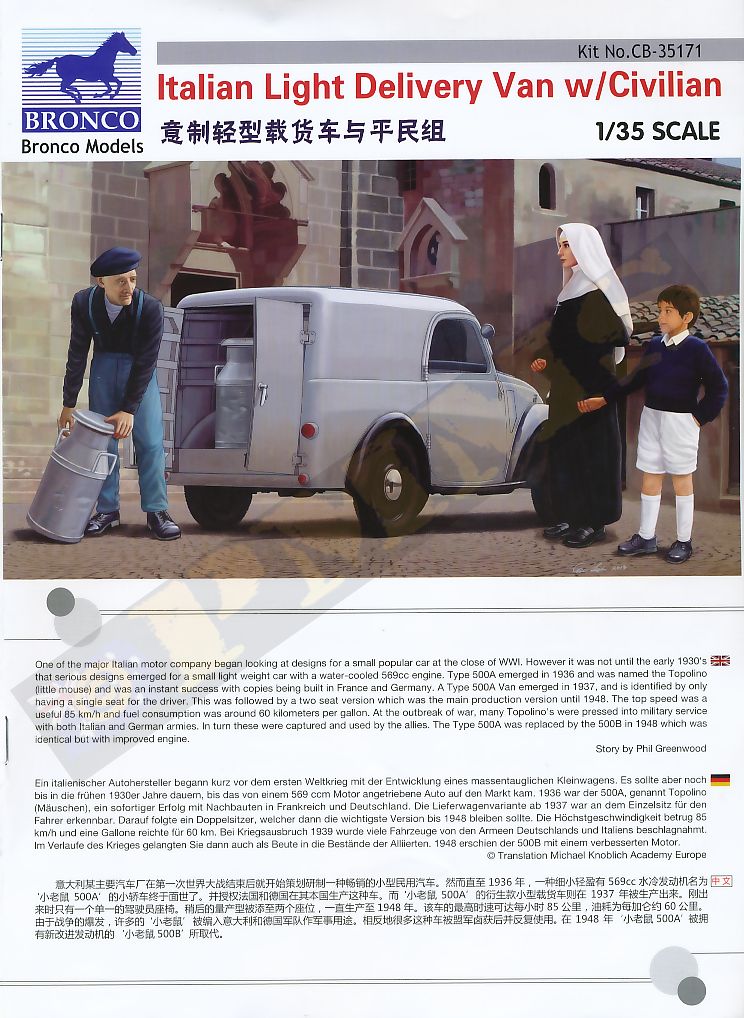
Italian Light Delivery Van w/Civilian
Bronco Models 1:35 Scale Kit No. CB35171
Review by Terry Ashley
One of the major Italian motor company began looking at designs for a small popular car at the close of WWI. However it was not until the early 1930's that serious designs emerged for a small light weight car with a water-cooled 569cc engine. Type 500A emerged in 1936 and was named the Topolino (little mouse) and was an instant success with copies being built in France and Germany. A Type 500A Van emerged in 1937, and is identified by only having a single seat for the driver. This was followed by a two seat version which was the main production version until 1948. The top speed was a useful 85 km/h and fuel consumption was around 60 kilometers per gallon. At the outbreak of war, many Topolino's were pressed into military service with both Italian and German armies. In turn these were captured and used by the allies. The Type 500A was replaced by the 500B in 1948 which was identical but with improved engine.
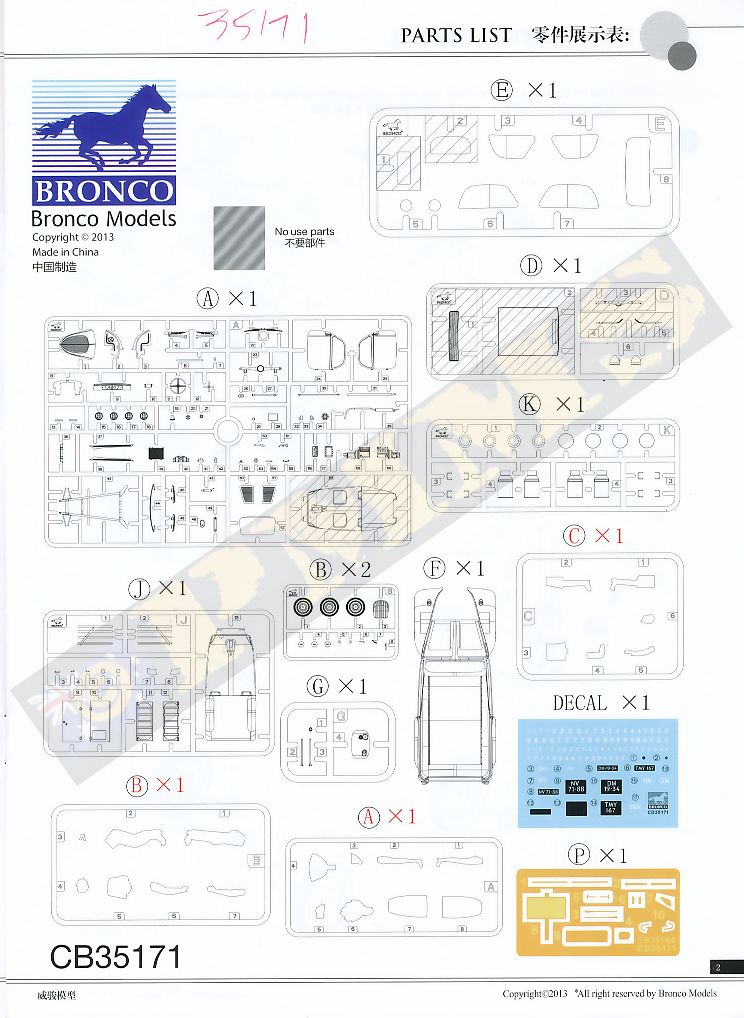
The kit comes in the standard sized Bronco box and consists of:
- 131 parts in light beige plastic
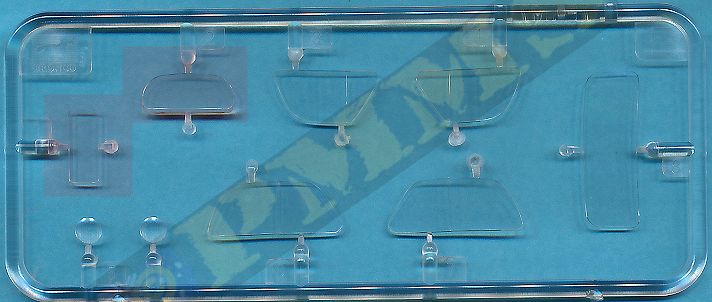
- 9 parts in clear plastic
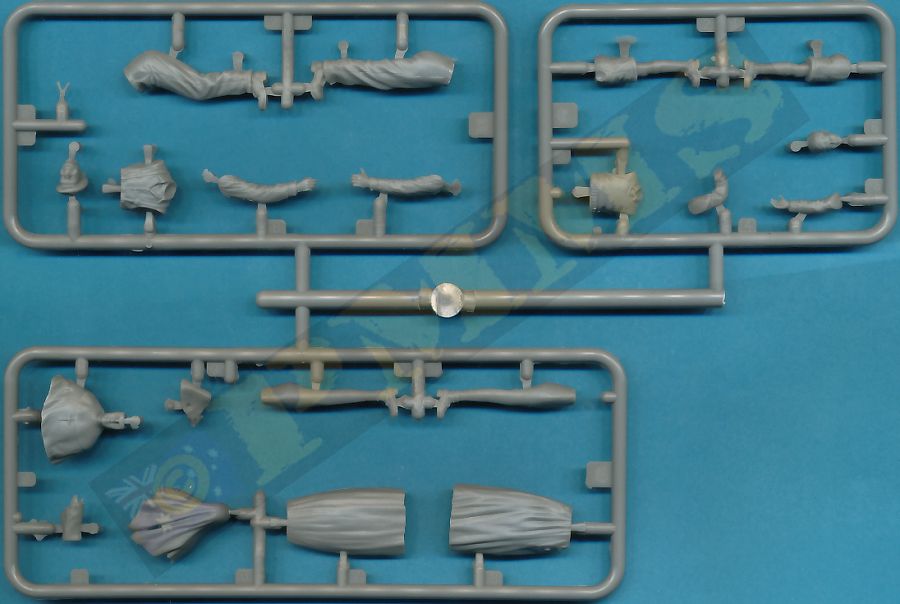
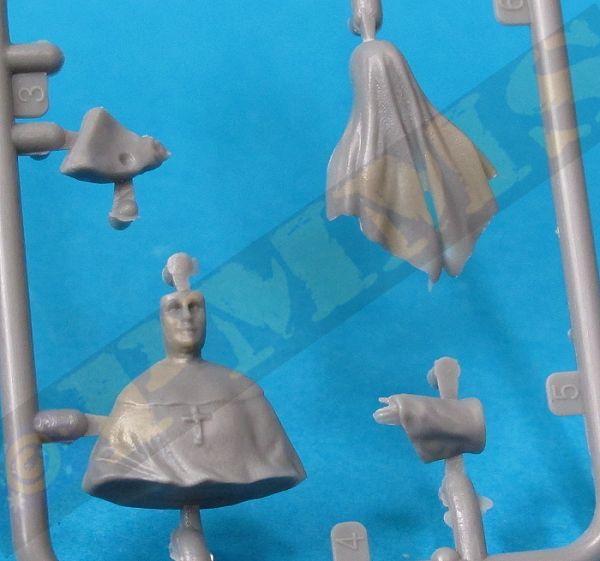
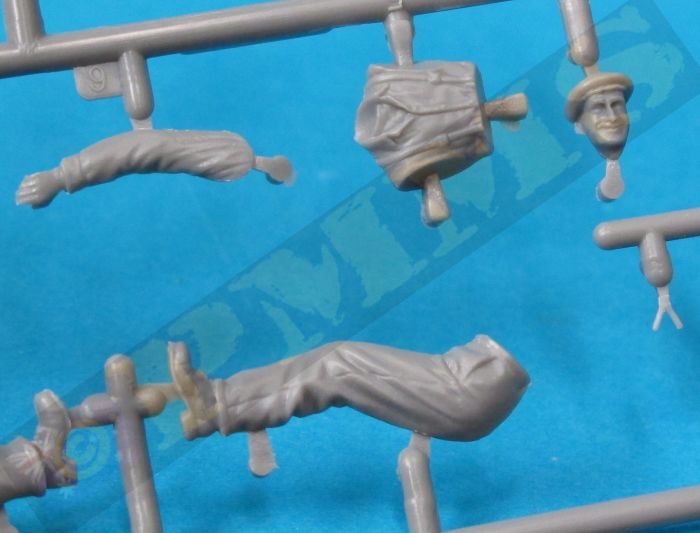
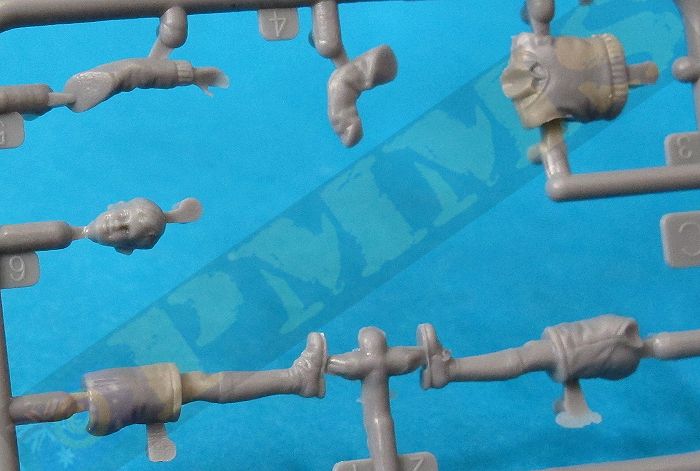
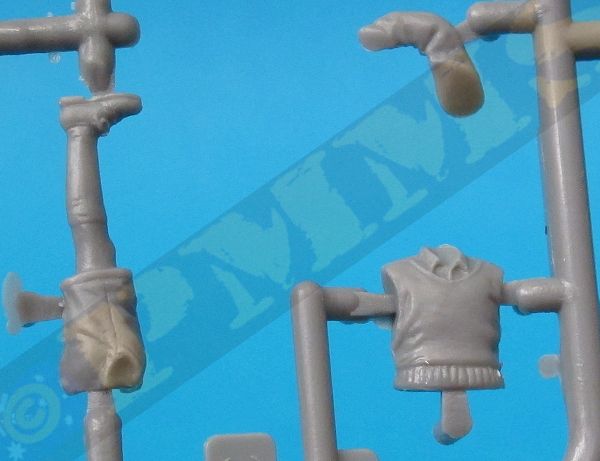
- 21 parts in grey plastic for the figures
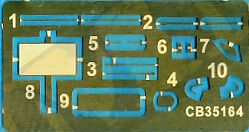
- 16 etched brass parts
- 1 small decal sheet
- 14 page colour instruction booklet
The standard of moulding is exceptionally high with clean crisp parts without any discernible flash or pin marks seen after assembly with just the usual mould lines to be removed. There are numerous very small parts that will need care removing from the sprues and in cleaning up the sprue bur and the mould lines
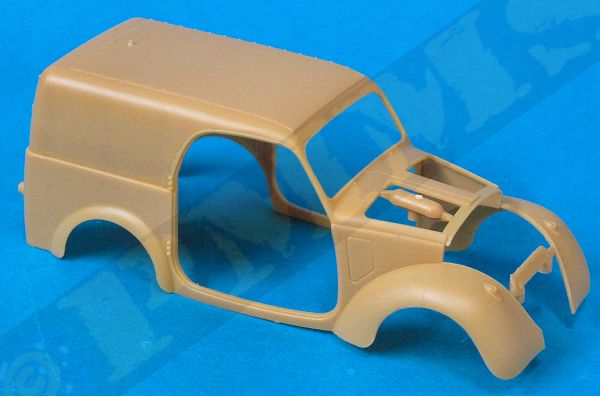
The main body in moulded in one piece with quite thin body panels for a good scale appearance, this
is the largest part in the kit and comes packaged in its own small card box for protection during transit. The only clean-up needed is the small sprue runners in the front openings and the remnants of the pour point on the rear roof, all very easy to clean-up.
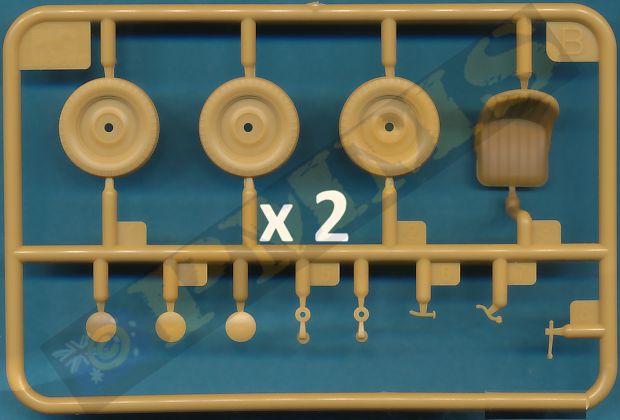
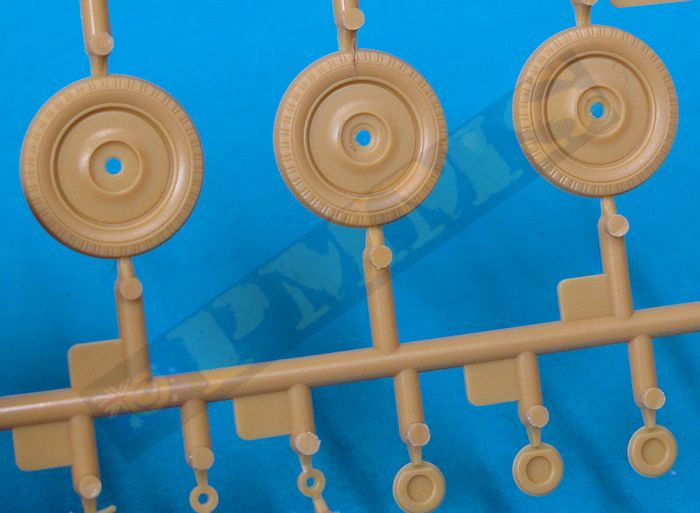
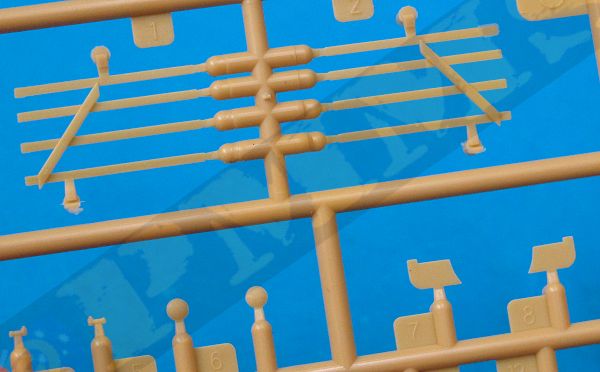
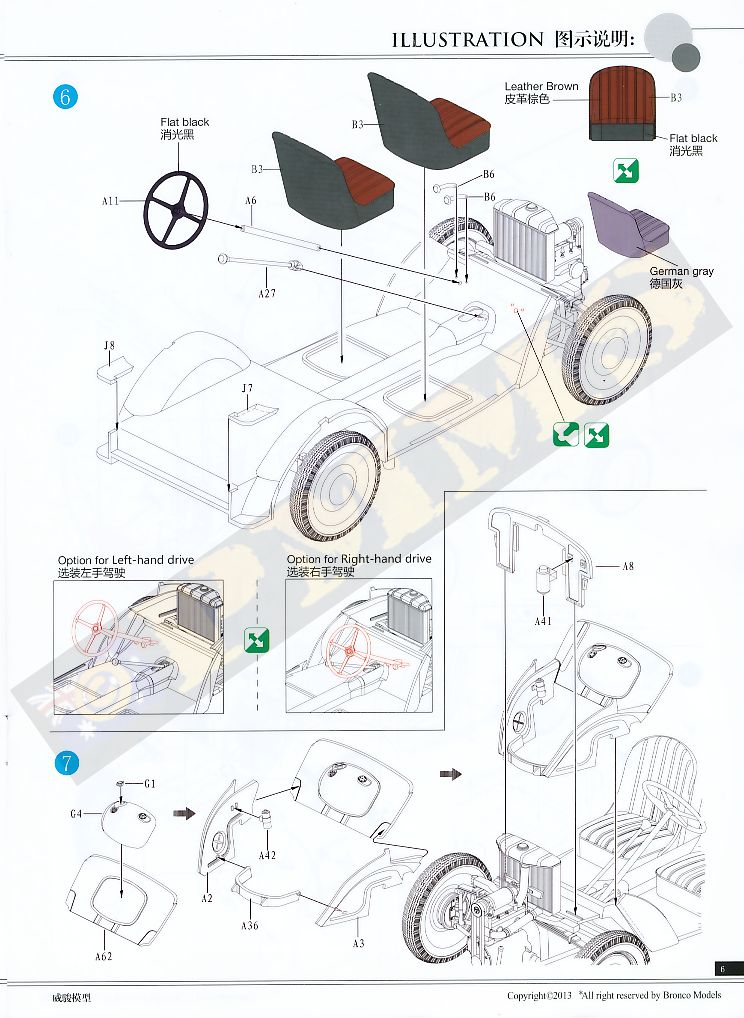
Details in the kit include the full engine and radiator, separate chassis frame, interior details with separate doors and engine hood, the suspension parts especially the front and steering linkages are quite small and delicate requiring care but allows the front wheels to be positioned at any angle for some animation. The separate wheel hub caps have “Fiat” embossed as per the original with nice tread pattern on the wheels and you get two spare wheels although there is no indication where the spare is stowed on the van?
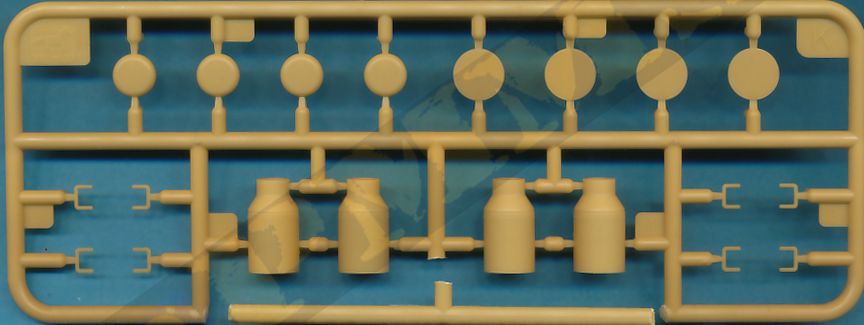
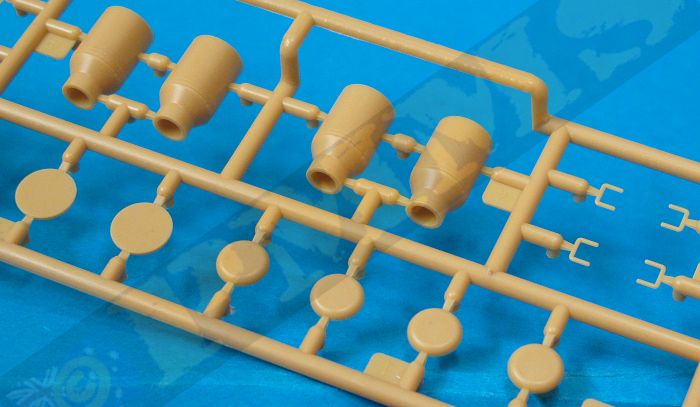
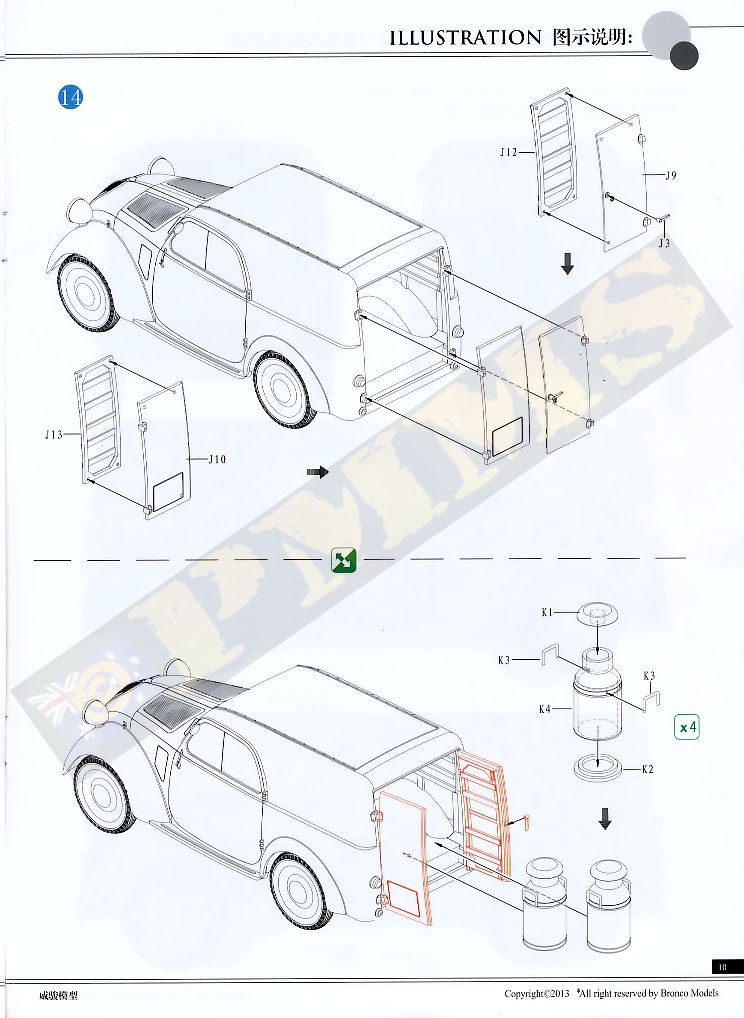
The rear van doors are separate with inner panels for a good appearance with the doors open and you get four large milk churns to use as the load but of course anything can be added to a back for a diorama setting. There are also numerous small etched parts for added detail such as the windscreen wipers, radiator badge and decoration, the engine hood latches, door handles.
Note: I have only partially built this kit (the rear van with doors and rear suspension/wheels) and other comments below are based on the build of the first kit released but as the parts are the same in this kit apart from the new van body the comments will still apply here.
The compartment behind the engine has the rear interior bulkhead with the fuel tank plus side walls with nice details included; these also form the insides of the wheel wells as well as the radiator bulkhead. This compartment is basically empty as it serves as the air intake for the radiator that is located behind the engine facing backwards.
Construction notes:
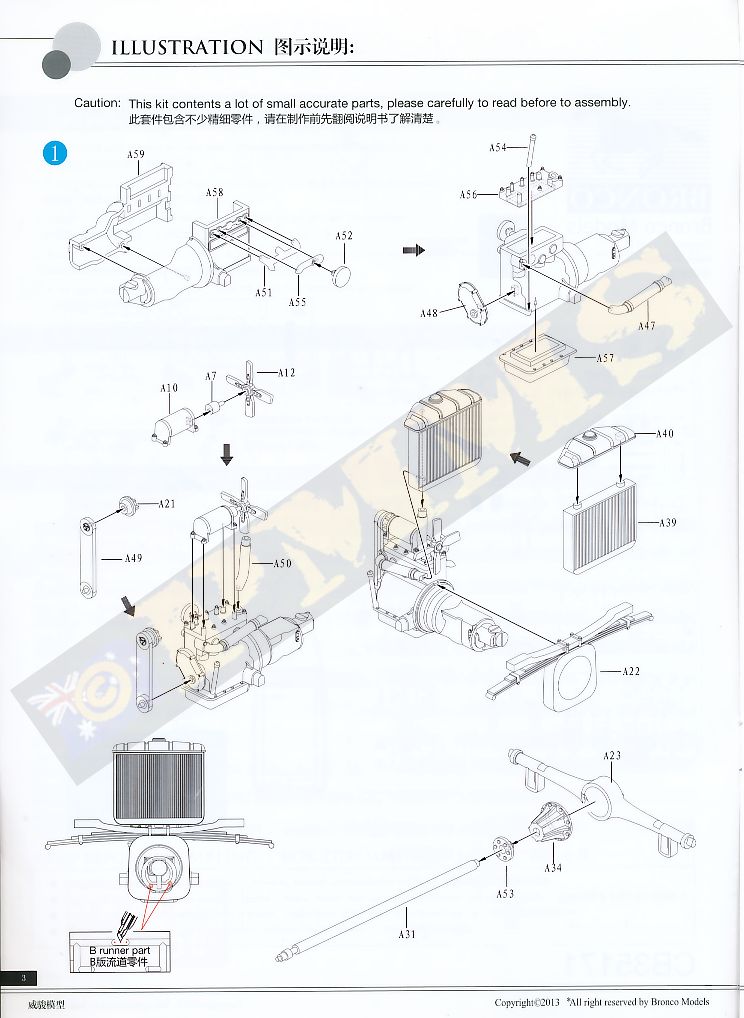
Assembly of the engine was quite straightforward apart for some very small plastic and etched parts that need care in handling; the fit was good with the only alteration being to shorten the pin for the fan by about 0.5mm so the fan cleared the radiator better. If showing the hood open to display the engine you may wish to add the wiring and other finer details if you have the references available?
The engine is attached to the chassis (after you have assembled the chassis as below) by way of just two locating points and you must ensure the engine sits level with the chassis and also that the springs ends are aligned with the suspension arms on the chassis. There is some movement possible with the engine locating points so this alignment is important for the proper alignment of the front suspension.
The engine compartment has the rear bulkhead with half the fuel tank, the other half protrudes through the bulkhead into the cab compartment but as you can’t see this isn’t a problem, the fuel lines can be added if you are going to have the top louvered doors open to display the compartment interior.
Assembly of the engine compartment requires a little care to get the front side panels positioned correctly as there is only fine raised lines to indicate the correct position on the bulkhead plus the cross member at the front, if these aren’t positioned correctly it can affect the fit of the side panels to the body, fenders and the front engine cover later.
The assembled compartment fits snugly to the body pan recesses without any problems as does the smaller radiator bulkhead with the engine fitting snugly inside the compartment without any snags or other issues.
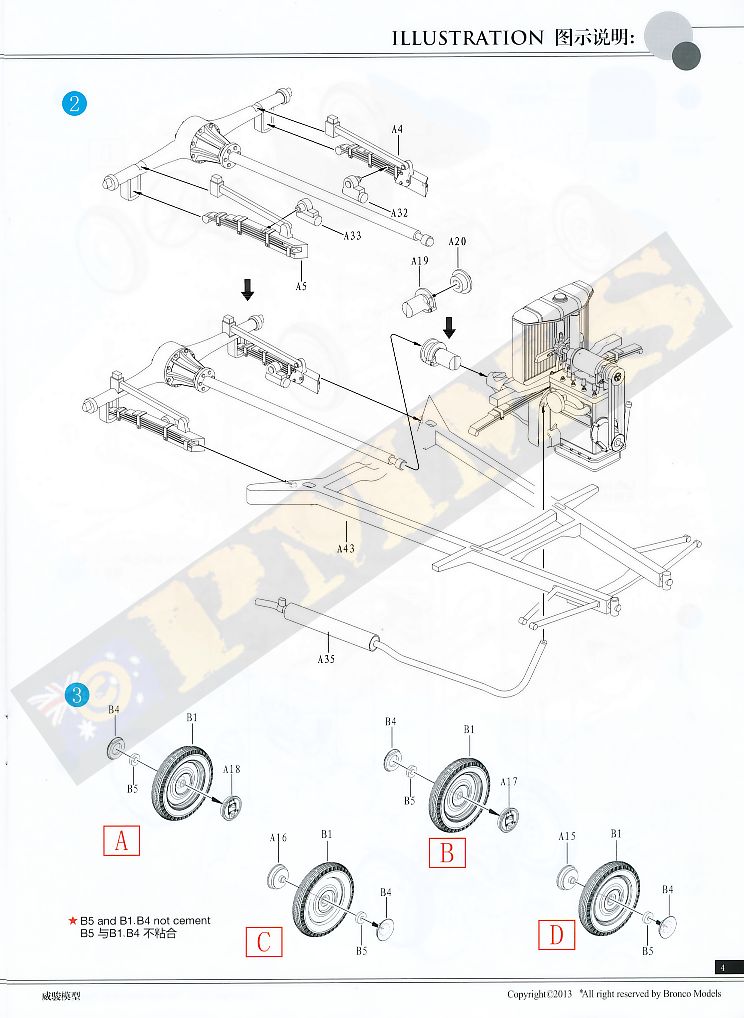
The rear differential and drive train has four parts with separate side spring units and this sub-assembly is attached the main chassis frame to form the full chassis. The engine assembly is then added to the chassis along with the exhaust pipe and fine front wheel mounts and steering linkages with the full chassis sub-assembly glued to the underside of the floor pan.
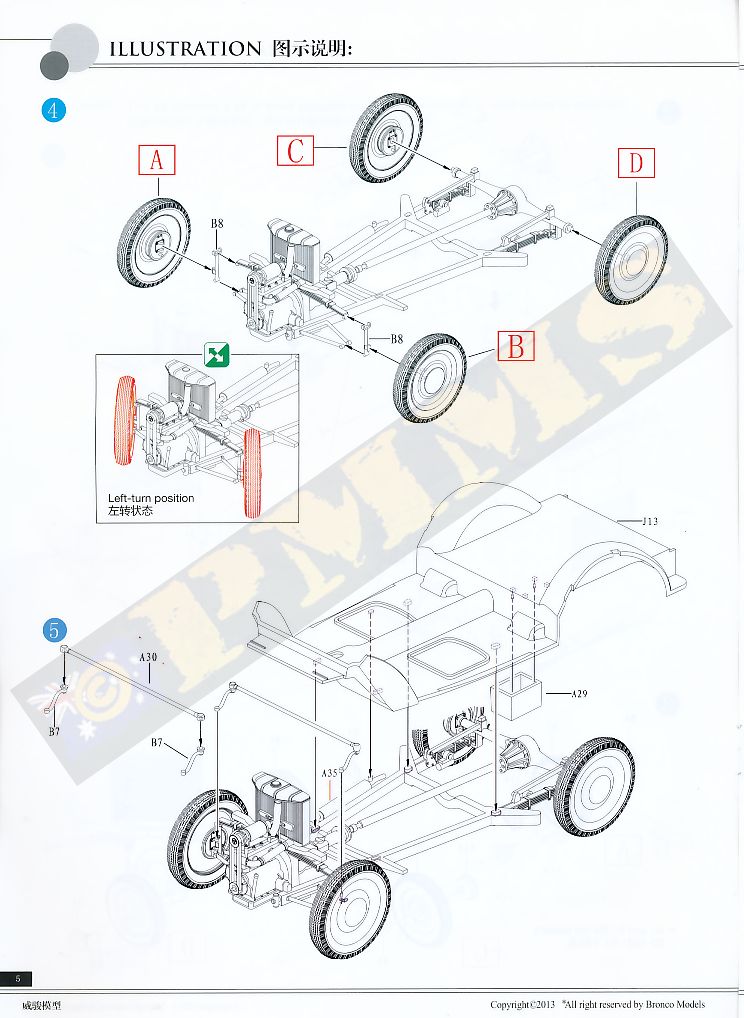
The wheels are moulded in one piece with separate brake drums and hub caps which as mentioned include the “Fiat” name embossing. The attachment of the front wheels to the steering mounting is quite small and care will be needed when fitting and not to put pressure on the join after assembly.
Construction notes:
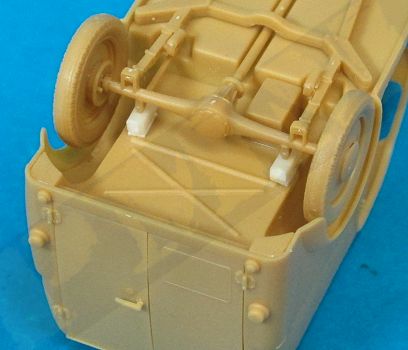
Assembly of the chassis was again quite straightforward with care needed for the fine parts especially the delicate front suspension arms and steering linkages. There was a small issue with the rear springs and differential which is separate from the main chassis, the fit was fine but after the chassis is attached to the body the ride height at the back was slightly too low. This is only a little under 1mm but the visual effect is greater as the wheels sit too high inside the rear wheel wells but this isn’t apparent until the final fitting together of the chassis, wheels and body.
The easiest method to remedy this after assembly is to put a 2mm square section of plastic rod as a spacer between the underside of the body pan and the spring unit, this will ensure the ride height is correct (see image). The 2mm spacer is due to there being a space between the floor and the springs of about 1.5mm so the 2mm spacer block accounts for this as well as lowering the axle to the correct ride height. You could also make sure the rear suspension arms are angled slightly down for the main chassis frame and not parallel during assembly to arrive at the same result.
Note; this ride height adjustment is for an empty van, if you were going to load up your van the slightly lower ride height as per the kit would be appropriate, so it’s basically the final configuration that will determine the appropriate ride height.
The wheels align with the rear van bottom line
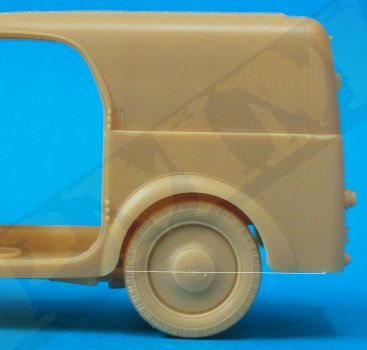
The wheels are designed with a small plastic ring that secures the wheel to the brake drum pin allowing the wheel to rotate but given the very small clearances between the parts it’s virtually impossible to not get glue where it shouldn’t go so just glue the brake drum and hub caps to the wheels and glue the brake drum to the axle mountings, it’s far easier.
I also altered the assembly by gluing the brake drums to the axle mountings before fitting the wheels due to the fragile nature of the front suspension in particular and letting the glue dry completely before fitting the wheels. Also note you can fit the front wheels at any angle for steering animation if you wish.
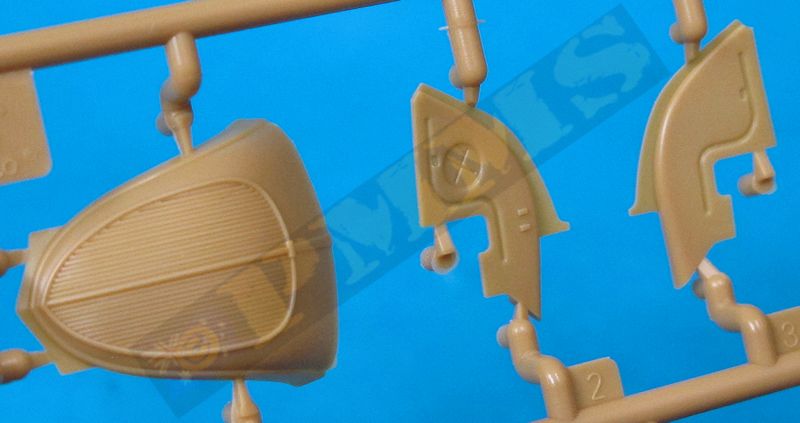
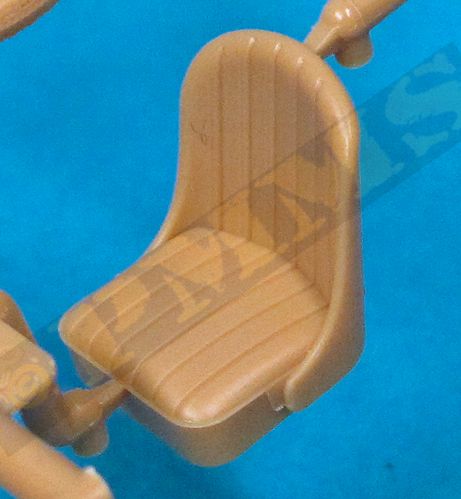
The two large seats are very well done depicting the plush seats very well and the insides of the doors are free of pin marks and include the storage flap as well as the moulded on door handle and latch detail.
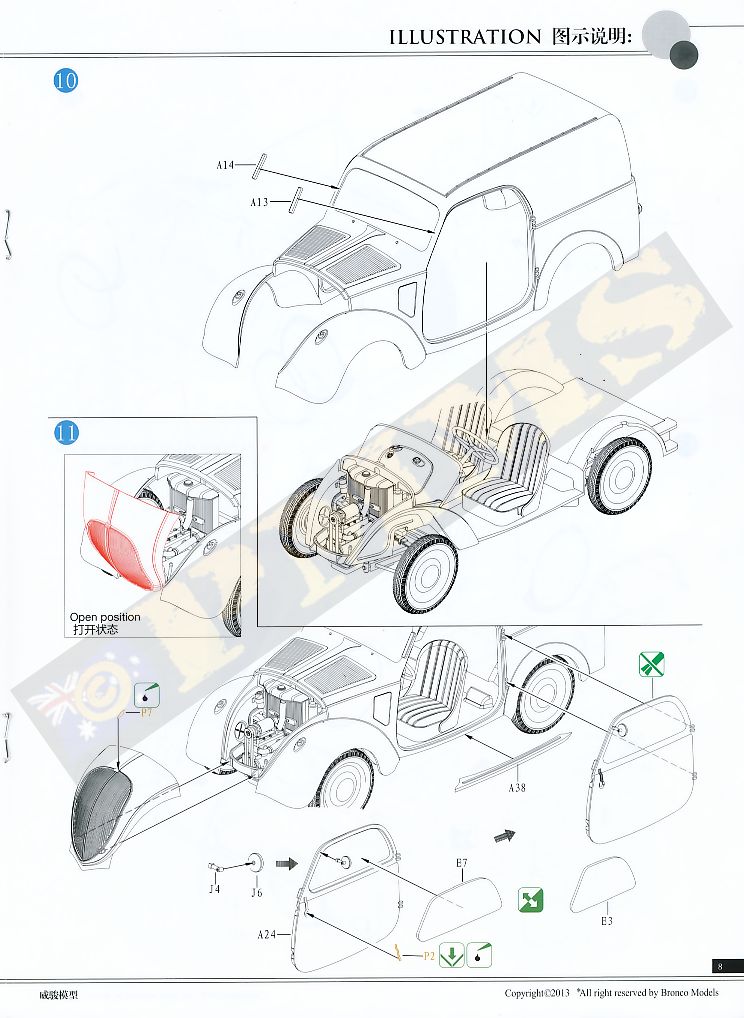
Added to the grill are an etched name badge and top adornment, plus the fine etched side securing latches with this whole cover opening on the real vehicle for engine access.
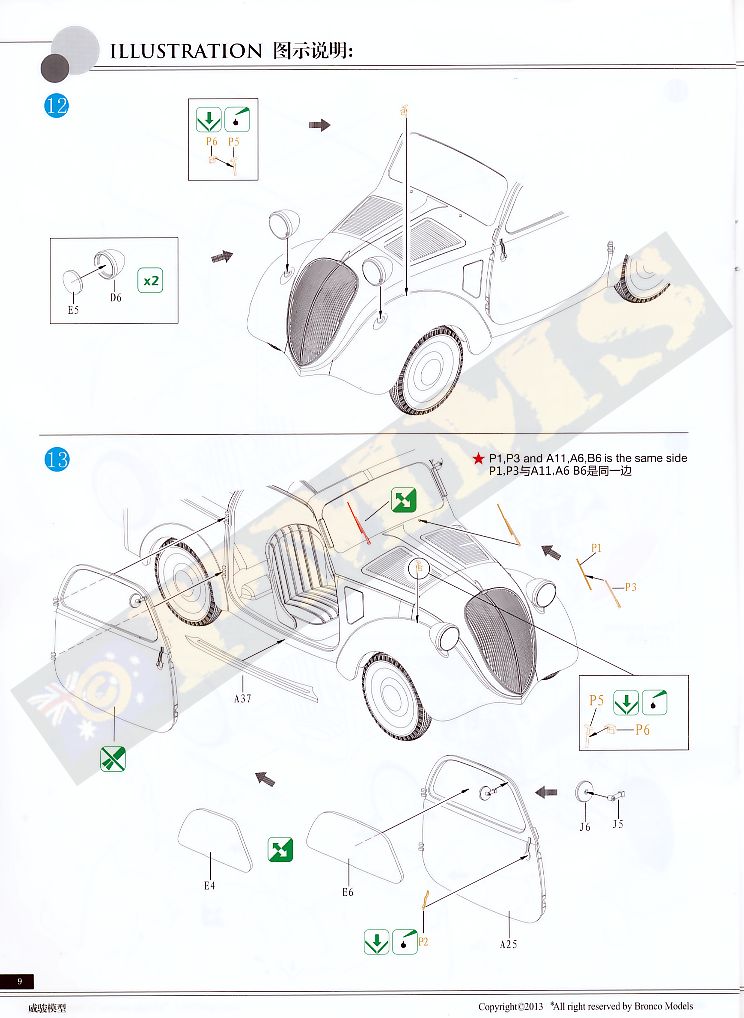
The windows are clear plastic with etched door handles, windscreen wipers, and the headlights are attached to the front fenders. There are alternate windows, fully closed or open with the front section slid back as per the original and this gives a choice as does fitting the doors open or closed. Also added to the door window frames are small rear view mirrors on either side and added to the lower sides under the doors are the running board panels with no bumper bars fitted to the van.
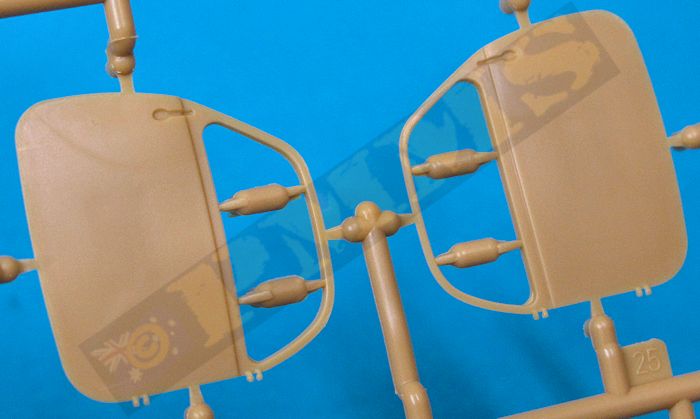
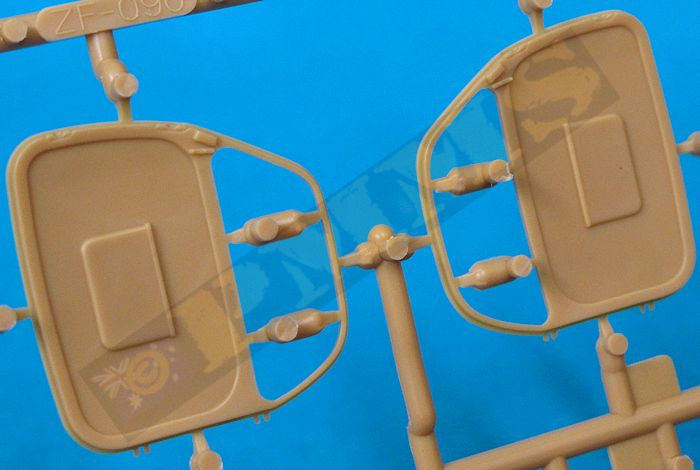
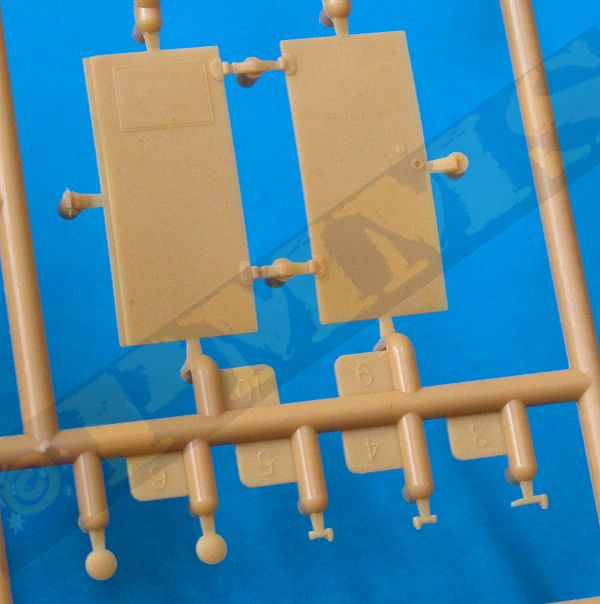
The van body is the same as for the sedan from the back of the doors forward with the new van body at the rear, there are some pin marks on the inside of the roof but these are very difficult to see after assembly so aren’t really a problem. Added to the inside rear van walls are wooden slats with the two separate rear doors also having separate inner slat panels added. You need to watch the direction of these door panels when fitting to ensure the moulded on latches are towards the middle when closed, there is also a small door handle that should be positioned horizontal or vertical depending of the doors are shown open or closed.
The fit of the doors to the rear van is very good and no trimming was needed with small hinges for fitting the doors open or closed.
Construction notes:
The wipers blades are two very small and thin etched parts that WILL bend as you remove them from the fret, so after straightening these you have to glue the arm to the blade before fitting to the small locating stubs on the body and will require a lot of care to fit.
The fit of the doors is very good if closed as is the fit of the separate engine top louvered panels on the forward body and as mentioned these can be shown open for a diorama setting if preferred? The clear windows need care when fitting as it’s easy to get glue on the window while fitting as they don’t include the frames.
The body fits neatly to the floor with the fit excellent along the sides and the rear but some work was needed to get the front fenders to fit properly to the body, I first glued the body along the sides and rear joins and left for the glue to dry completely before tackling the front end.
When it came to fitting the fenders to the engine compartment sides it became apparent that the left fender had a very slight outward twist which left a gap of a little over 1mm between the engine compartment panel and the fender, the right fender/engine compartment panel join on the other hand was very good.
Before gluing the fenders into position you need to decide if you are going to show the engine hood open or closed, if open there are two hinges on the front of the chassis that mate with the small hinge stubs inside the lower hood. If having the hood open the fenders need to be glued to the engine compartment side panels and the left fender will need to be firmly held into position until the glue dries completely to compensate to the slight outward twist mentioned above. The hood can then be simply glued to the hinge stubs at the desired angle as per the images.
If gluing the hood closed I firstly glued the top and left side of the hood/body join as these fitted perfectly and when the glue had dried I then “coaxed” the left fender back into the correct position and firmly held in place until the glue had dried. This needs a little care to get the fender in the correct position and while the amount of fender twist was only very small due to the contours of the fenders was quite stubborn about being aligning correctly, but as can be seen by the images everything lines up okay after this process. And of course this won’t be needed if the fenders on your kit are all okay, test fit first to see if there is an issue before gluing.
With the body in place the additional items such as the head lights, tail light and the small etched door handles as well as the lower running boards and there weren’t any problems with these parts.
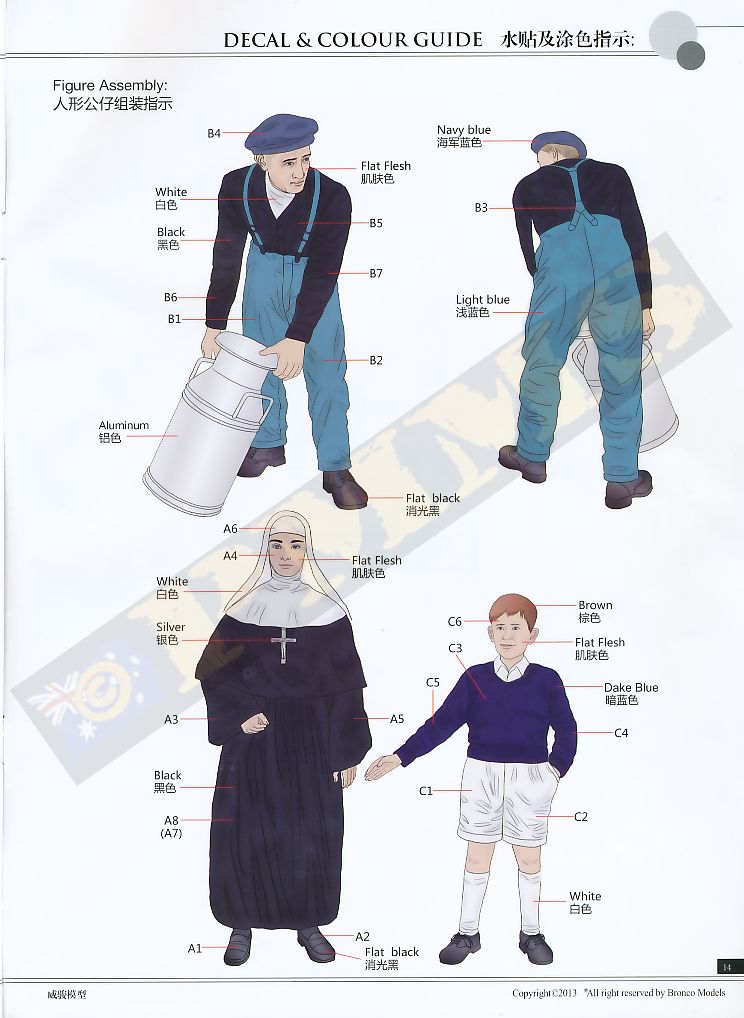
The deliver guy assembles easily with good part fit as does the boy but the Nun required some trimming to get a good fit. Firstly the two legs are joined and the front of the habit (part A8) attached but I needed to trim quite a bit off her rear end for the back section of the habit to fit properly. The top section with head fits centrally onto the lower habit assembly and the short arm sections added but care is needed to set these at the right angle as some movement is possible. Fitting the top hood required the sides and back of the head be trimmed for a better fit and test fitting will determine how much has to be trimmed, just be careful not to trim any from the face cheeks in the process but once trimmed the hood fitted into place okay.
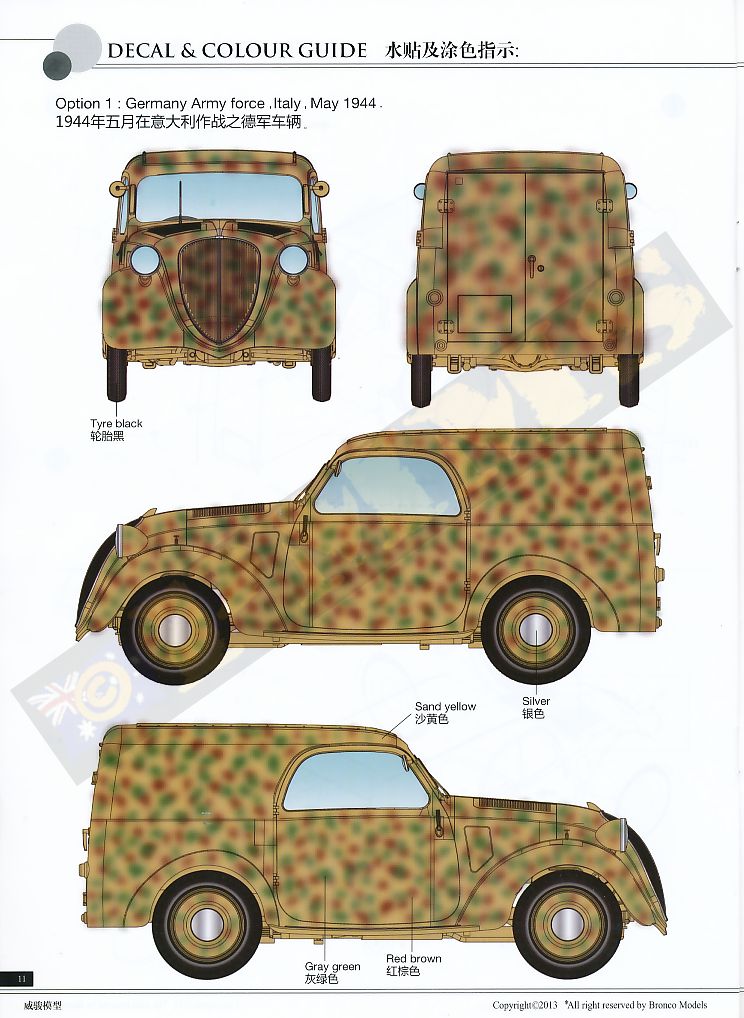
Option 1: German Army, Italy 1944
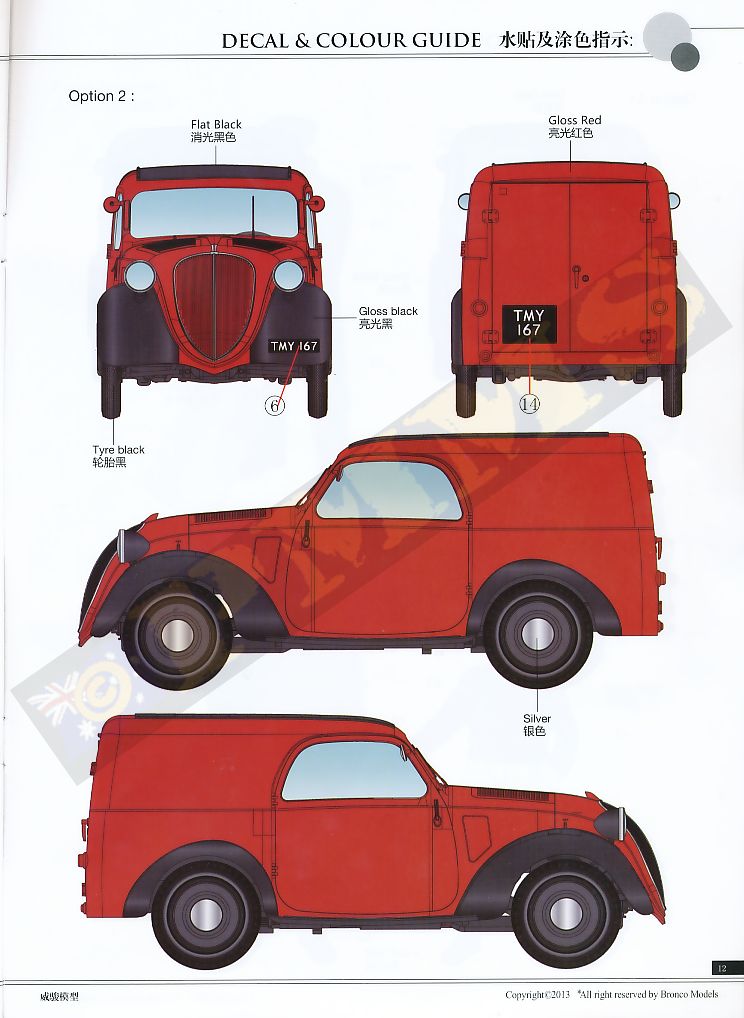
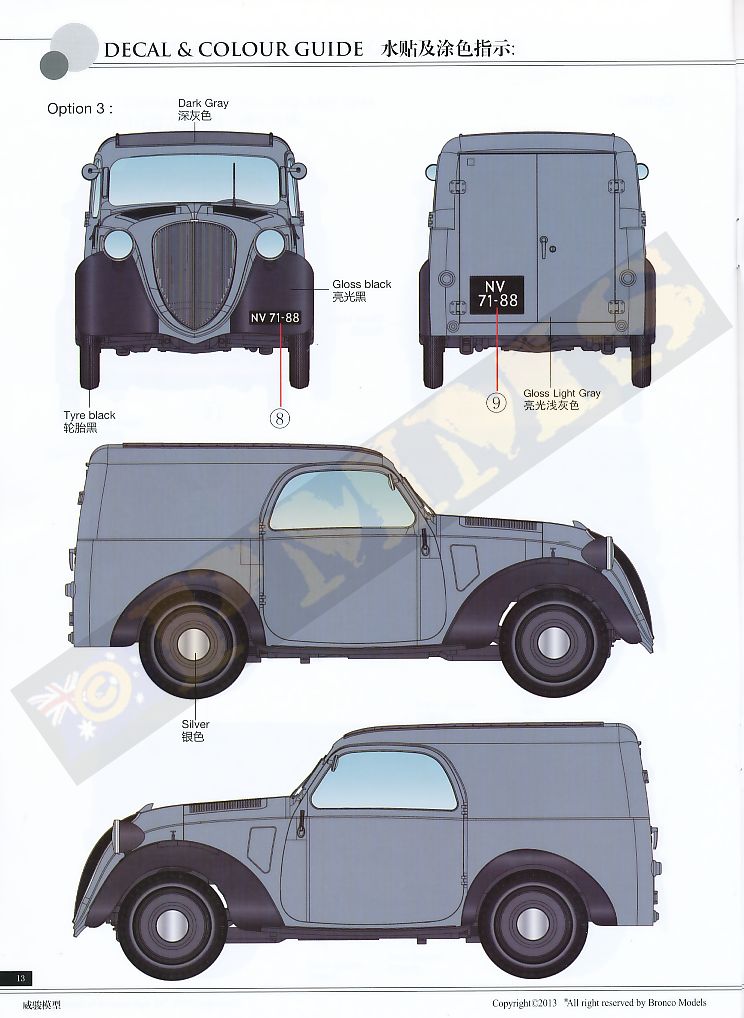
 Option 2: Civilian Van  Option 3: Civilian Van 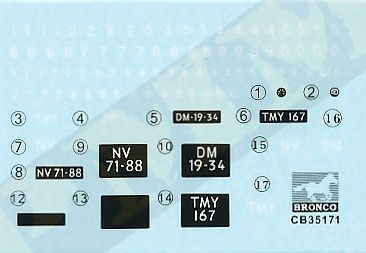 |
There were a few assembly steps that needed care as outlined above but overall the fit of the parts was very good but care is needed due to the many small parts included in the kit. The standard of moulding is very high with some very delicate details which match reference photos very well but some assembly sequences needing care and this kit isn’t really suited to young or inexperienced modellers. But the end result is a very impressive model that given the detail could be the centre piece of a diorama or excellent scene “filler”.
The inclusion of the figures is a also a nice bonus and can be used in any situation with or away from the kit which offers many possibilities for dioramas and this Van will likely find its way into many diorama settings
Rating 8.5/10
Click on thumbnails for larger view
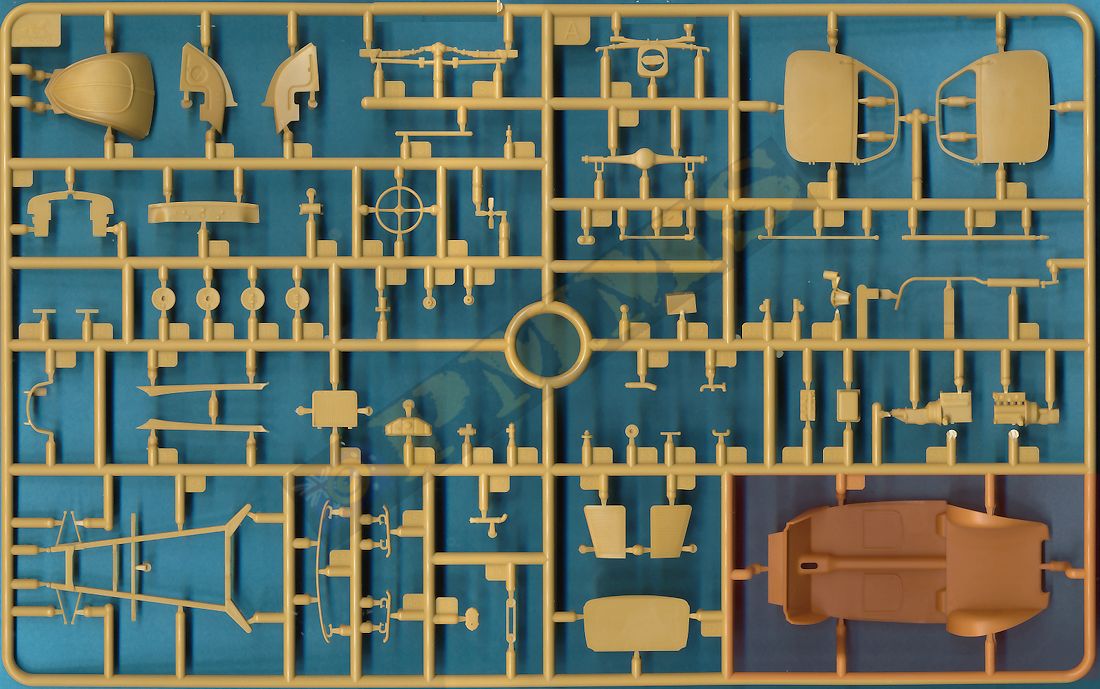
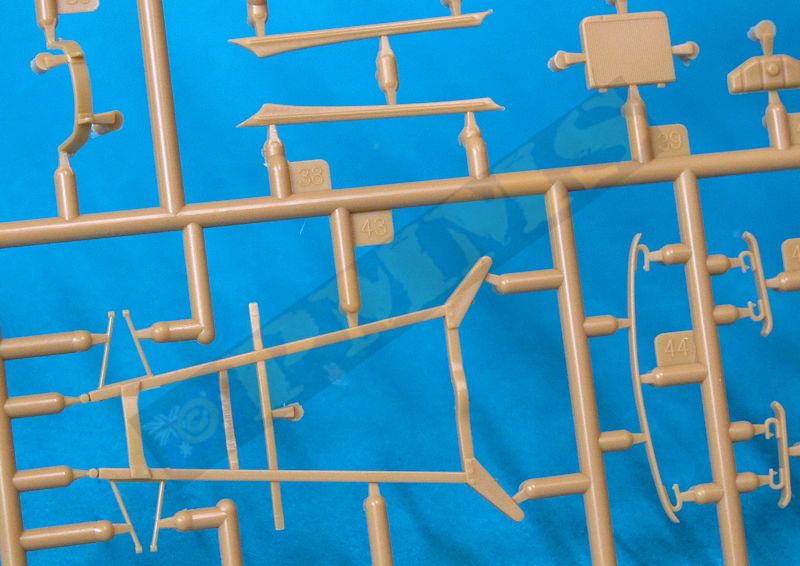
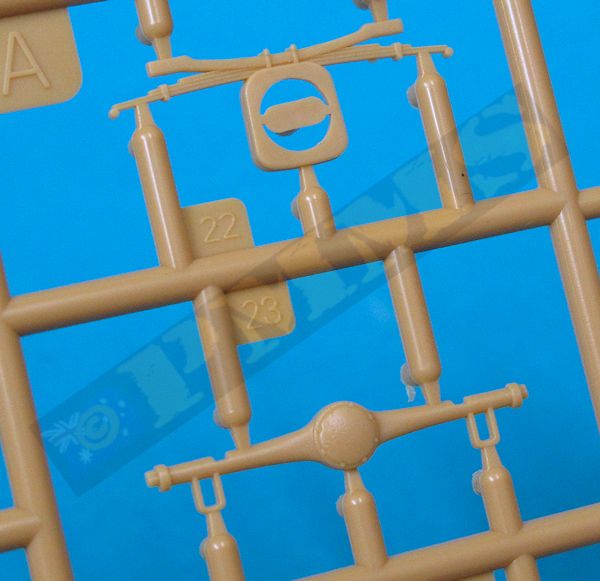
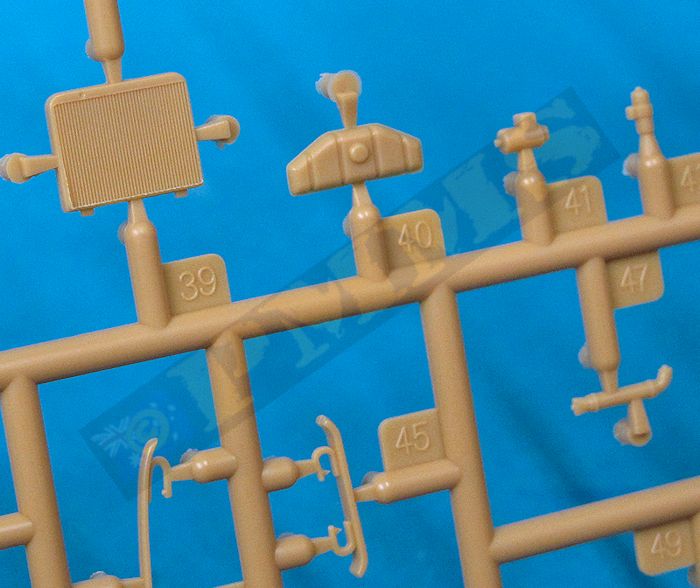
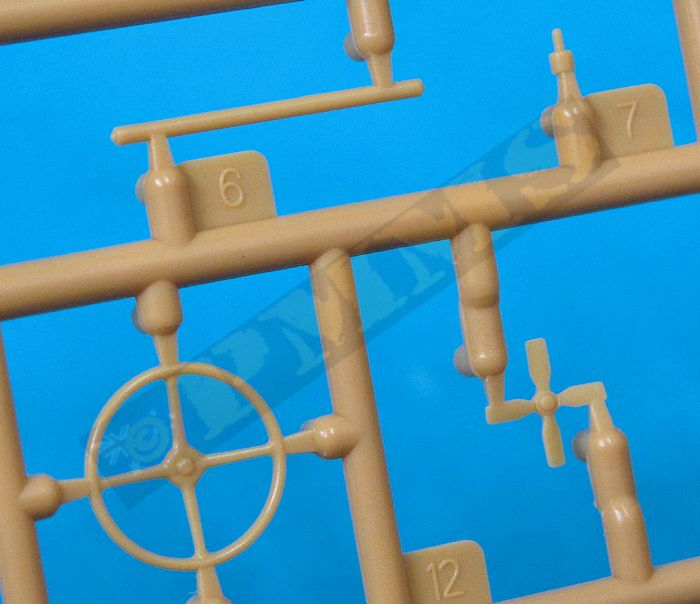
Kit Sprues
Click on thumbnails for larger view
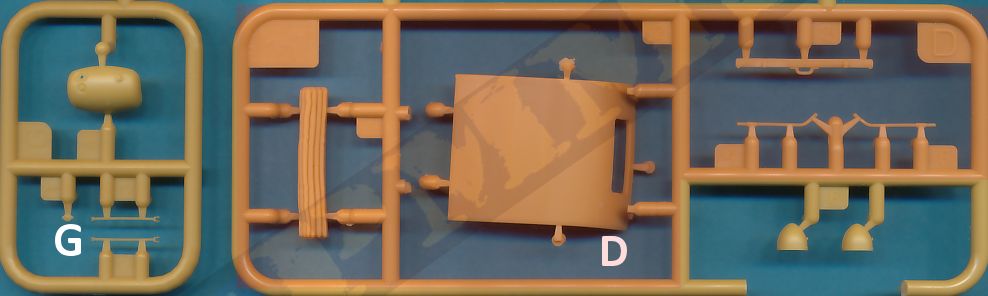


Sprue detail images


Instructions


Close new window to return to page
 for the review kits.
