
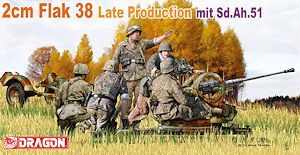
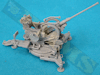
2cm FlaK 38 Late Production mit Sd.Ah.51
DML 1:35 Scale Kit #6546
Review by Terry Ashley
DML have released quite a number of kits with the 2cm FlaK 38 to date but all have included the early 2cm Flak 38 initially released as 2cm FlaK 38 mit Sd.Ah.51 (kit #6288). Others include 2cm FlaK38 auf Pz.Kpfw.1 Ausf.A Flakpanzer I (kit #6220), Sd.Kfz.251/17 Ausf.C (kit #6395), Sd.Kfz.10/5 fur 2cm FlaK 38 (kit #6676) and German 3t 4x2 Cargo Truck w/2cm FlaK 38 (kit #6680). It has been reported elsewhere that the recent Sd.Kfz.10/5 and German 3t 4x2 Cargo Truck w/2cm FlaK 38 included this late production gun but that is not the case as both these kits include the early gun from kit #6288, but as the new "Late" parts are all included on a single small sprue (D) this may well find it's way into subsequent releases of these kits, but definitely not the initial release kits.
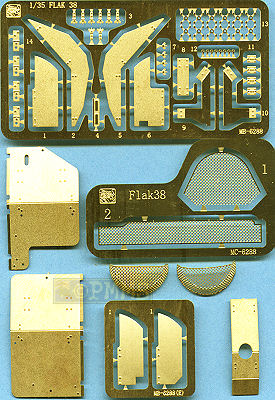
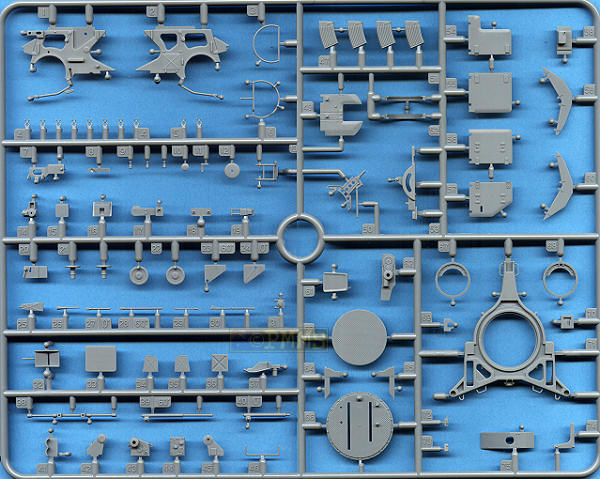
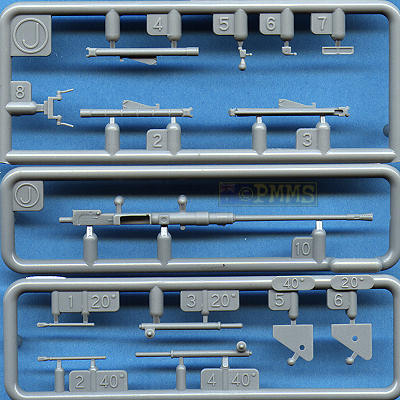
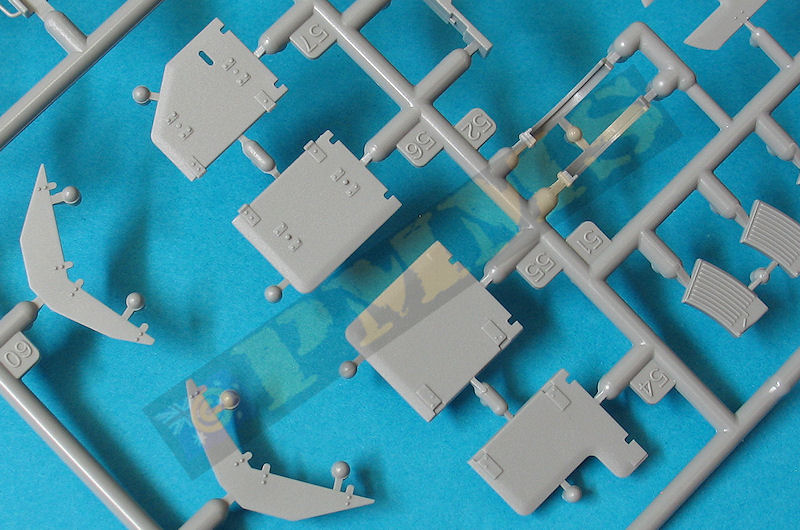
The new Late kit consists of 176 parts in light grey plastic plus 56 etched parts and a small decal and instruction sheet.
The standard of moulding is excellent with virtually no pin marks present but many of the small plastic nodes which will need care to remove from some of the finer parts but again this is small price for the clean mouldings. There are quite a few very small parts that again will require care removing from the sprues and during assembly.
The lower turntable base has excellent details with a separate turntable with subtle tread plate pattern and around the edges of the base is the weld seam as it should be but unfortunately the sprue attachment points are right on the weld line and some nifty #11 blade work is needed to preserve the weld seam while trimming the attachment bur or you could add this back the small seam after cleanup for a uniform weld seam appearance. The small star hand wheels are excellent and the plastic wheels are preferable over the etched ones supplied as they have better 3D effect but you need to take care when handling these small parts.
There are a few other minor dimensional issues when comparing the kit parts to the latest 1:35 plans in the Panzer Tracts 22-1 Leichter Zugkraftwagen 1t book but nothing too drastic.
The turntable is about 2mm too small in diameter and the contours of the lower carriage frame are “squashed” at the front for want of a better word as a consequence with the curve from the turntable base to the front arm not being as elongated as it should. The plastic gun shields are too wide as well as being way too thick; they also have bevelled edges to simulate a thinner appearance but are woefully inadequate by today’s standards. The front fillets either side of the gun slot are under sized, and there are large join gaps between the upper and lower shields at the front that will need to be filled.
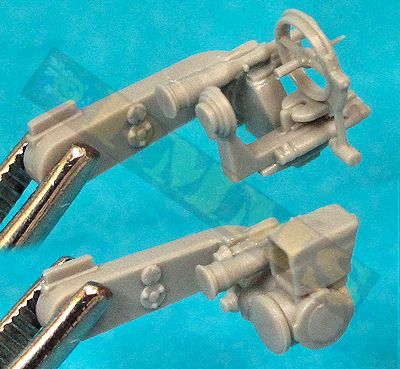
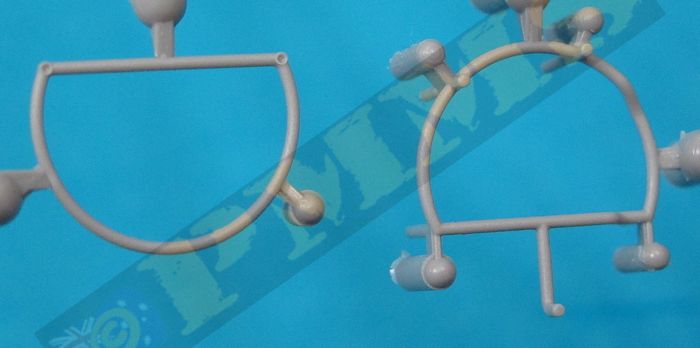
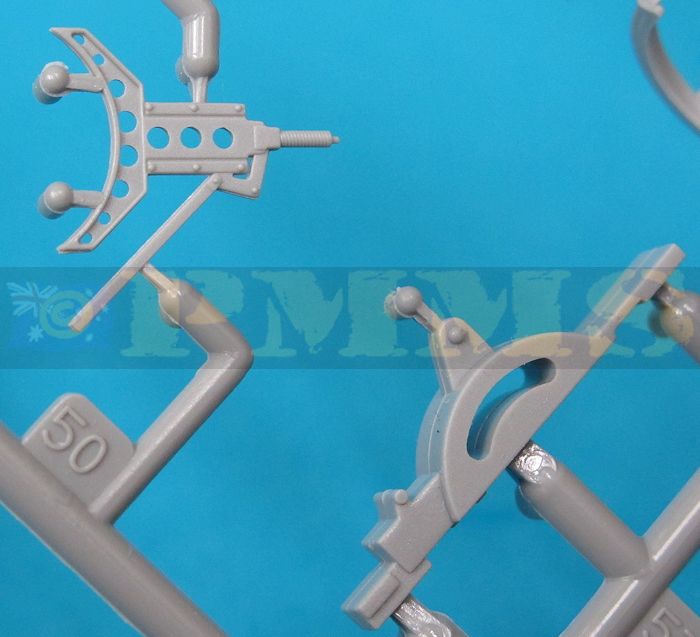
The two gun cradle sides have separate upper bearing rings as per the real gun for good definition with additional separate parts for the elevation assembly and new hand wheel plus the gunner’s foot rests and on the inside of the right cradle is a separate perforated reinforcing bracket and at the back is the rotation box and hand wheel. Unfortunately the new late pressed hand wheels are about 1mm too big in diameter according to the Panzer Tracts 22-1 book plans but there is very little you do about this and its probably something most will live with.
The kit includes the new simplified Gunner's seat with single back rest support rod and is detailed with two very small hand wheels for good appearance but the instructions give you a choice of the new seat or the original seat with two back rest support rods, I haven't seen any photos of the late production gun using this early Gunner's seat so use the later one provided (parts D1, D9, D10).
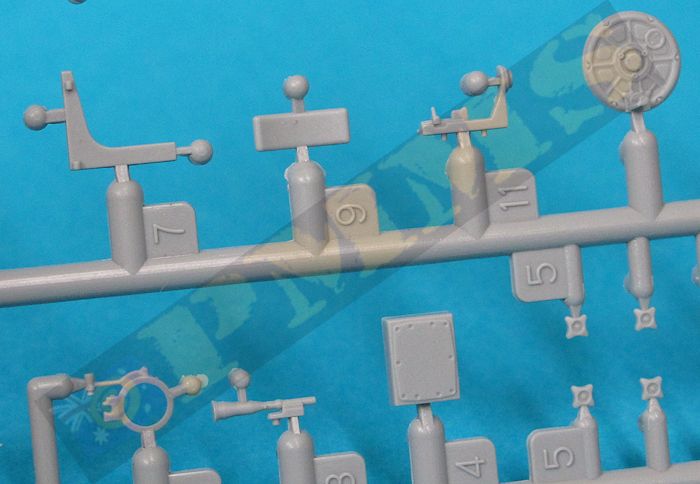
The kit gives you two gun sights, the original Flakvisier 38/40 and the Schwebekreisvisier 30/38 (pendulum ring sight), this was the most common sight used on the later model FlaK 38s although some images exist showing the Flakvisier 38/40 being used. The new Schwebekreisvisier 30/38 is nicely done with some delicate small parts especially the sight ring and central pivoting needle although the pendulum arm is a little short. The rear eye sight is solid and drilling this out will give a better appearance while the telescopic direct fire sight is also included with care needed during assembly due to the fine parts. There is an error in the instructions as it shows to fit the sight mount directly to the sight arm (part A17) but you should use the mounting bracket (part A31) the same as for the Flakvisier 38/40 assembly, there should also be another sight clip between the bracket and sight but this is missing and you have to glue the sight support (part D8) directly to the bracket (part A31) which is really isn't designed to do so you just have to position it centrally on the bracket.
The earlier Flakvisier 38/40 is fairly basic with straightforward assembly and also includes the telescopic direct fire sight but again the mounting clip is missing between the bracket (part A31) and the sight and when fitting either sight arm in pace this should be glued to align with the barrel elevation you have chosen, see below. You also may want to add the electrical cable from the support arm to the sights as this is missing from the kit (as it is on all 2cm FlaK 38 kits).
and the Flakvisier 38/40 (bottom) .
The main sight control box (parts A58, D4) plus sight support arm (parts A42, A45) is for when using the Schwebekreisvisier 30/38 sight, if you use the Flakvisier 38/40 sight you should use parts A58, A44 for the sight control box. The way the sight control box is mounted onto the two side gun cradles is incorrect and a bit of a compromise, there should be a flat plate between the two cradle sides with three small mounting discs onto which sits the control box, this is shown clearly in the photos on page 053 of the Wings & Wheels FlaK 38 book but may be for the super detailers amongst us.
The X stamped ammo clip container on the left side has three separate parts with the stamping on both sides as well as there being some spare 2cm ammo magazines to add to the rack if you wish.
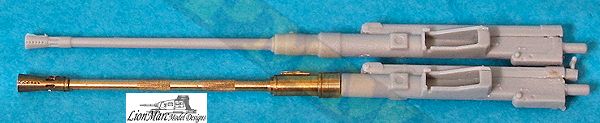
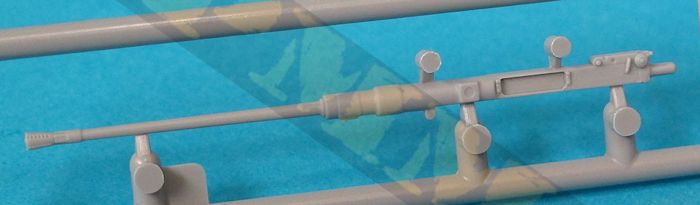
The 2cm gun is moulded separate to the gun mount and also has a separate shell ejection chute cover while the flash suppressor is partially hollowed out with the six muzzle brake openings only represented by small indentations. The gun and barrel are the correct dimensions, barrel length etc. but the flash suppressor is a little under sized and replacing this one of the many aftermarket metal 2cm barrels will improve the appearance overall. There are three alternate top covers allowing different versions of the gun to be built but period images would indicate that part J2 is more appropriate for the late production gun.
and to remedy the under sized kit flash suppressor.
The gun itself can’t elevate after assembly and you get alternate parts to fix the elevation at 0°, 20°, 40° or 60° elevations so you must make a choice and use the appropriate parts, thankfully the instruction call out the correctly numbered parts for each alternate elevation angle so there shouldn’t be any problems?
Assembly of the gun, gun cradle and associated parts is very straightforward without any problems in fit providing you take the usual care and you can build it in sub-assemblies bringing all these together for the final fit to make things even easier.
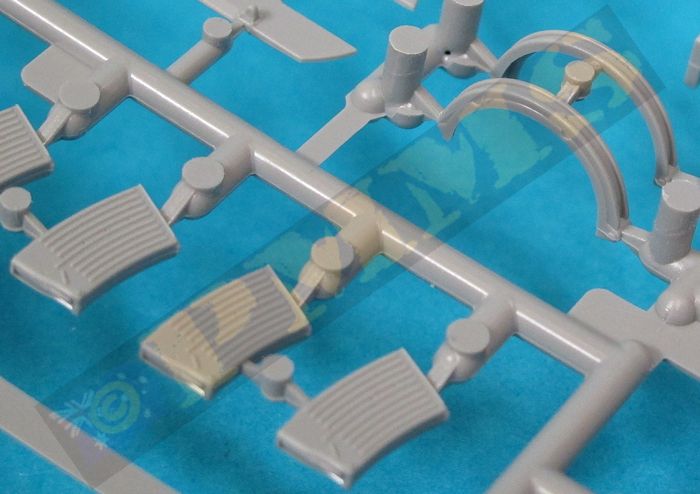
The plastic gun shields are a little on the thick side with bevelled edges to give a thinner appearance and also include nice bolt head and attachment details with the upper and lower main shields as separate parts. these really don't cut it by today's standards due to the thickness as noticeable bevelling of the edges. As an alternative you get a full set of etched shields which are far thinner than the plastic shields with separate etched attachment brackets and look more the part.
While the etched shields are more to scale thickness there are a couple of issues in that the bolts are fairly flat in profile and not rounded as they are on the plastic shields and there is also an indentation at the outer bend line of the main shields which should not be there and you have to fill these with solder if using the etched shields. You can choose to build the kit without the shields as was often seen when engaging ground targets and for this you need to cut off the shield mountings from the two main gun cradles, the instructions clearly show what bits to cut off should you wish to build without the shields and this is best done before any assembly of course.
The kit includes the spent cartridge basket with plastic frames and etched mesh for the netting, while its inclusion adds nicely to the overall model there are a few issues with the basket that should be mentioned.
 |
|
Overall the upper mesh looks good when fitted but the design of the thick lower basket mesh with the wrong profile mesh does mar the final appearance of the basket.
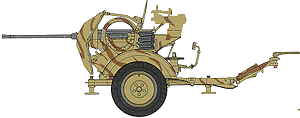
The Sd.Ah.51 trailer is also nicely done with the wheel mud guards included in the frame moulding but still have well defined details. The front trailer hitches have separate parts to allow the frame to be assembled raised or lowered depending on your choice.
The two wheels are very nicely done with subtle tread pattern and again no pin marks on either side of the wheel rims which are included on the outer wheel with just the inner tyre section as a separate parts making for a commendably thin wheel disc. On the inner rim is the tyre valve which protrudes through the hole in the wheel disk when the two wheel halves are fitted together for a good appearance.
The small storage box on the right fender is in three parts and can have the top shown open if required while there are other smaller details such as grab handles and other fittings for a good representation of the trailer.
Also included are spare 20mm ammo boxes and a spare barrel box with nice details included to add to dioramas. No crew is included despite being shown on the box art so don't be fooled on this score when buying the kit.
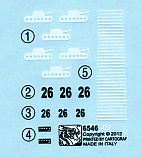
- 1. Unidentified Unit, Alsace, France 1944/45
- 2. Unidentified Luftwaffe Unit, Italy 1944
- 3. Unidentified Unit, Western Front, 1945
The instructions with the usual exploded view drawings are easy to follow
but you should carefully study the sequences as some are quite busy especially
where there are a few alternate parts.
The fit overall was good without any problems and most of the issues mentioned above are minor in the overall scheme of things and those such as the turntable diameter and oversized hand wheels will probably be overlooked by most as there is little you can do and they don't stick out with the final kit with scope for modeller's wishing to go the extra yards and add additional detail to make it a standout kit.
Rating 8.5/10.
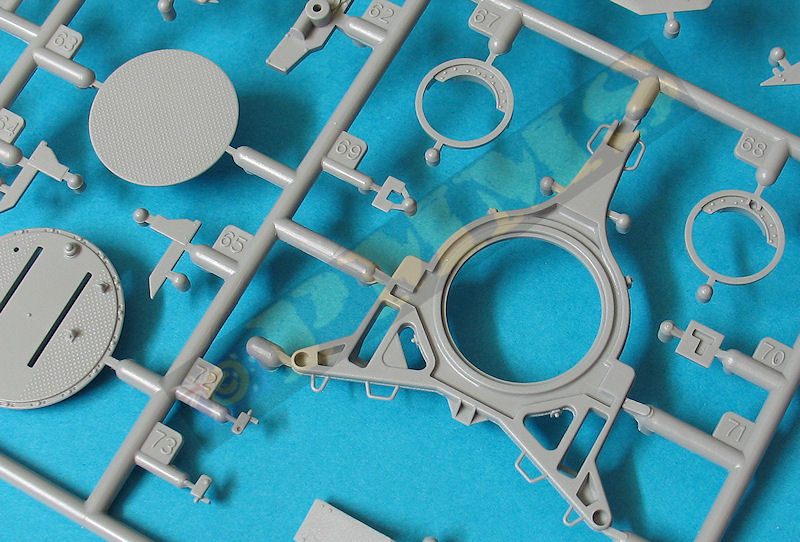
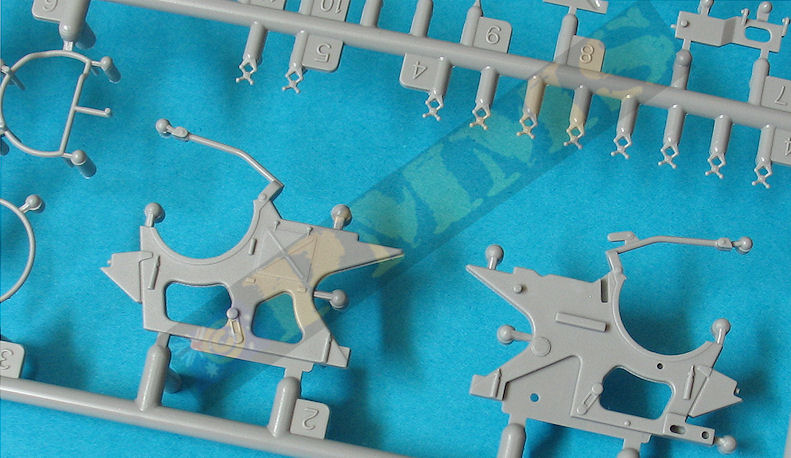
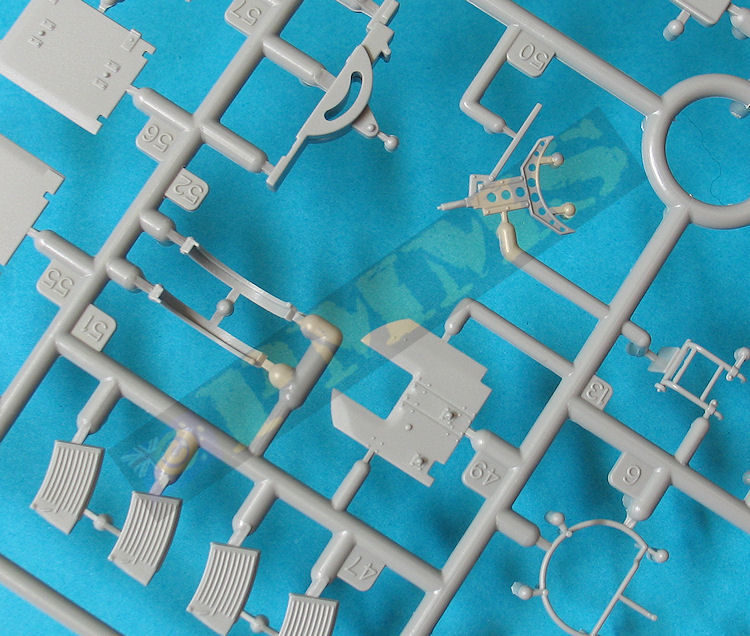
Sprue images
Click on thumbnails for larger view


Build images
Sprue detail images


| Leichter Zugkraftwagen 1t (Sd.kfz.10) Ausf.A and B and Variants Panzer Tracts No.22-1  |
Sd.Kfz.10/4 (it's really mostly on the /5) Wydawnictwo Militaria 172  |
| Flak 30 & 38
in detail Wings & Wheels Publications R 061 ISBN 978-80-86416-95-3 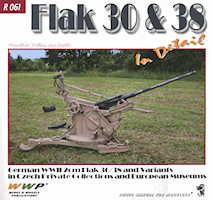 |
Tamiya
Photo Album 4 Krupp Protze, Flak30, Flak38 Tamiya Plastic Model Co. 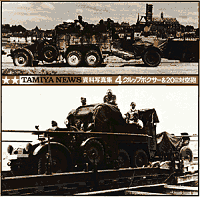 |
| Flak
at War Trojca Publications ISBN: 83-60041-15-6  |
German Light Half-Tracked Prime Movers 1934-1945 Schiffer Publishing Ltd. 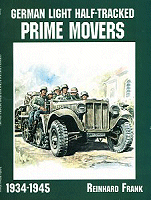 |
 for
the review kit.
for
the review kit. 