

0.6mm Brass Screwheads
LionMarc Model Designs Set No. LM60006
Passion Models Set P35-001
1:35th Scale
Review by Terry Ashley
This set of the 0.6mm screws has 100 of the very small brass screws and one 0.6mm drill bit to use in fitting the screws to your model.

The brass screws are perfectly formed with the groove in the head nicely defined and the inner shank thinner than the head if you want to show a vehicle under major repair with the screws removed. The one thing you have to note is these screws are extremely small and a good pair of tweezers and some form of magnification will be the order of the day when handling and fitting the screws.
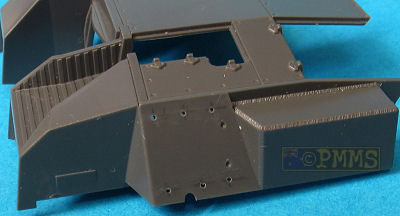
These 0.6mm screws are of the type used specifically on the Stug IIIB (Dragon or Tamiya) with the sides of the upper superstructure on the Tamiya kit missing the flush screws and you could also replace the roof screws if you wish.
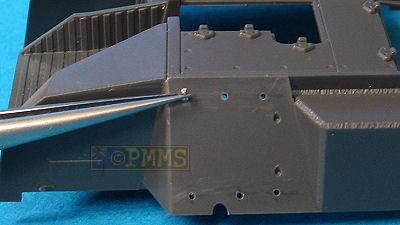
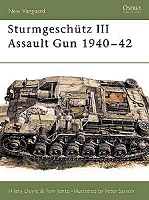
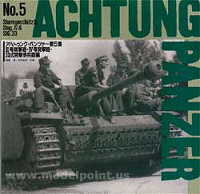
Adding the screws to the Tamiya Stug IIIB kit is really very simple with the Achtung Panzer Vol.5 - Stug III, Stug IV book showing the location of the missing screws clearly. Firstly mark the location of the screw heads with a soft pencil ensuring they line up correctly and then using the drill bit provided drill the screw holes.
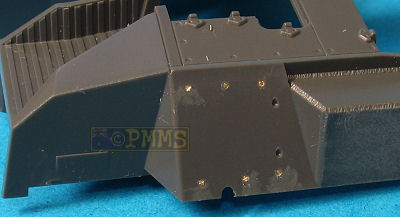
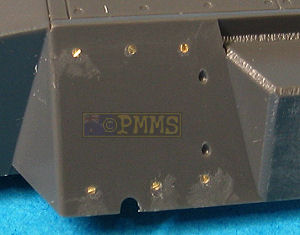
Next add a small dab of cyanoacrylate in each holes and with a fine pair of tweezers slip to screw in place. I used thicker slow curing cyanoacrylate which gives you a bit of time to then press the screw head down flush or slightly below the armour surface.
You may need to clean up a bit of excess cyanoacrylate after the screws are in place but that is about all the cleanup required for an excellent appearance of the fitted screws.
Conclusion:
A superb update set that is very simple to fit with the only thing to
watch is getting the holes lined up evenly when drilling the location holes
but fitting the actual screws is so quick and easy you think you must have
missed something. The 100 screws in the set will allow you to detail two
or maybe three models depending on how many you use on each as well as allowing
for attrition with the small screws that may fall victim to the carpet monster.
These sets will almost become indispensable to the German armour modeller as they so easily allow this often misrepresented detail to be added or corrected with such ease.
Highly recommended
References:
Thanks to Leo from LionMarc Model Designs for the review set.
Page created April 3, 2006