
KPV 14.5mm Machine Gun Barrel
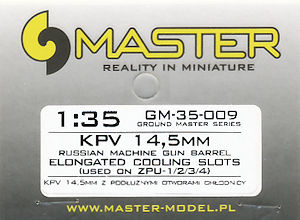
Master Model 1:35 Scale Set GM-35009 Elongated Cooling Holes
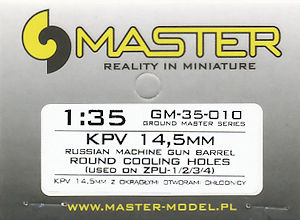
Master Model 1:35 Scale Set GM-35010 Round Cooling Holes
Reviews by Terry Ashley

The 14.5x114mm M41 cartridge comes as High Explosive Incendiary-Tracer (HEI-T) or Armour-Piercing Incendiary (API) rounds and has approximately twice the energy of a 12.7 mm MG projectile making it very useful against lightly armoured vehicles, low flying aircraft especially helicopters and larger structures such as bunkers. The KPV is air-cooled and fitted with quick-changabe barrels.
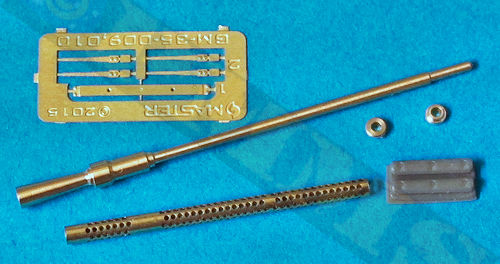
The sets consist of:
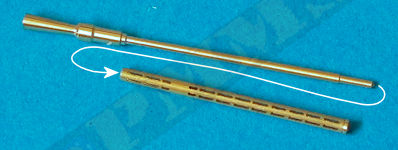
1 x Metal barrel tube with flash suppressor included
1 x Metal perforated cooling jacket (Elongated or Round cooling holes as noted above)
2 x Metal grommets for rear of cooling jacket
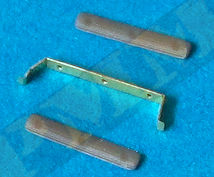
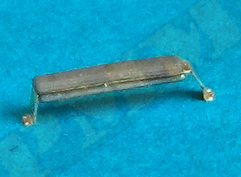
2 x Resin lifting handle pads
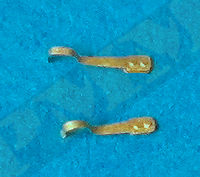
5 x Etched detail parts
1 x Instruction sheet
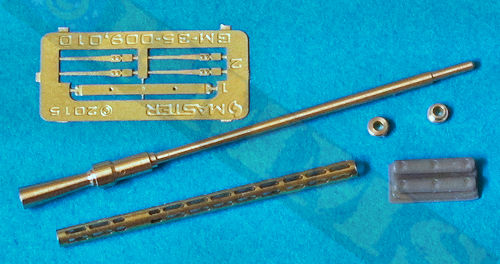
Set GM-35-010 parts Round Cooling Holes
The quality of the machining on the barrel/flash suppressor and cooling jacket is first class without any residue or other blemishes to clean up prior to assembly, the etched parts are equally well done as are the two resin lifting handle pads.
Removing the etched parts from the frets requires care due to the small size and you are given four of the small barrel tip brackets (only two required on the barrel) as these are extremely fine and due to the bending required easy to damage or lose and having a couple of spares is a very useful inclusion. The same goes for the very small round grommet fitted to the receiver end of the cooling jacket, these are very small and slippery due to their small size/shape and again having a spare is a very thoughtful inclusion by Model-Master.
Clean-up of the resin handle pads needs some care as you must get the inside surface perfectly smooth for a good sit on the resin handle frame and using a very sharp blade to remove from the backing block and carefully trim the attachment pins is best.
Dimensionally these match available data well (length etc.) although I don’t have any 1:35 plans to verify this, they also match visually dimension wise when comparing to the many photographs available as well as offering a substantial leap in detail definition compared to the plastic barrels in the available kits.
(1) The small etched brackets (PE2) have end tabs that folds over onto itself and small curves added to the end of the brackets; I simply laid the bracket of a small drill bit and used the tips of fine tweezers to bend the bracket around the bit to form the curve. The grab handle frame has engraved bend lines so bending this shouldn’t pose any problems. You should bend the frame before fitting the resin handles as this makes it easier to position these correctly on the frame.
to the handle frames ensuring the correct alignment.
(2) Fit the small round grommet to the end of the cooling jacket and then slip the barrel tube through the cooling jacket and glue the front on the jacket with a small dab of CA to the barrel just behind the flash suppressor, all very easy. Note if the cooing jacket doesn’t slip over the barrel easily just shave the smallest bevel of the inside of the cooling jacket with a sharp #11 blade as the tolerances are very fine and just bevelling out the edge may help it fit into place, we are talking very small amounts here and a single pass of the blade around the end was sufficient for one jacket that caught the lip of the barrel.
The barrel is then fitted through the cooling jacket and end grommet for that main barrel assembly

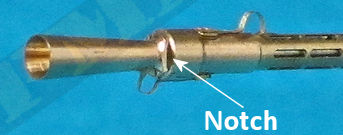
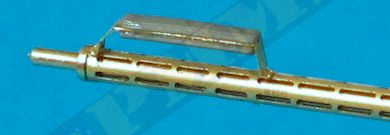
(3) Next fit the two small brackets to the flash suppressor collar, note there are two notches on the flash suppressor base and these should be positioned vertically with the brackets fitted centrally top and bottom between the notches. (See instructions and images). With the front brackets in place then glue the rear lifting handle in place ensuring this is positioned perfectly aligned with the top front bracket. The barrel is now ready for fitting to whatever gun you wish to use it on (4)
and the notches between them top and bottom.
The rear lifting handle is then glued in place (with CA) ensuring this aligns with the front brackets.
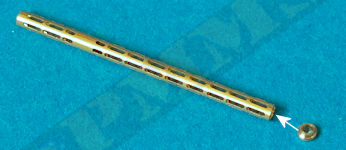
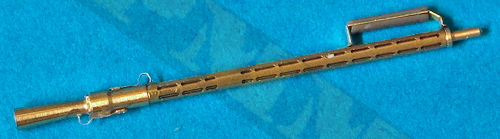
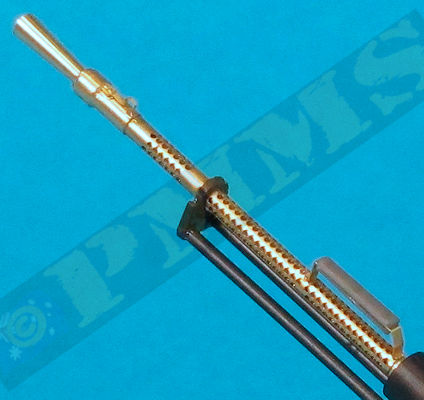
(4) Image of assembled Elongated Cooling Holes barrel ready for fitting to the desired kit gun.
ZPU-1:
 Only two ZPU-1 kits are available at present, one from Meng Models (kit VS-001) bundled with the Toyota Hilux so not a standalone kit and one from a company Russian Project (kit 35001), a kit I know nothing about so can’t make any comments. The Meng ZPU-1 was covered in a full review of kit VS-001 here so will just give a quick rundown on fitting the MM barrels.
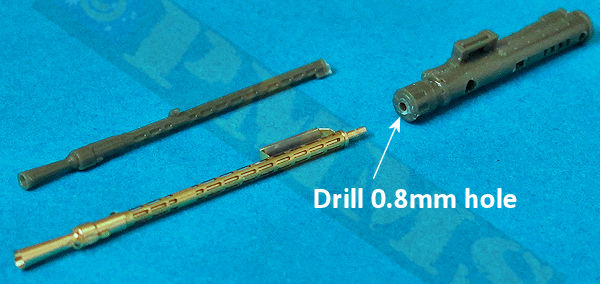
As noted in the review the Meng 14.5mm barrels are about 10mm too long and so replacing this with the metal barrel will improve things considerably. With the metal barrel assembled as above, firstly just cut the kit barrel from the front of the receiver and drill a 0.8mm hole for the metal barrel pin.
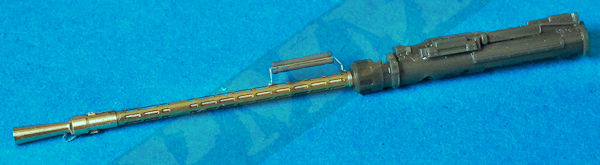
Half way down the barrel is the support bracket ring and cut the barrel flush with one side of the bracket and then drill (carefully) a 1.5mm hole in the middle of the bracket and fit the around the metal barrel. With the support ring separated from the kit barrel I just cut one side and slipped this over the cooling jacket and then re-glued the bracket ring.
Images of the fully assembled Meng ZPU-1 AA gun from kit VS-001 with the Model-Master KPV barrels fitted.
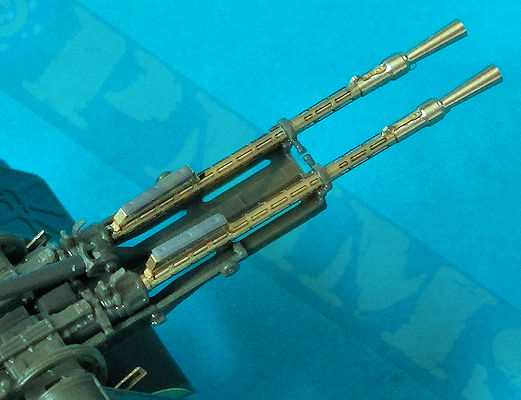
Close-up showing the Round Cooling Holes barrel fitting to the Meng ZPU-1 AA gun
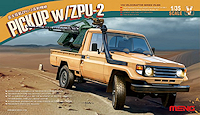 The only ZPU-2 kit available is again from Meng Models (kit VS-005) bundled with the Toyota Land Cruiser single cab and so is also not a standalone kit. The ZPU-2 in this kit is the later production type and builds into a very nice kit in its own right and the guide below is on fitting the MM KPV barrel to this kit.
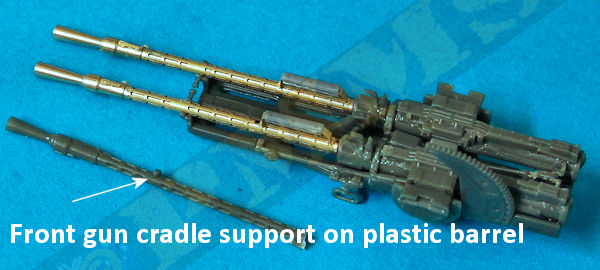
(1) Simply cut the plastic barrel from the receiver, drill a 0.8mm hole for the locating pin and glue the barrel in place ensuring it is correctly aligned. (2) Repeat for the second barrel required for the ZPU-2 and the two assembled guns/barrels are then fitted to the gun cradle. (3)
>
(2) Fit the MM barrel ensuring it aligns correctly vertically.
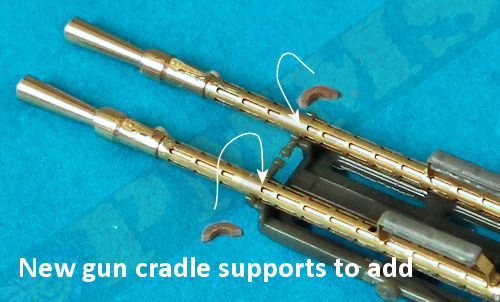
(3) There are two small brackets that hold the barrels into the end of the cradle and these are moulded as part of the kit barrels, with these removed you will need to add them back onto the metal barrels. It is quite difficult trimming these from the kit barrels as well as they are slightly too small for the metal cooling jackets due to the couple of mm difference in diameter and it’s easier to make news ones.
still attached to the kit barrel and new ones will need to made to fit over the metal barrels.
This is due to the diameter of the kit cooling jacket being 1.3mm and the metal cooling jacket being 1.5mm.
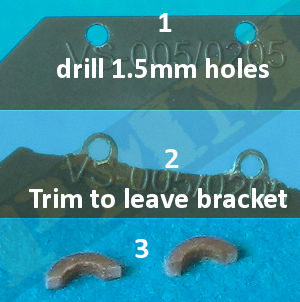
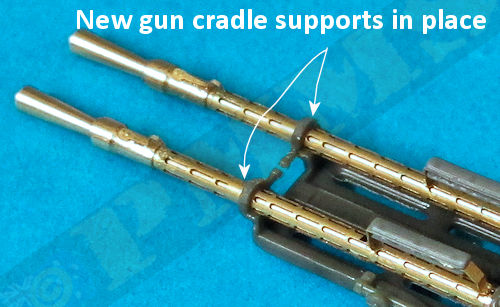
To do this I used the large flat tabs on corner of the sprue and first drilled 1.5mm holes the width of the bracket from the edge, then with a sharp #11 blade trimmed away the plastic until the thin bracket was done (4). This can then be cut away to make the newer larger brackets that are simply glued into place over the barrels on to the cradle attachments. That done the remainder of the kit can be assembled as per instructions.
(4) Using the large tab on one of the sprues I drilled two 1,5mm holes (1) and then shaved away the plastic
leaving two brackets (2), finally just cut away the bracket as indicated (3) and fit the kit to complete the assembly.
Images of the new brackets in place and the fully assembled guns in gun cradle.
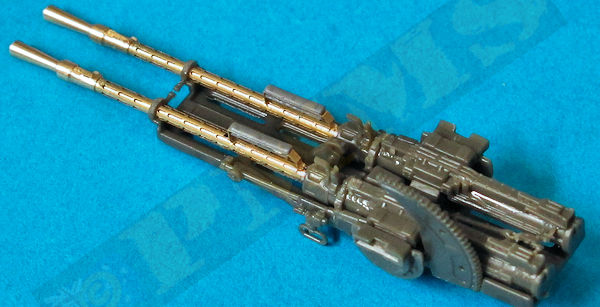
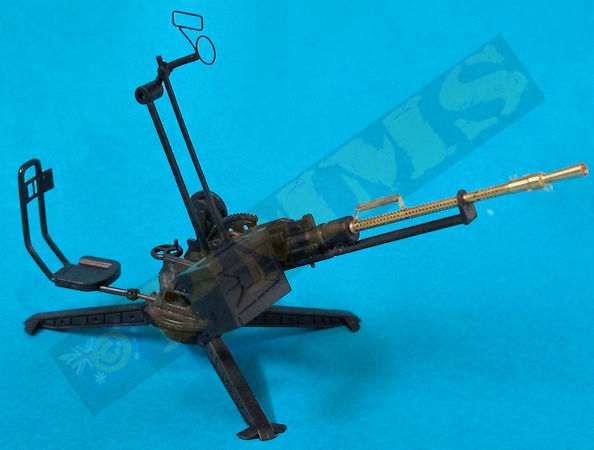
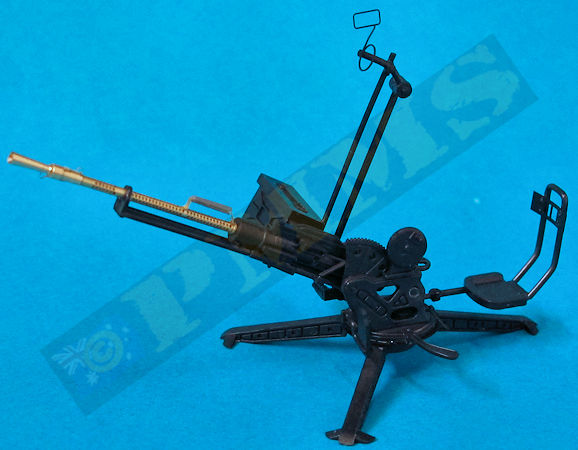
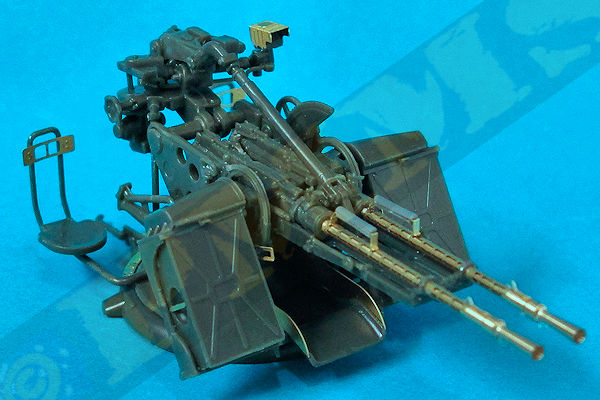
Images of the fully assembled Meng ZPU-2 AA gun that comes in kit VS-005 with the Model-Master KPV barrels fitted.
The barrels themselves are very well done and improve the appearance of the few kits available to take them immeasurably and are well worth the moderate investment.
Rating: 9/10.
Thanks to
Please to help the reviews continue, thank you
