
KPVT (TANKOVY) 14.5mm Machine Gun Barrel
Version for Armoured Vehicles
Master Model 1:35 Scale Set GM-35011
Reviews by Terry Ashley
The sets consist of:
1 x Metal 14.5mm barrel tube with flash suppressor included
1 x Metal 14.5mm perforated cooling jacket
1 x Metal 7.62 mm PKT machine gun outer barrel
2 x Resin lifting handle pads
6 x Etched detail parts
1 x Instruction sheet
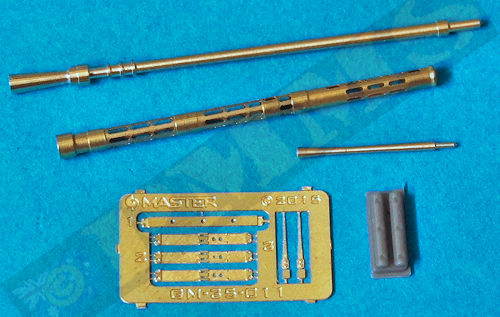
The quality of the machining on the barrel/flash suppressor and cooling jacket is first class without any residue or other blemishes to clean up prior to assembly, the etched parts are equally well done as are the two resin lifting handle pads.
Removing the etched parts from the frets requires care due to the small size and you are given two of the small barrel tip brackets (only one required on the barrel) and three of the changing handle jacket bracket clips (only two required) as these are extremely fine and due to the bending required easy to damage or lose and having spares is a very useful inclusion.
Clean-up of the resin handle pads needs some care as you must get the inside surface perfectly smooth for a good sit on the resin handle frame and using a very sharp blade to remove from the backing block and carefully trim the attachment pins is best.
Dimensionally these match available data well (length etc.) although I don’t have any 1:35 plans to verify this, they also match visually dimension wise when comparing to the many photographs available as well as offering a substantial leap in detail definition compared to the plastic barrels in the available kits.
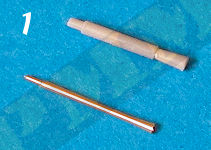
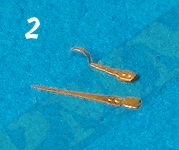
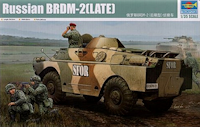
The replacement 7.62 mm PKT MG barrel is considerably finer than the kit item and also has open flash supressed for a better appearance (1) The small etched bracket (PE3) has an end tab that folds over onto itself and a small curve added to the end of the brackets; I simply laid the bracket of a small drill bit and used the tips of fine tweezers to bend the bracket around the bit to form the curve (2).
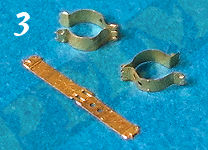
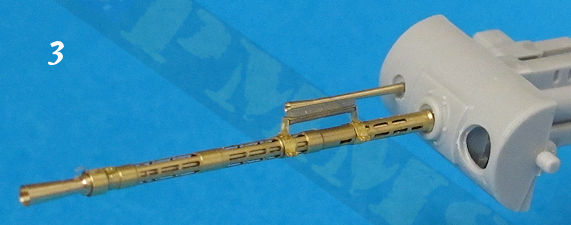
The two round clips (parts PE2) for attaching the grab handle require a bit more work to bend to shape, firstly bend the small end tabs on each and using the cooling jacket as a jig form the two round sections around the jacket. Use a pair of fine tweezers to hold the end tabs together around the cooling jacket and crimp the opposite tabs (in the middle of part PE2) with another pair of fine tweezers to form the finished clips (3).
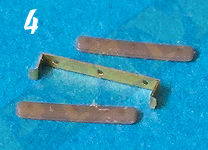
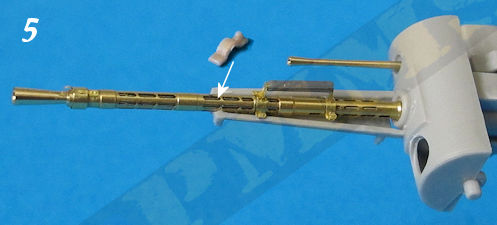
The grab handle frame (4) has engraved bend lines so bending this shouldn’t pose any problems. You should bend the frame before fitting the resin handles as this makes it easier to position these correctly on the frame (5).

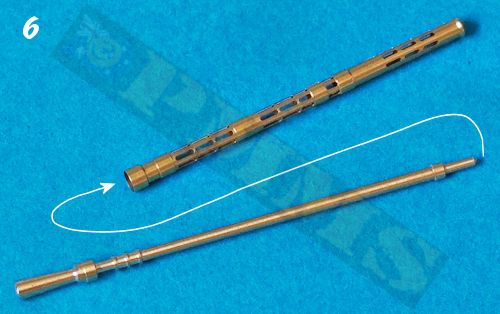
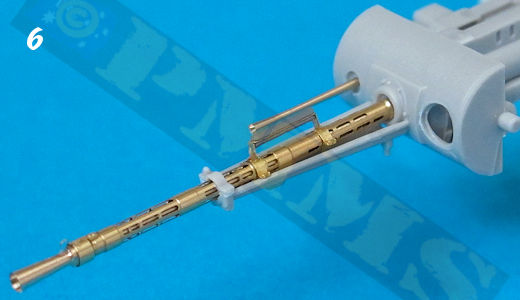
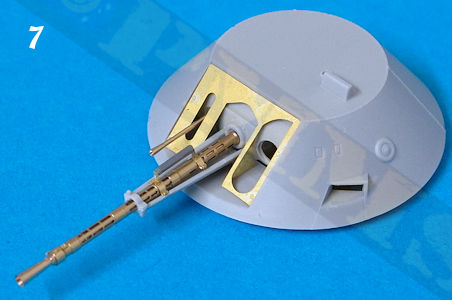
(6) Slip the barrel tube through the cooling jacket and glue the front on the jacket with a small dab of CA to the barrel just behind the flash suppressor, all very easy (7). Next fit the small bracket to the flash suppressor collar, note there are two notches on the flash suppressor base and these should be positioned vertically with the bracket fitted centrally on top between the notches (8). (See instructions and images).
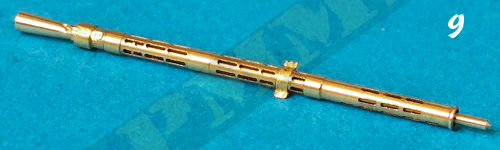
Assembling the main barrel and cooling jacket
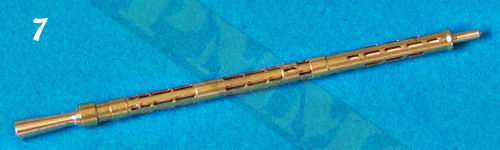

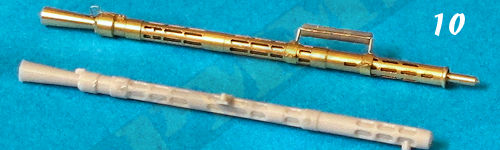
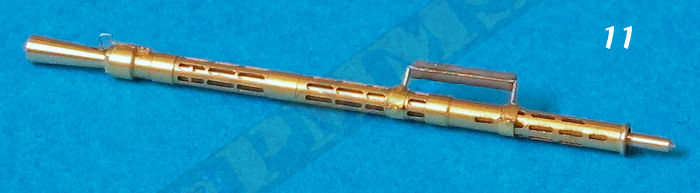
Next fit the front clip around the cooling jacket on the raised section of the jacket (9) use the tweezers to firmly hold the clip in place around the jacket as you apply the CA to get a good tight fit. Then fit the second clip around the jacket in the same manner using the handle to get the correct spacing and then glue the lifting handle to the clips, note this sits at an angle and not perfectly upright on the cooling jacket (10). This completes the assembly of the barrel ready for fitting to the required kit (11).
Final assembly of the barrel and accessories.
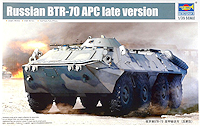
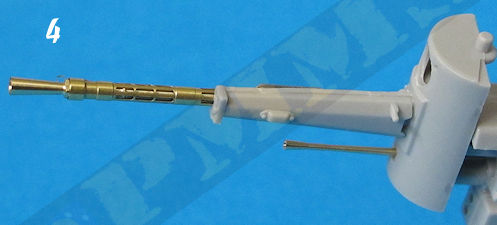
Firstly assemble the kit gun breech and mountings, you don’t actually need to assembly the turret interior gun and accessories as none of this can be seen afterwards but attaching the breech gives you something to hold onto while fitting the barrels to the mantlet in this case. The holes in the outer curved mantlet need to be filled as they are larger than the pins on the metal 7.62mm and 14.5mm MGs, so just cut off the kit part locating pins and glue into the respective mantlet holes, when dry drill the 0.5mm hole for the 7.62mm and the 0.8mm hole for the 14.5mm MG (1). The top retaining bracket has to be carefully cut from the kit barrel to be reused and care is needed to not damage or lose this clip in the process, the inside bend of the clip needs to be enlarged slightly at the metal jacket is larger than the plastic kit jacket (2).
Drilling the new locating hole in the mantlet and removing the small bracket clip form the jacket for re-use later.
The metal MGs can then be glued into the mantlet holes ensuring these are aligned correctly with the inner breech [another reason to fit the breech even though it can’t be seen after] (3). The lower barrel support (kit part K7) is then glued to the front of the mantlet and attached to the underside of the cooling jacket (note the recess in this also needs to be enlarged slightly for the metal cooling jacket to fit snugly, (4).
With the support in place you can then glue the small top clip rescued from the barrel earlier (5), this needs small plastic card ‘spacers’ between the top clip and lower support to mate together again due to the slightly larger diameter metal cooling jacket (6). The remained of the turret and kit can be built as per kit instructions (7).
Final assembly of the barrel and the remaining kit parts.
The assembled barrel is very impressive and will improve the appearance of the available kit MGs considerably and well worth the upgrade.
Rating: 9/10.
Thanks to
Please to help the reviews continue, thank you
