
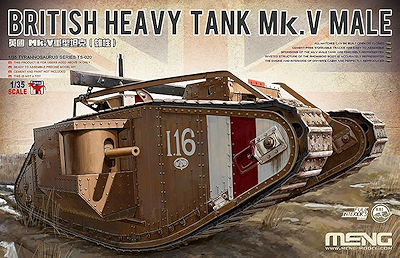
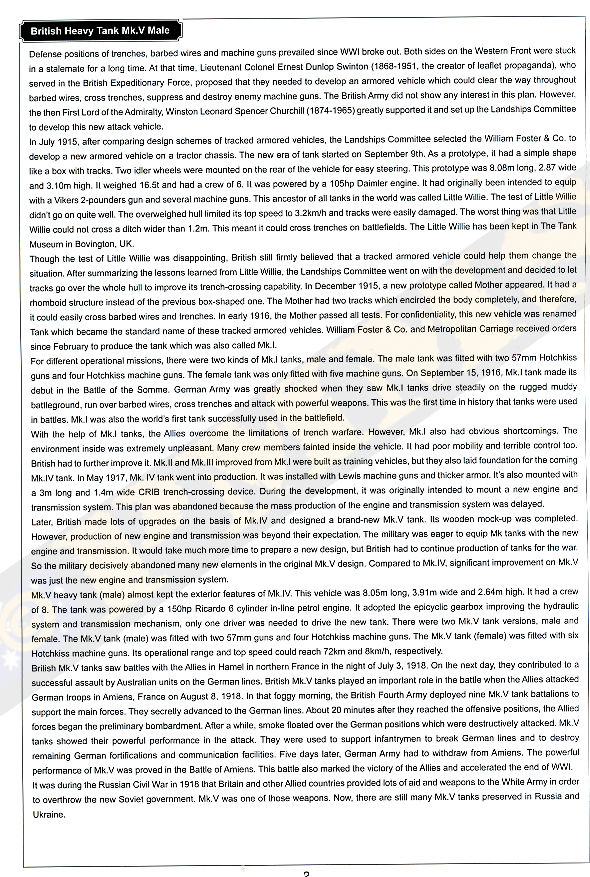
British Heavy Tank Mk.V Male
Meng Model 1:35 Scale Kit #TS-020
Review by Terry Ashley
Part 1, the Kit.
Production began at the end of 1917 and the first tanks reached France in May of 1918 with a total of 400 Mk.Vs built, 200 Males with two 6-pounder (57-mm) 6 cwt QF guns and four .303 in (7.7-mm) Hotchkiss Mk 1 machine guns and 200 Females with six .303 in Hotchkiss machine guns. A few were also converted as Hermaphrodites (or "Mark V Composite") with one male and one female sponson fitted.
The kit consists of:
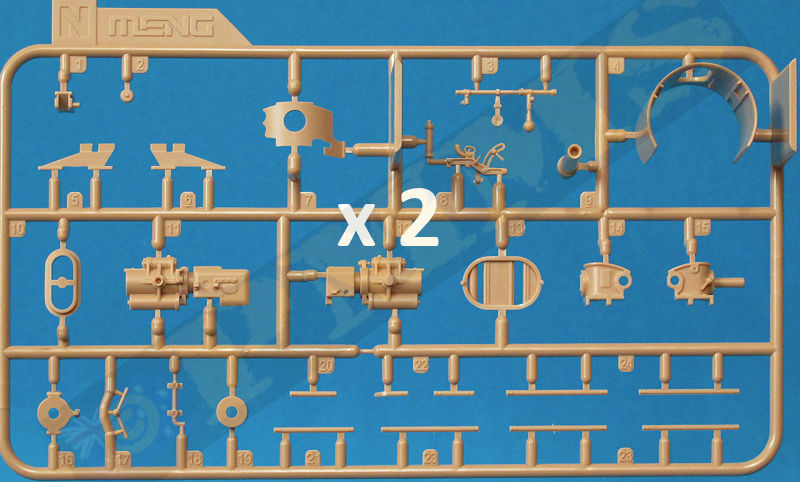
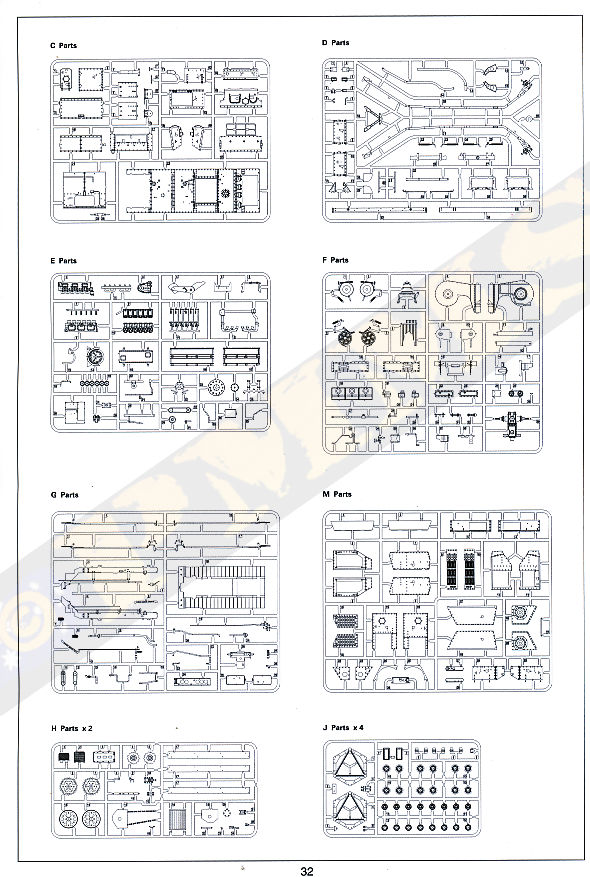
- 465 parts in light beige plastic
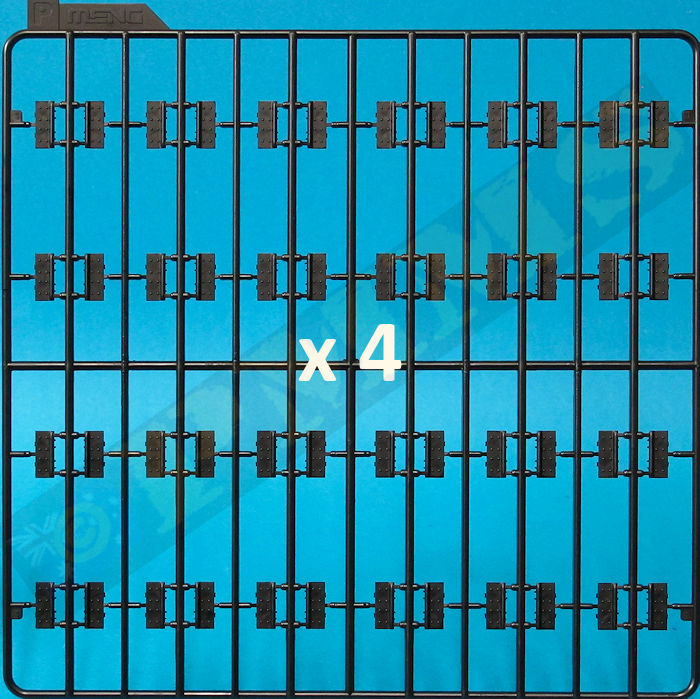
- 192 individual track links in black plastic
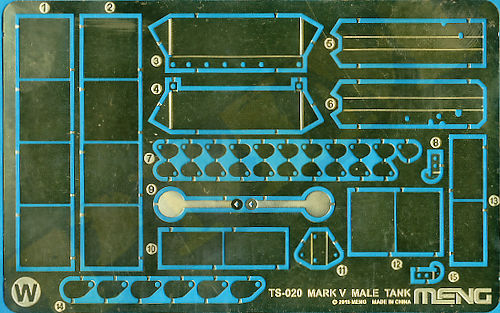
- 50 brass PE parts
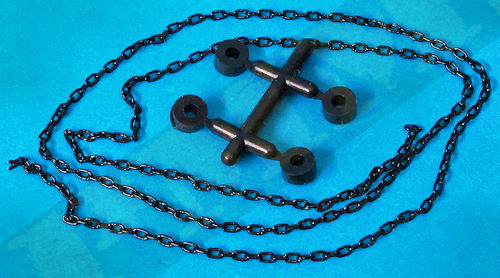
- 1 length of fine metal chain
- 4 vinyl poly caps
- 1 small decal sheet
- 36 page colour instruction booklet
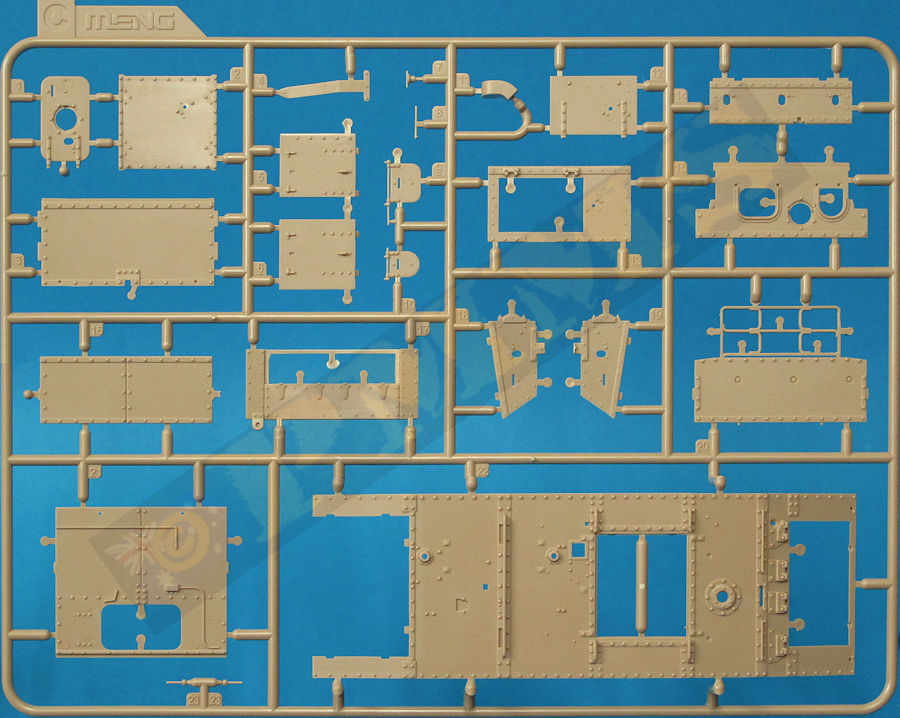
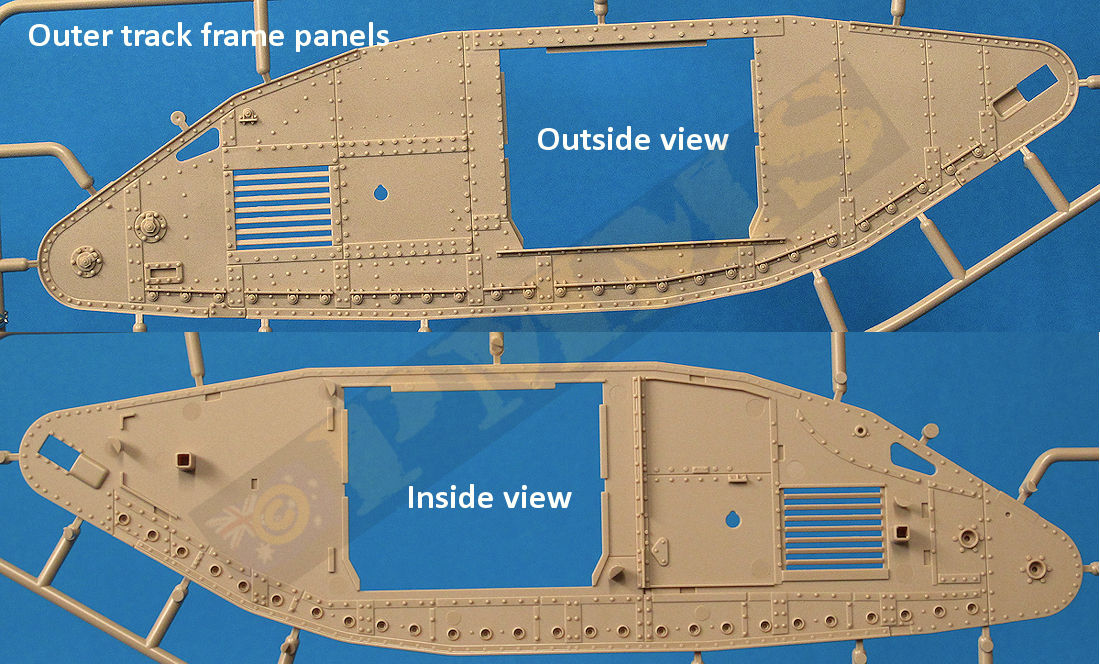
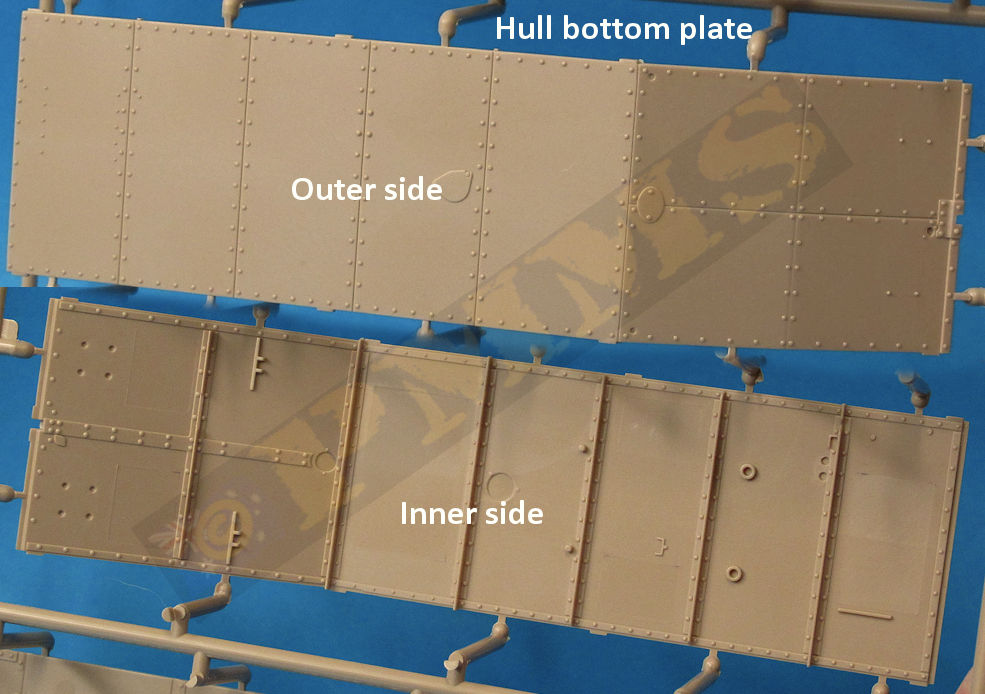
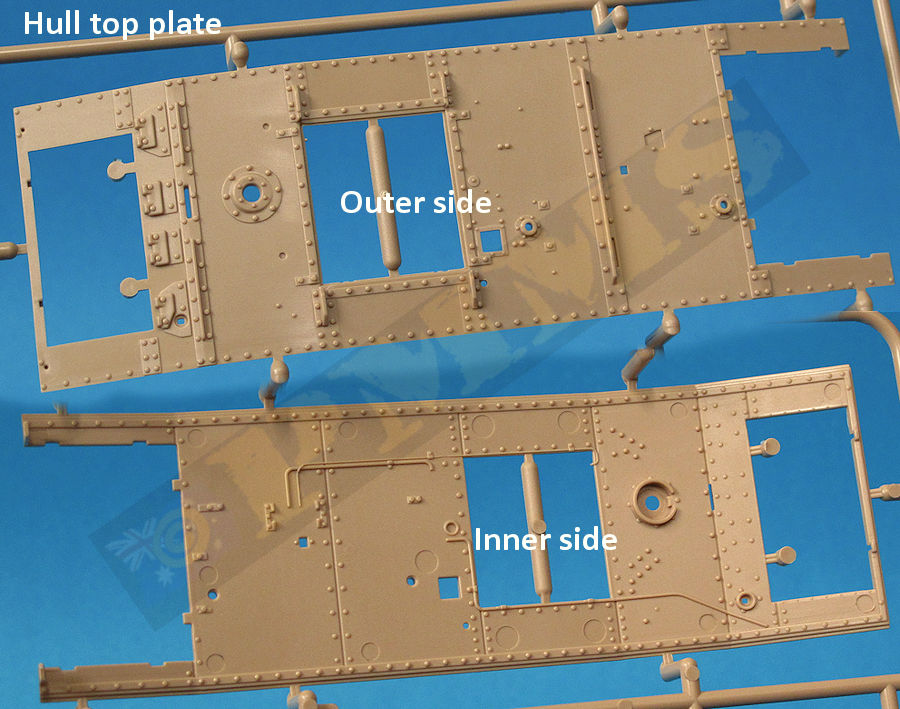
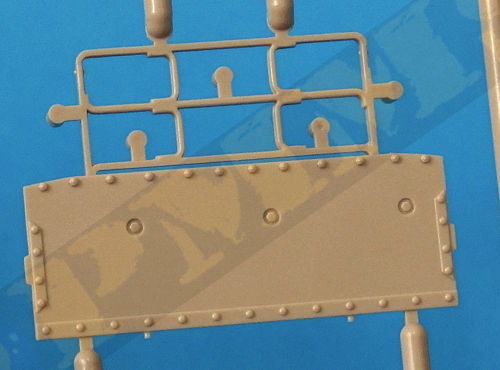
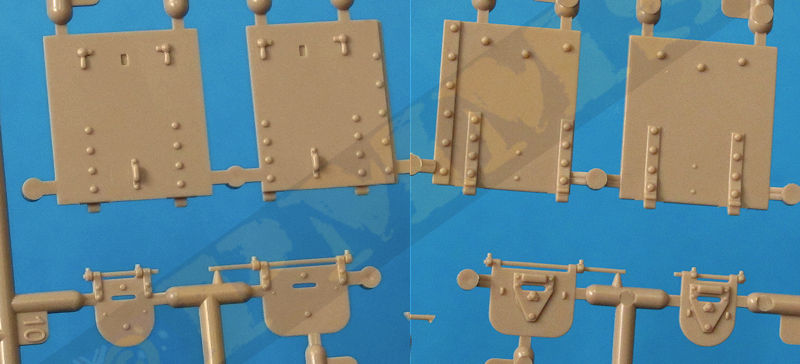
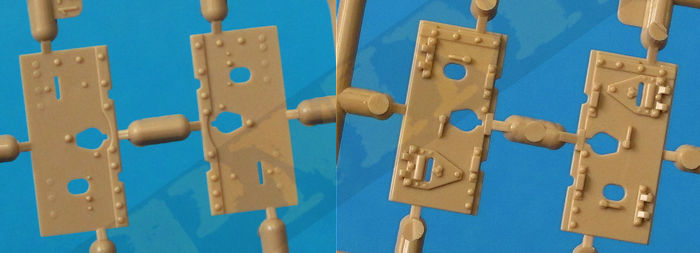
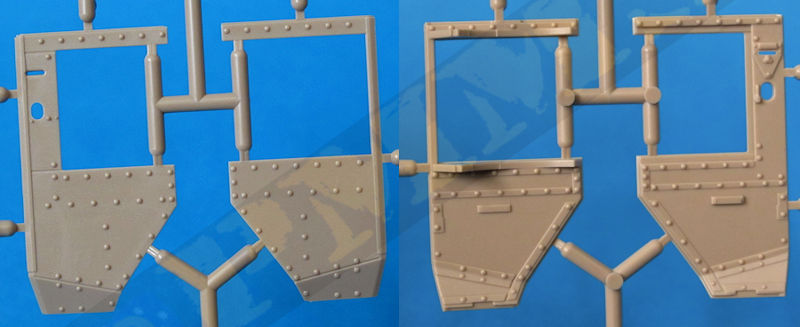
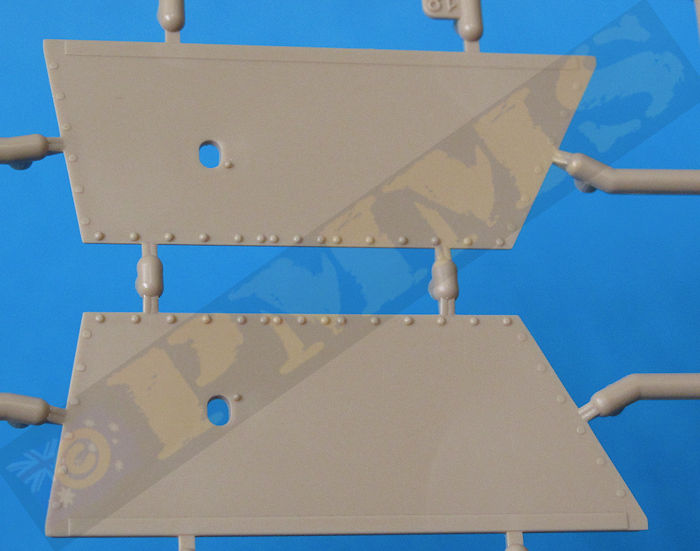
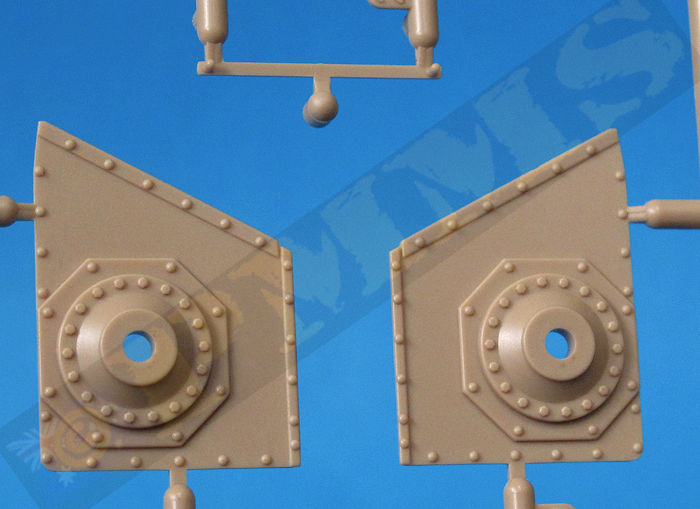
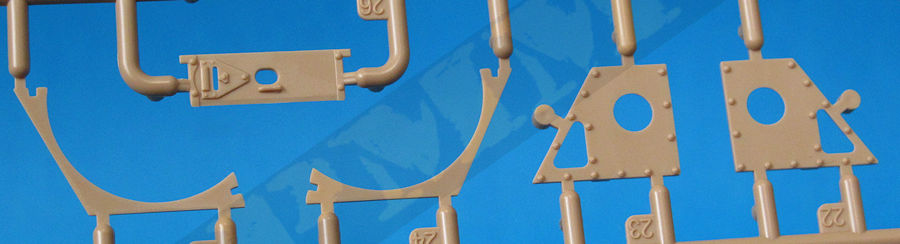
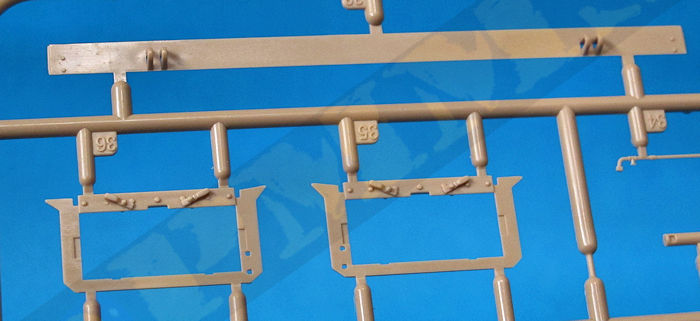
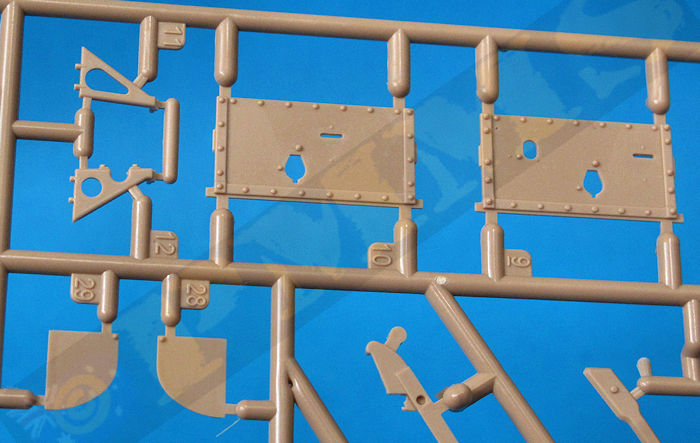
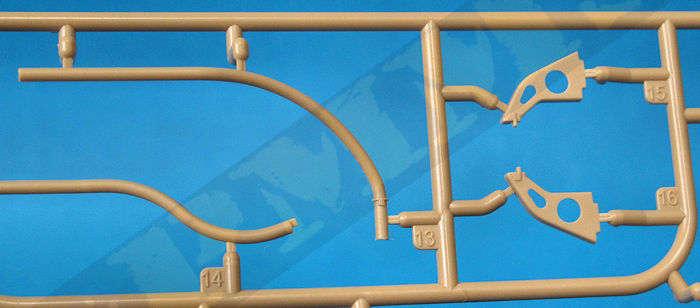
The kit has one piece track links that are designed to just clip together to form the workable tracks runs as well as having all the pistol port holes with separate etched brass port covers that you can easily show open or closed as you wish. All the hull and sponson panels have rivet/bolt, hatch and other details cleanly moulded on both sides with minimum of pin marks that can be seen after assembly, an exception to that is the roof plate that does have some large pin marks on the inside but you can’t see those after assembly anyway. The parts are also flash free (apart from some fine flash on the hull side louvers easily removed) and the only clean-up needed is the usual sprue attachment burrs and the many moulding nodes on the parts, also used as mould knock-out points to keep the parts pin mark free and the usual mould lines that are fairly substantial on some parts and need care removing in some instances, especially the smaller parts.
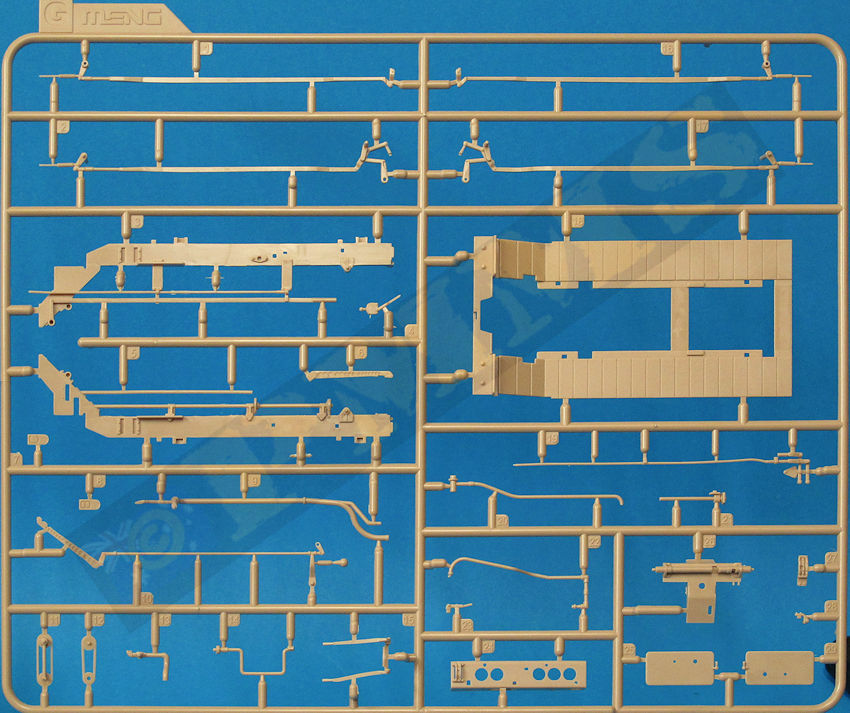
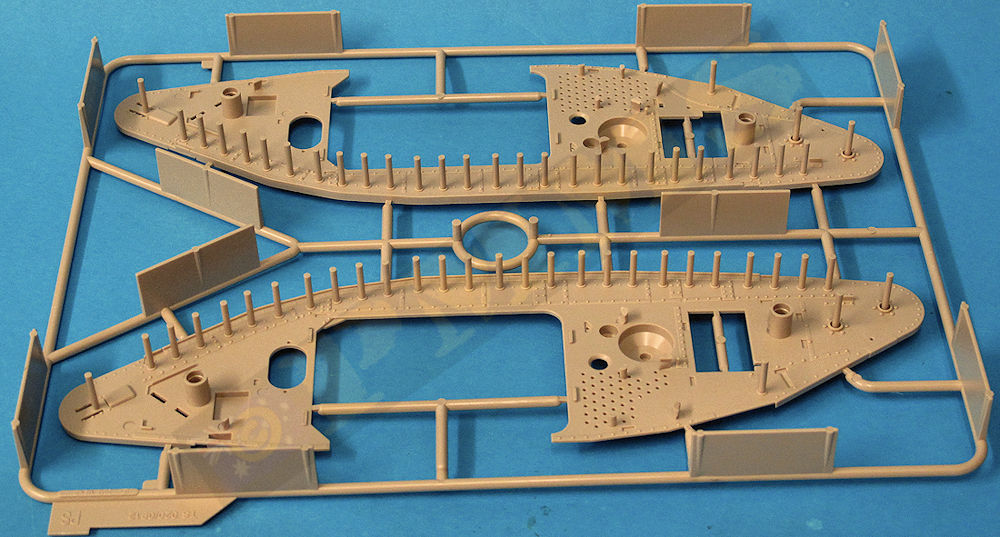
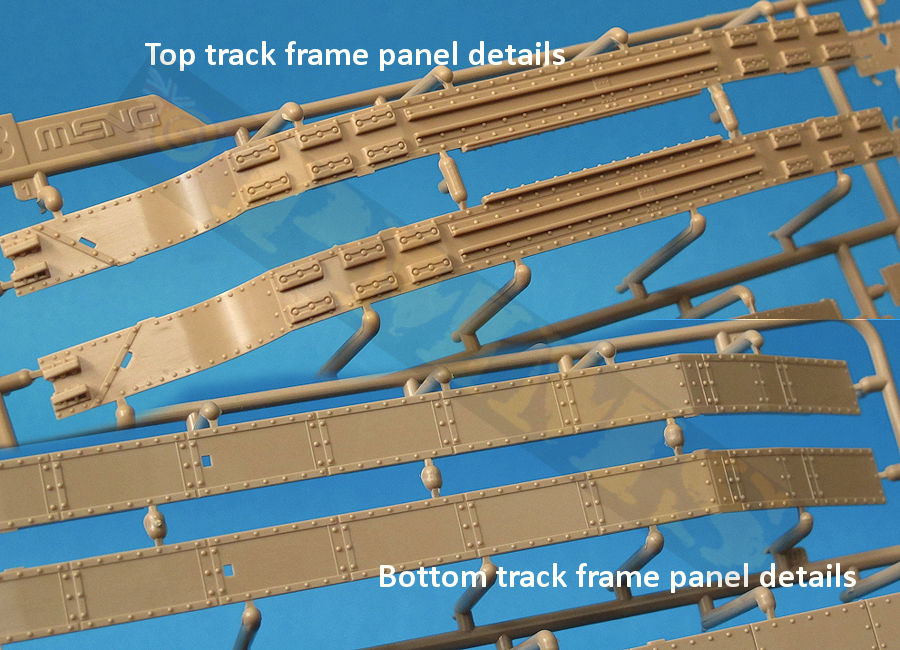
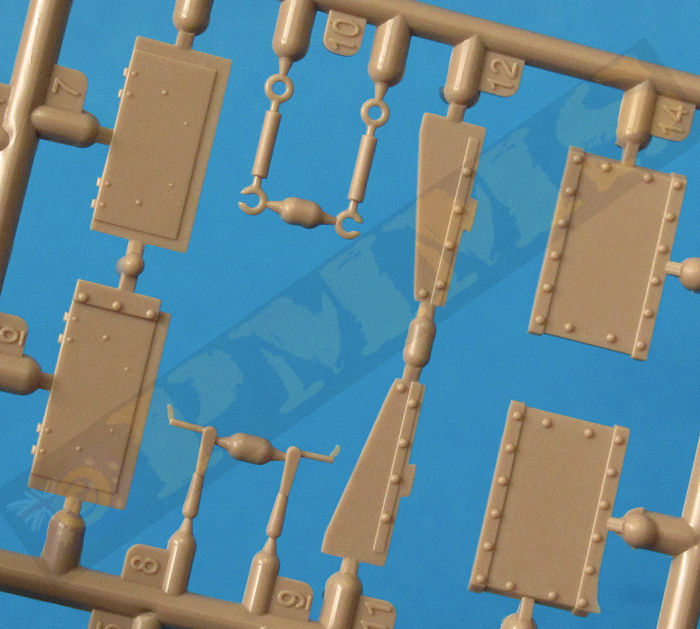
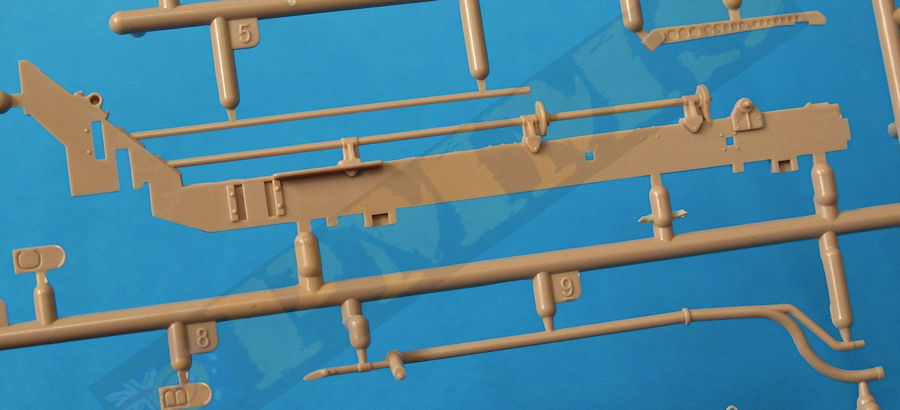
A notable feature on the sprues are the very large sprue extensions around some of the more delicate parts to prevent damage such as around the hull track frame sides that include the wheel axles (Sprue L) and for the larger gun parts, this is a nice inclusion to ensure the parts are pristine when you get the kit.
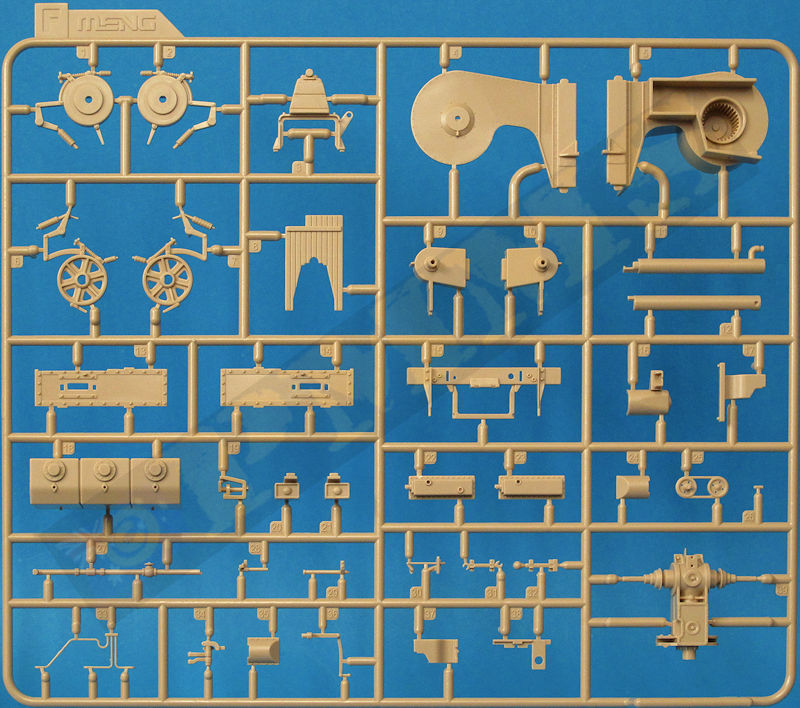
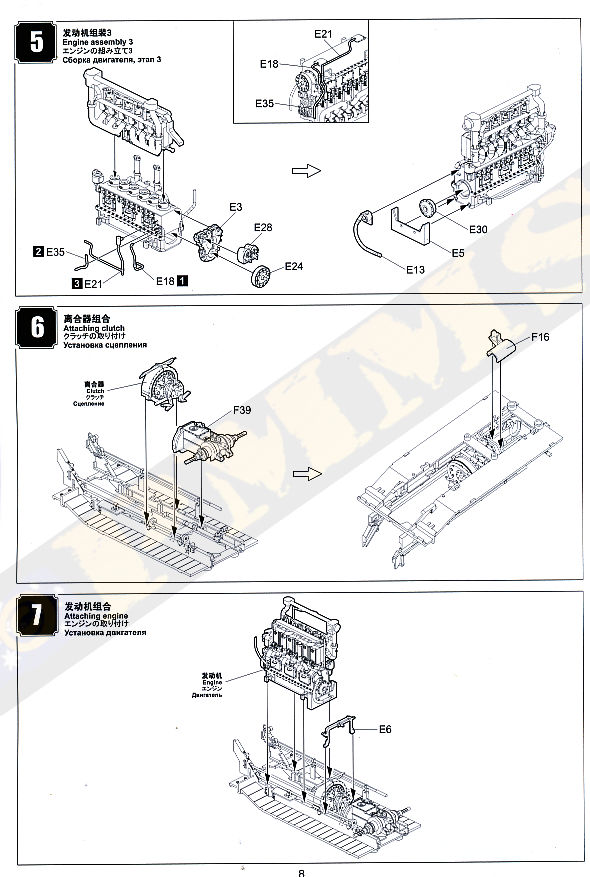
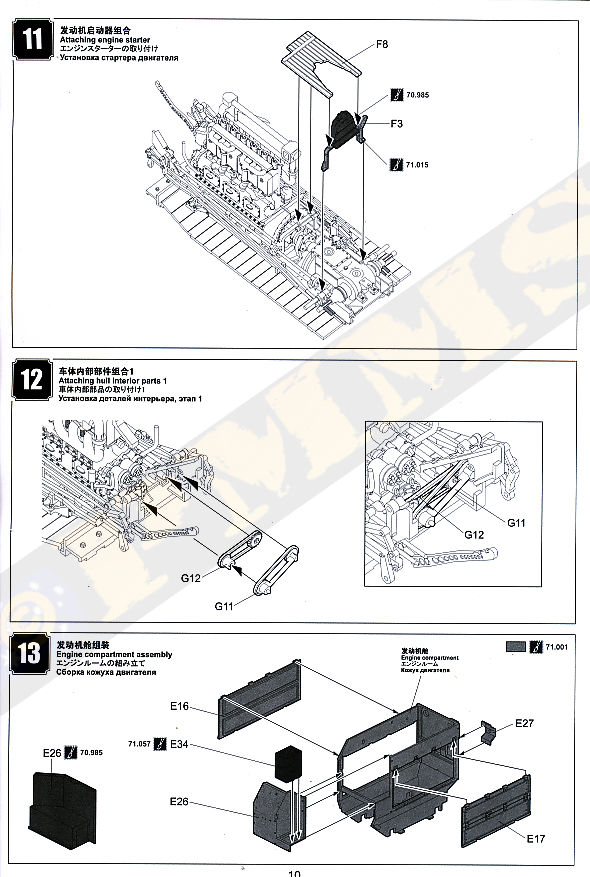
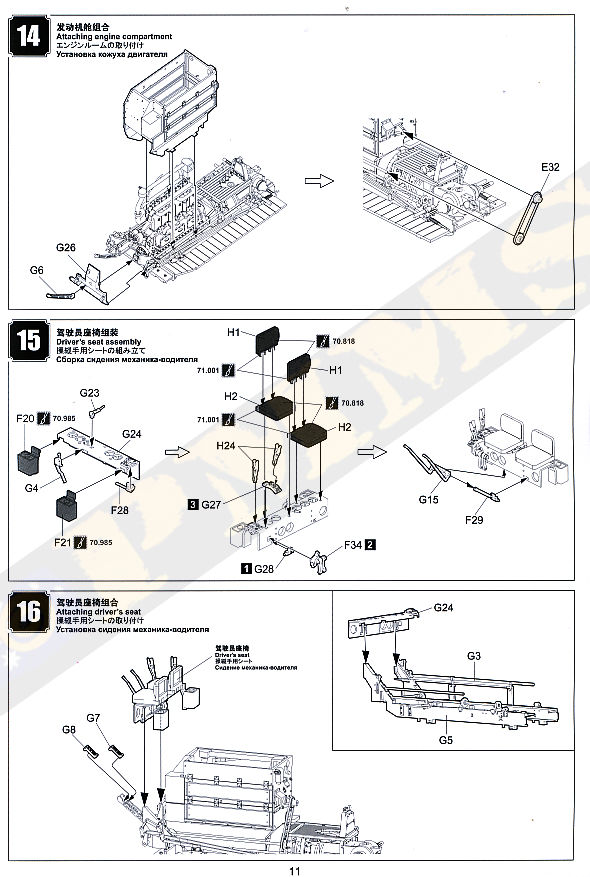
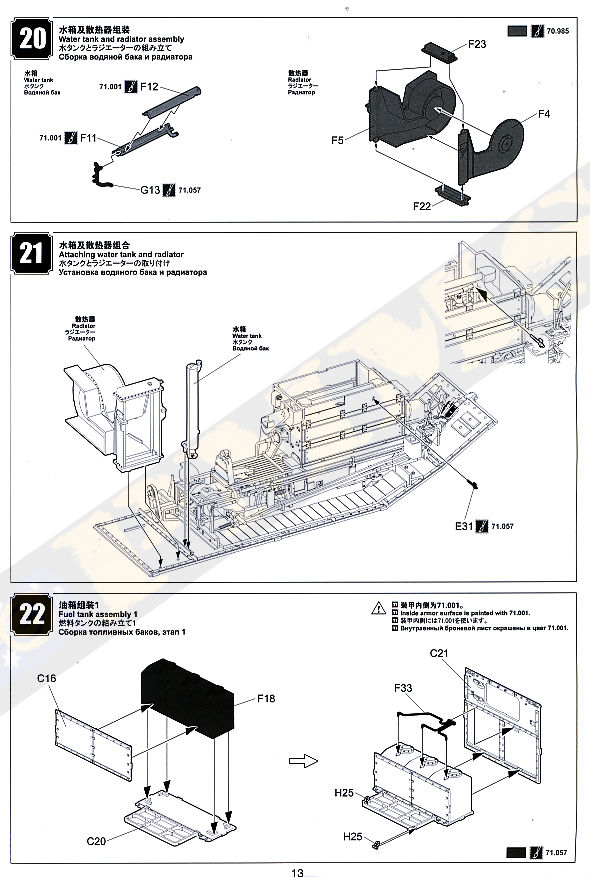
The actual engine compartment is moulded in one large complete box with separate side access panels and front section and this fits over the assembled engine/clutch assembly with the two crew seats and the Driver’s controls added to the front of the engine compartment to form the completed engine/driver’s sub-assembly with this fitting as a complete stand-along assembly to the lower hull floor plate. As mentioned above this can easily be left out of the model and displayed separately if you wished to not lose the excellent details included in the assembly.
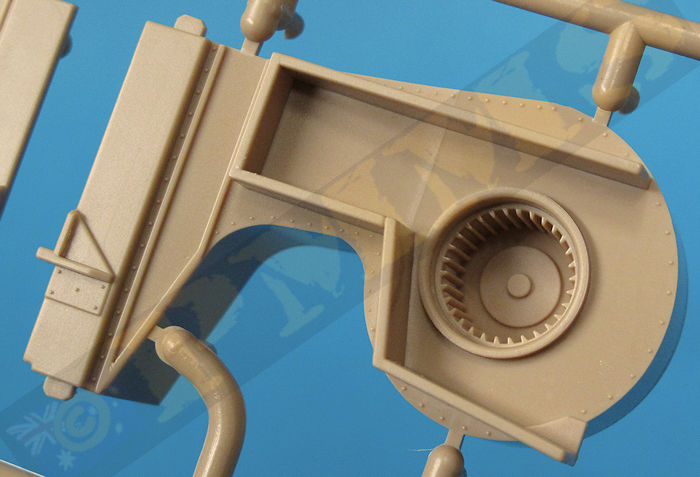
Added behind the engine assembly is the large water tank and radiator assembly again with excellent details as well as the rear mounted fuel tank in its armoured box attached to the outside of the rear hull wall, this wall also has a separate hatch with the rear mounted Hotchkiss MG and the door can be shown open or closed as you wish the additional pins on the door hinges for the open position, these pins are cut off to have the hatch in the closed position.
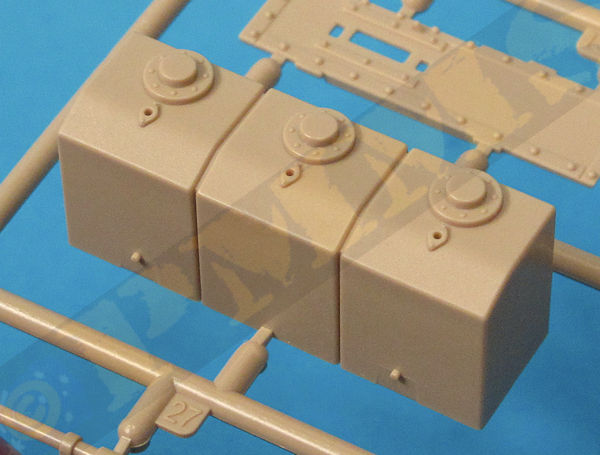
The top plate over the fuel tank also has separate hatches that can be shown open to display the upper tank details which include additional fine fuel lines added to the tank along with small etched hooks under the box lid.
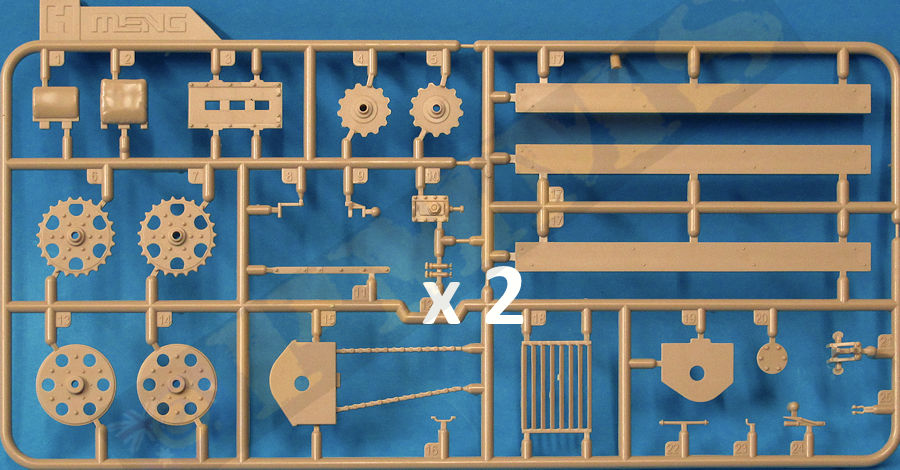
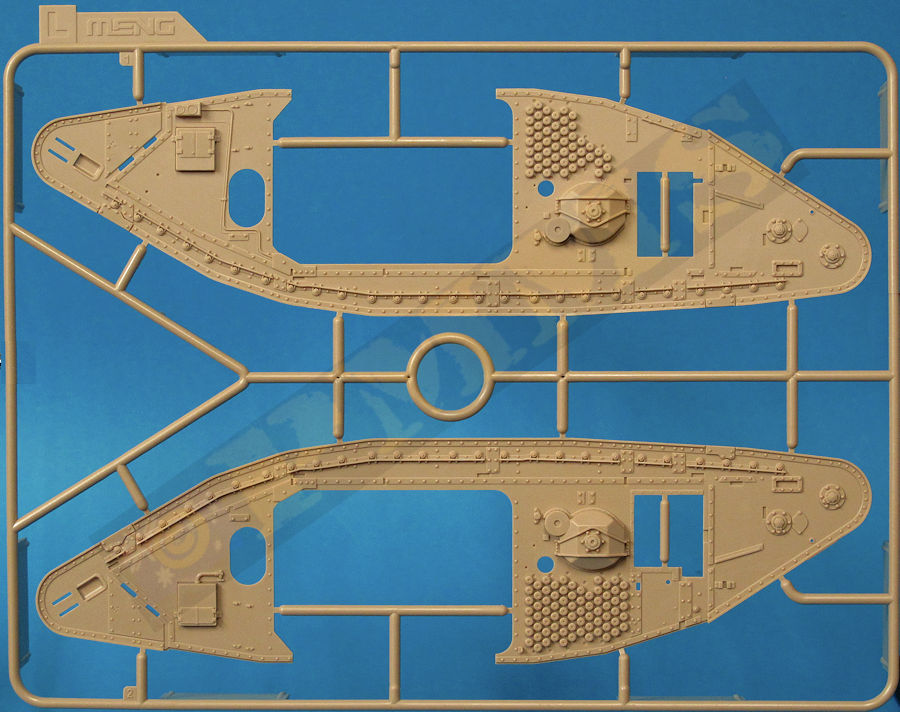
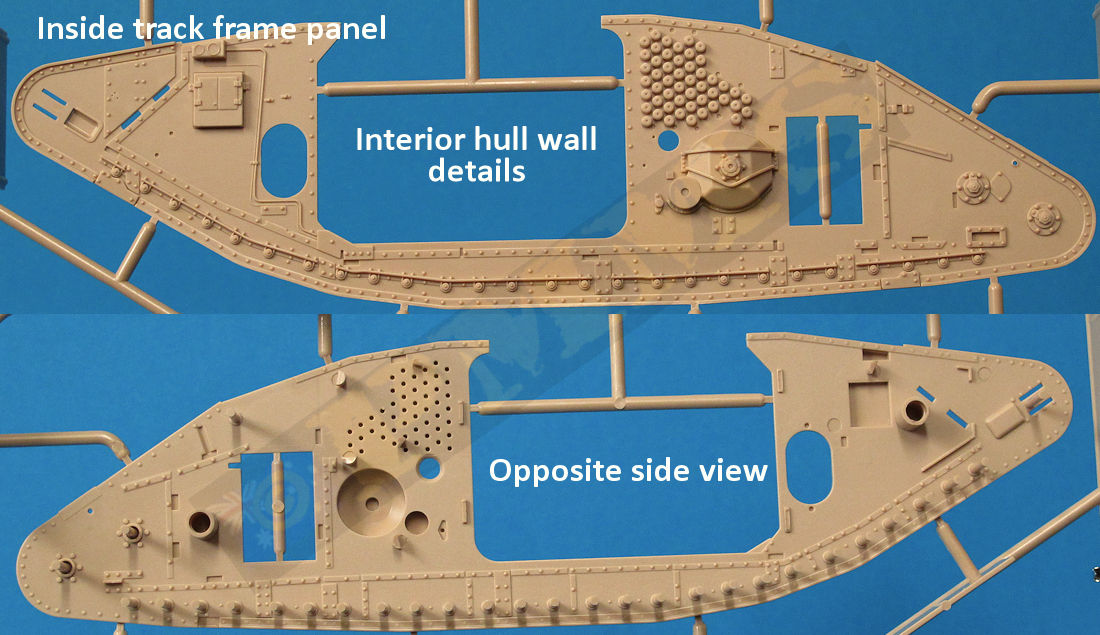
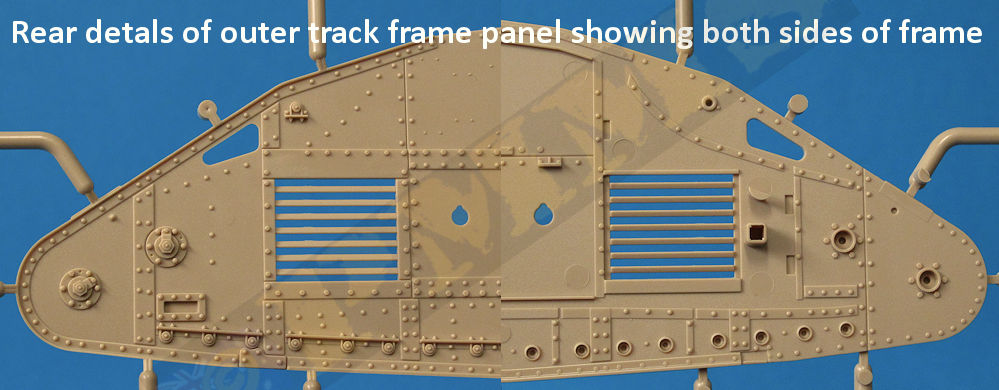
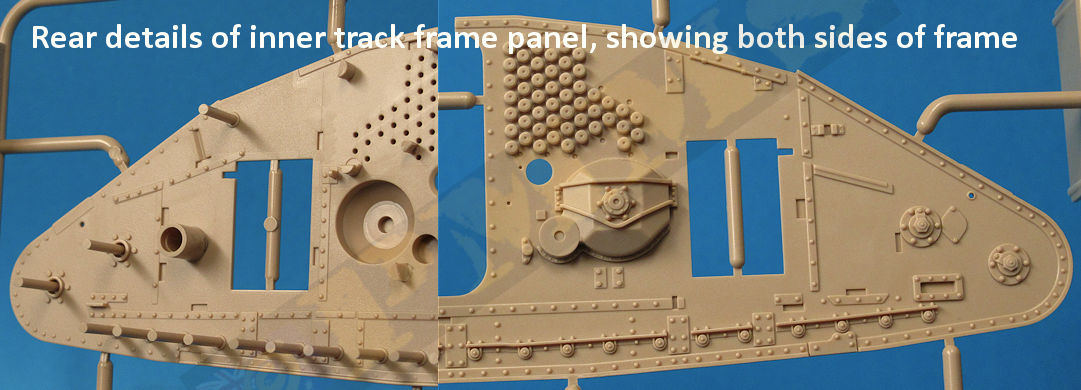
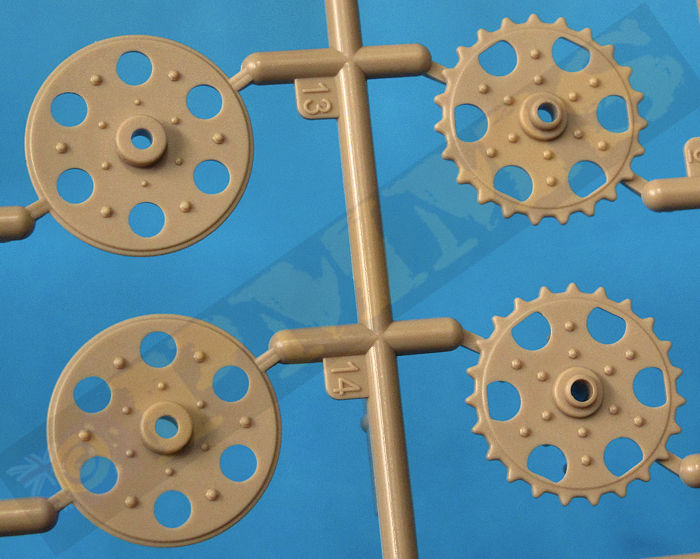
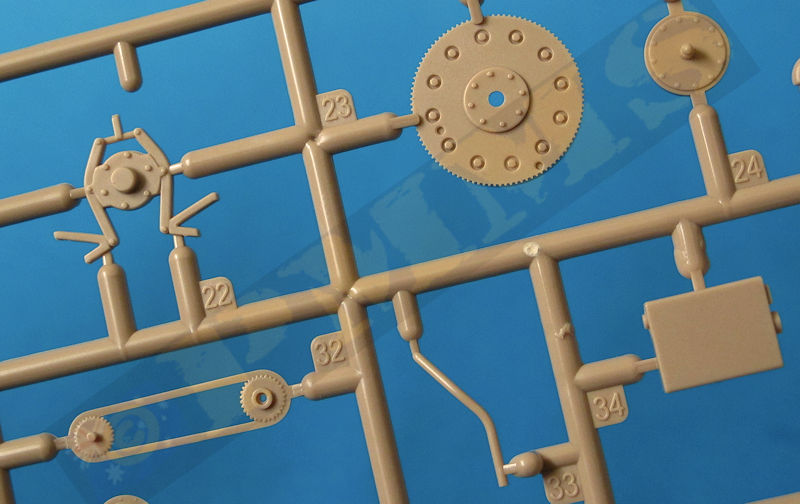
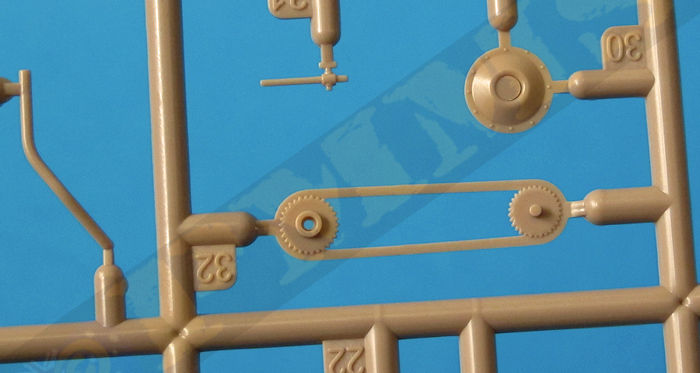
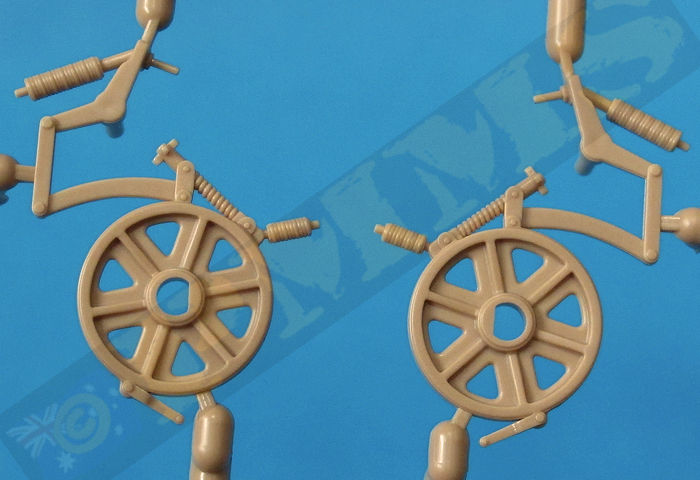
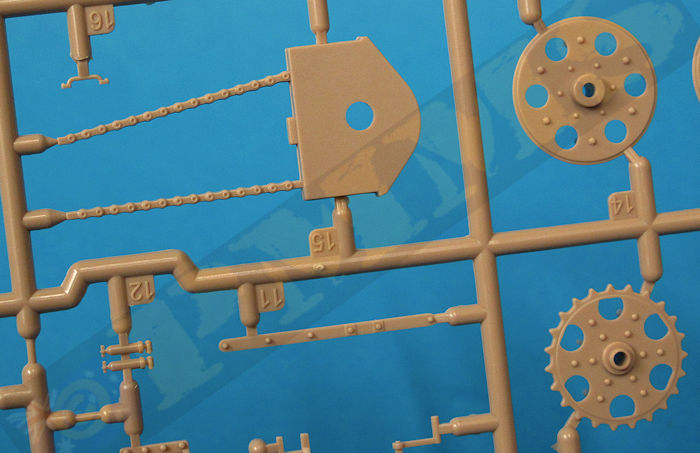
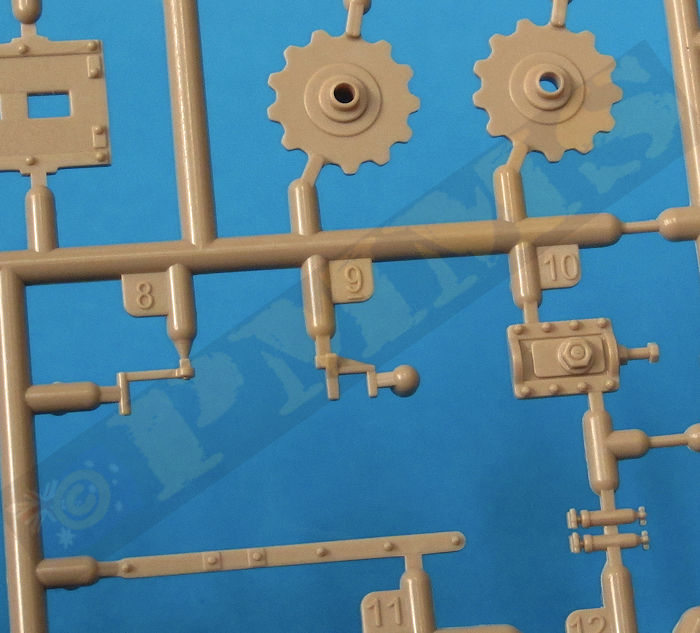
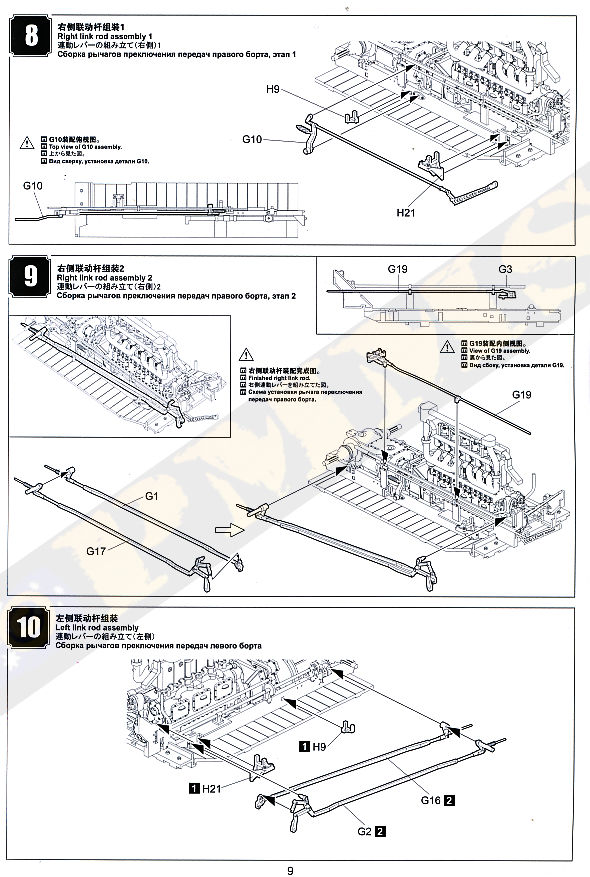
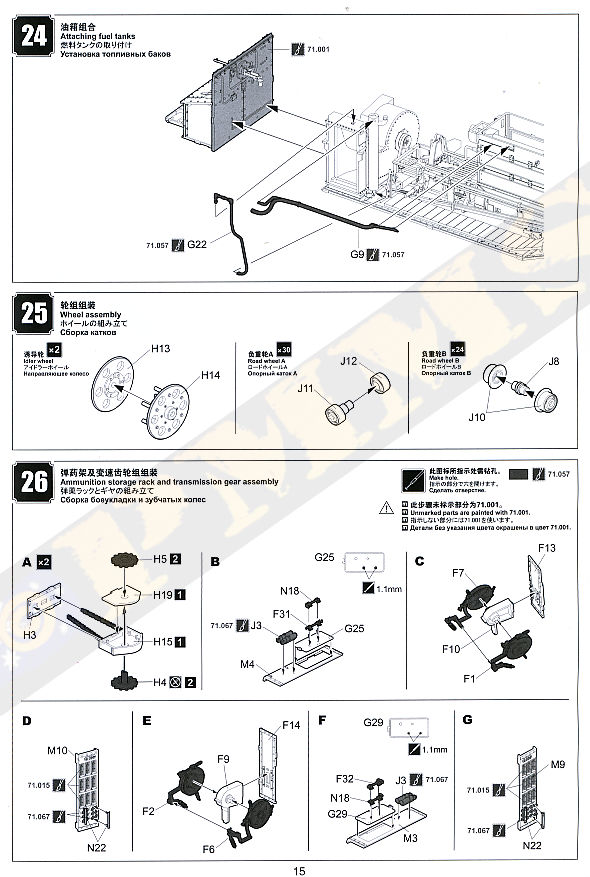
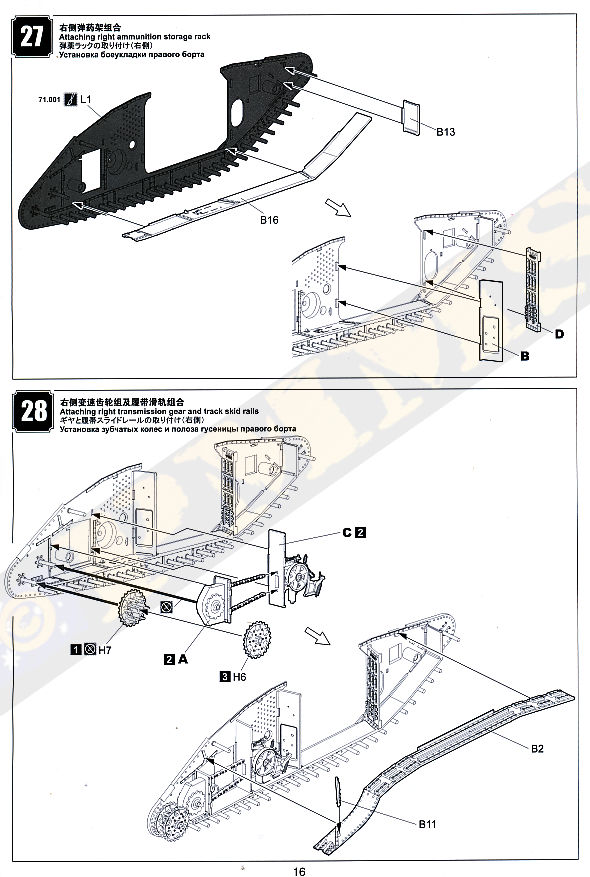
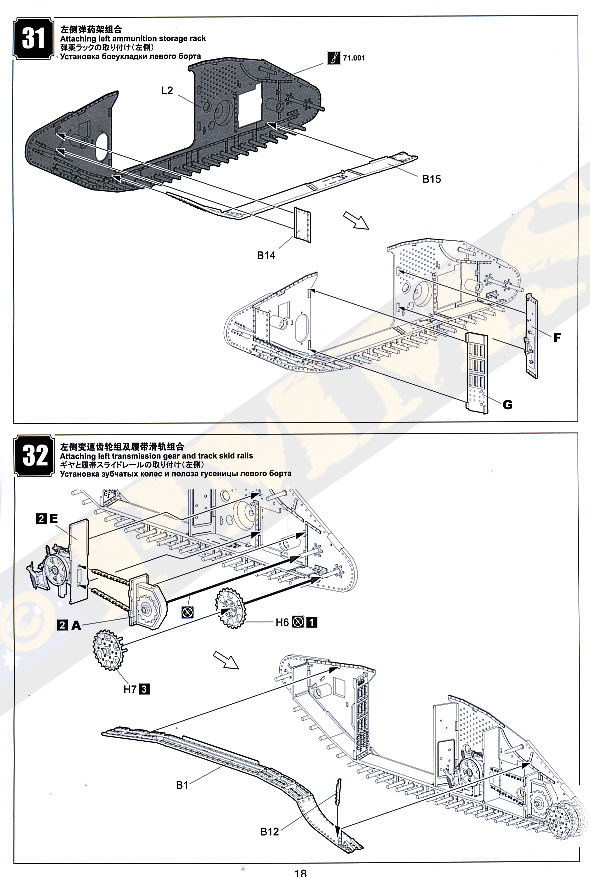
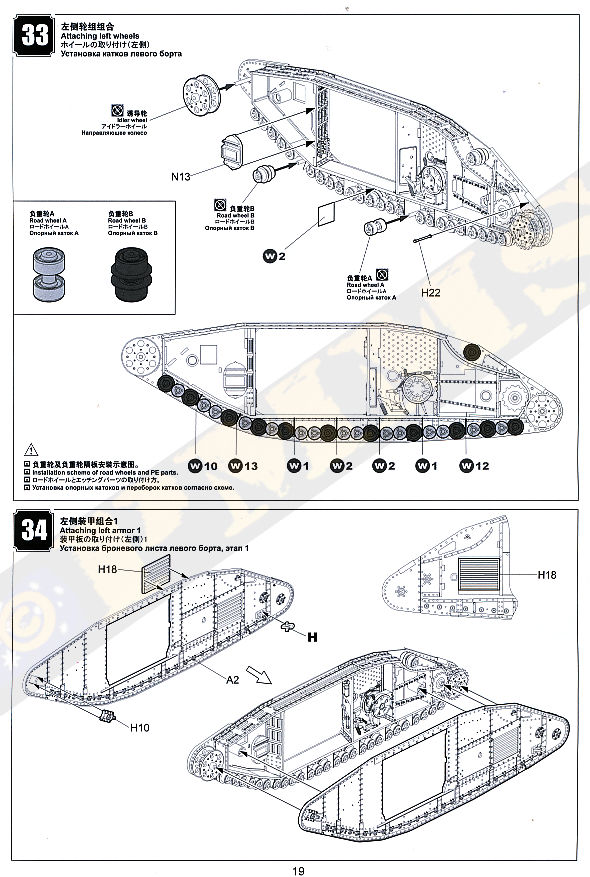
The transmission gear is fitted to inside of the outer track frames (parts L1, L2) and consists of the clutch and chain to the reduction gear which in turn intermeshes with the rear drive sprockets, the sprockets are in two halves with excellent details on both sides of the sprockets and fit together without any problems. There are also the bulkheads added inside the track frames on either side of the sponson openings. Note when fitting the final drive sprockets (parts H4, H5) make sure these stay movable if you want the drive sprockets to rotate as the two intermesh after final assembly.
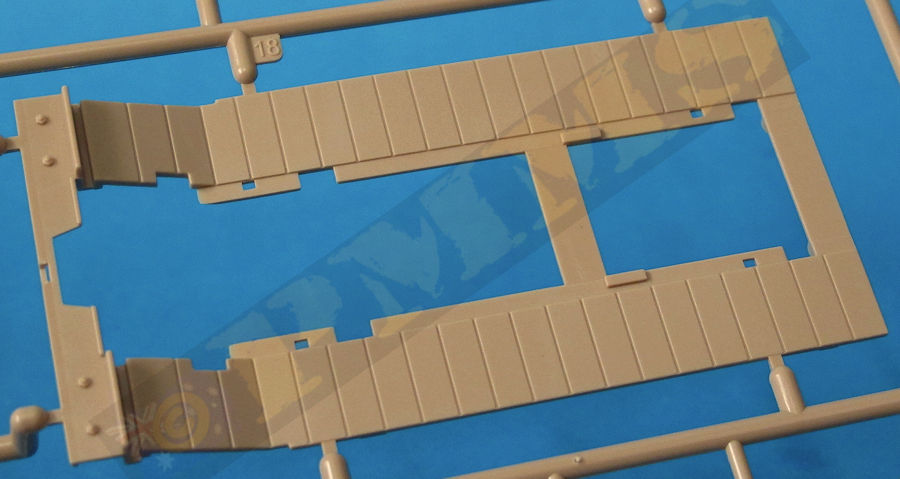
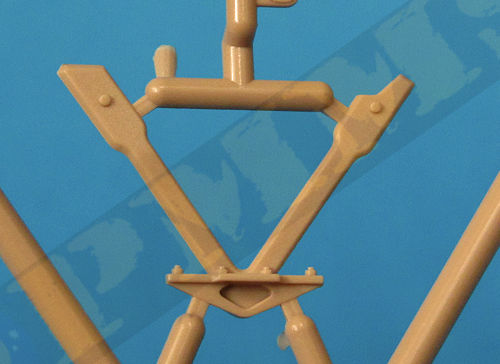
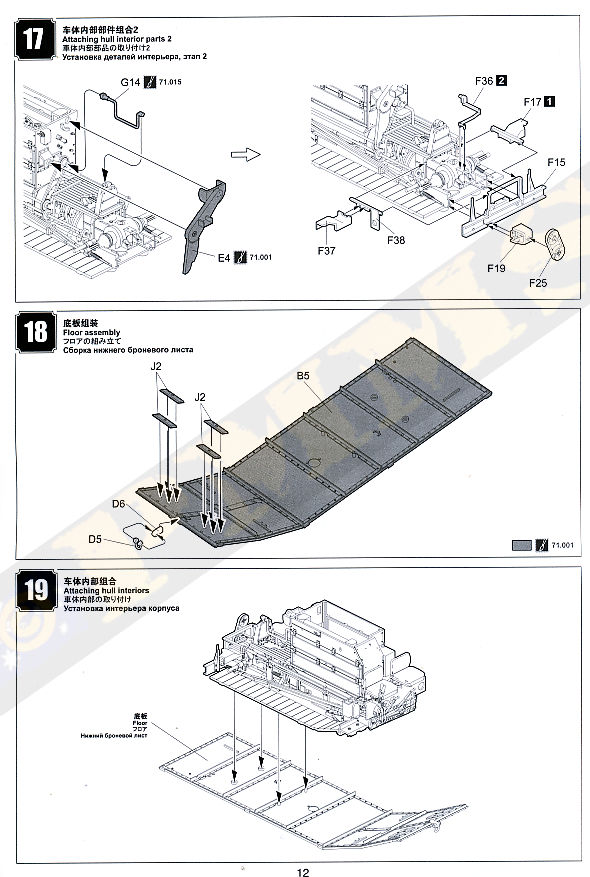
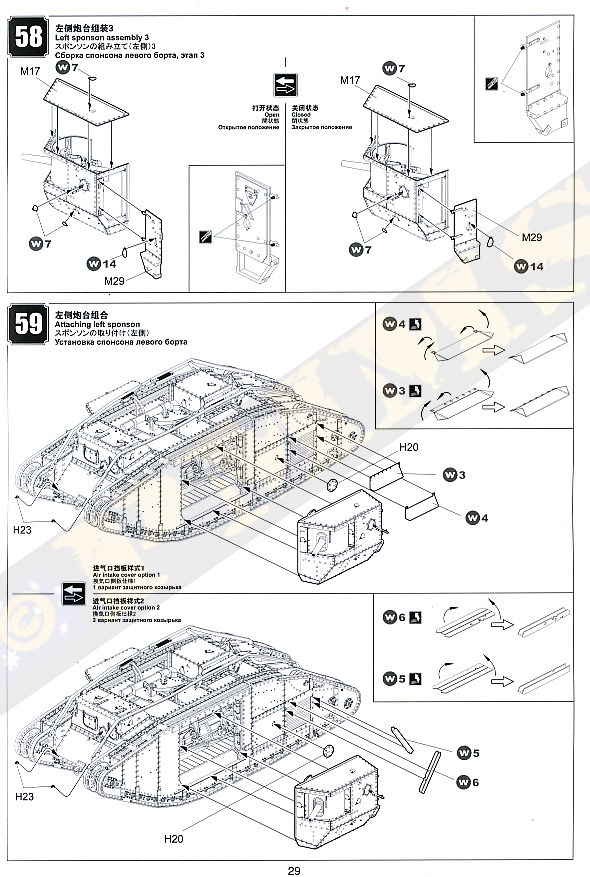
With all the parts fitted to the inner frame and the louver panel (part H18) fitted inside the outer frame the top and bottom panels (B1, B2 and B15, B16) can be added along with the two outer frame panels, this hides most of the transmission and chain drives fitted earlier unfortunately but some can be seen through the various small openings so all is not wasted. There are a number of smaller detail parts fitted to the assembled frames as called out in the instructions so just fit these are indicated. There are two alternate style of intake covers for the left rear hull radiator cooling intake grill supplied as etched parts, one has the inverted V guard (parts W5, W6) and the other two shades type covers (parts W3, W4) with both types seen in numerous period photos although the shade type covers seem to more prevalent in action photos.
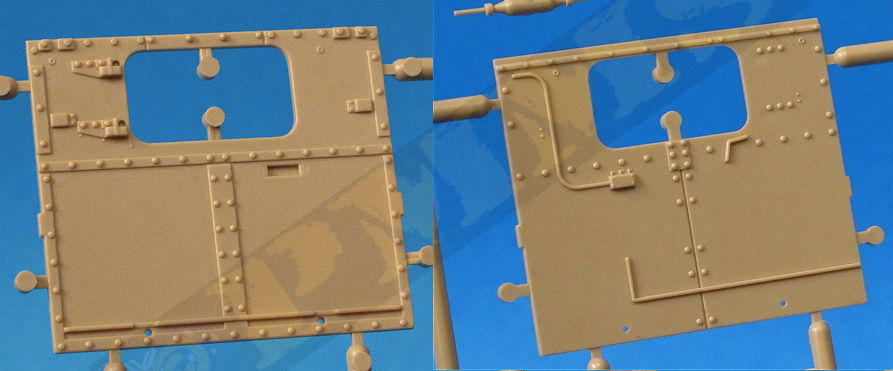
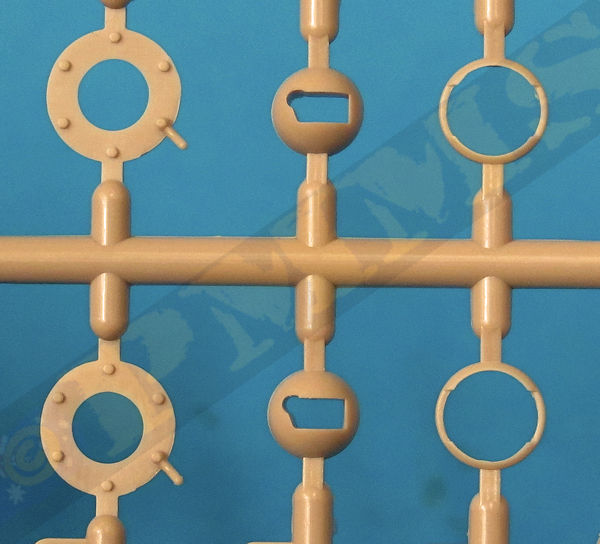
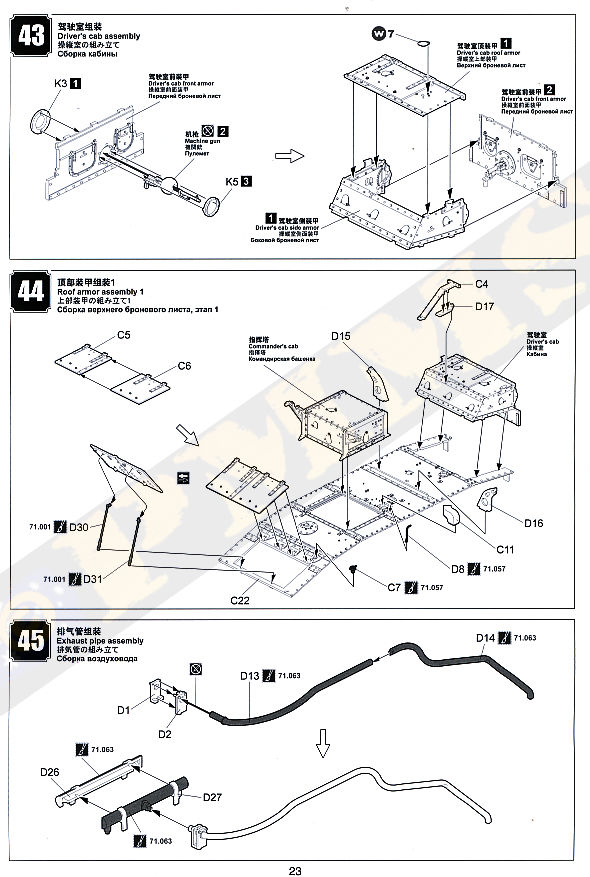
The square Commander’s cab has separate side, top and front rear hatches and again these panels have nice rivet and other details on both sides for a good appearance, there are alternate hatches should you wish to show these open or closed so watch the instructions for the appropriate parts to use? All the pistol ports are open with the separate etched teardrop shaped covers to allow fitting open or closed as required.
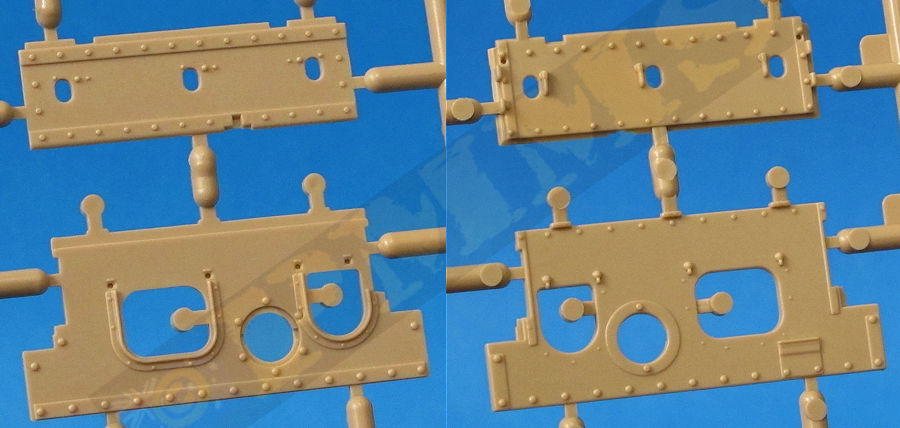
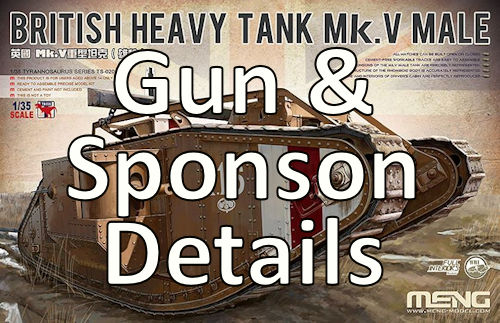
At the front is the multi-part Driver’s cab and again all the separate panels have details on both sides as well as separate etched pistol port covers. The top hatch can be shown open or closed as can the front visor flaps with the single Hotchkiss MG also added to the front plate. The Hotchkiss is nicely detailed and has a separate ball mounting which is trapped between the inside and outside ring mounting to allow for full movement of the MG. The other thing to watch is there are additional parts to use if you are going to fit the CRIB trench crossing devise with the assembled cab fitting to the front of the hull top.
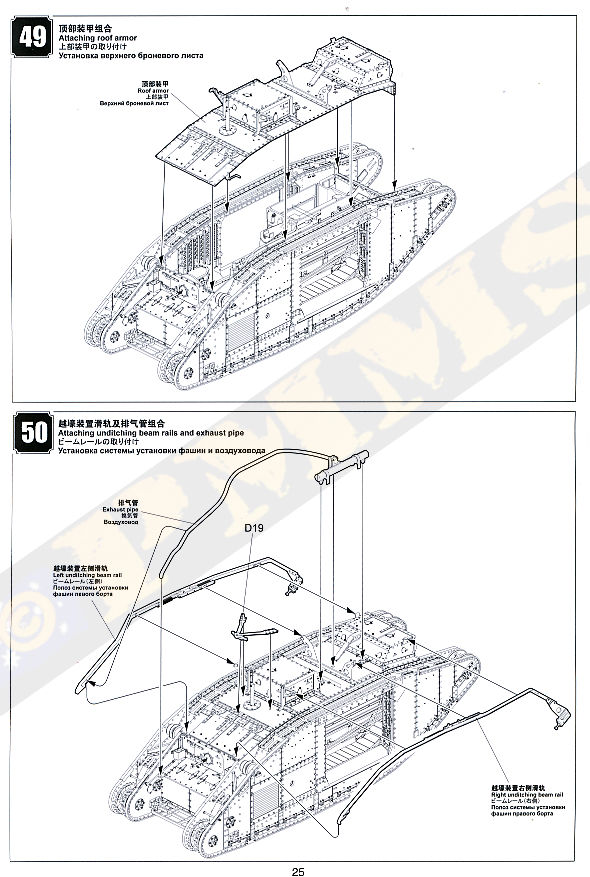
The two rear hull top hatches can be shown open or closed; this will allow some of the interior to be seen if left open and there is the two part exhaust pipe with the curved the long pipe in two parts along with additional parts added inside the roof panel, the attachment for the flap pole has a poly cap trapped inside the roof allowing the pole to be positioned raised or lowered.
The top hull plate with the Commander’s and Driver’s cab attached can be fitted to the lower hull between the two track frames with the exhaust pipe then added along with the two unditching beam rails, these have small additional details added, the beams also have the front Idler adjustment cover included.
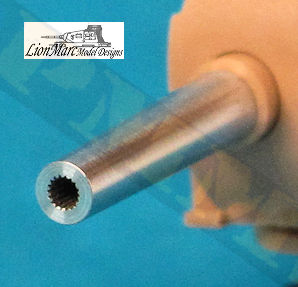
Note if you want to replace the barrel tube with an aftermarket metal tube, just cut off the plastic barrel in front of the raised collar, and then drill a hole for the replacement barrel pin, I have used the LionMarc barrel (set LM10051) which requires a 2.6mm hole for the pin. I would also suggest not to glue the barrel collar into the gun until after the gun assembly has been fitted to the sponson to make sure there are no snags when fitting the gun into the base.
Just a quick note on the LionMarc barrel, the rifling again is overdone and I would file this down using a circular file to reduce the visual effect if using this barrel, there is also ABER barrel to use as another option.
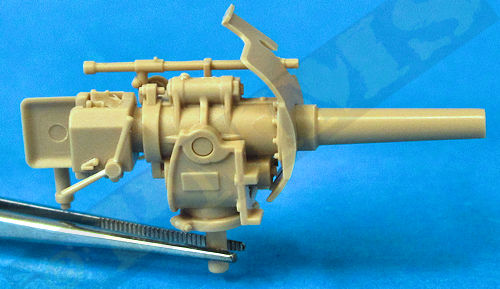
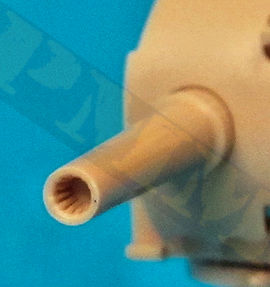
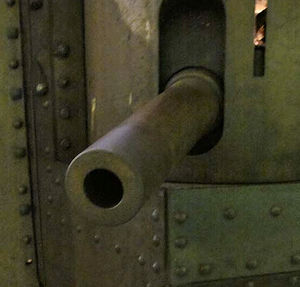
Image of the Meng barrel (left), the replacement LionMarc (middle) and reference image of the actual barrel (right).
Assembled gun with the LionMarc barrel
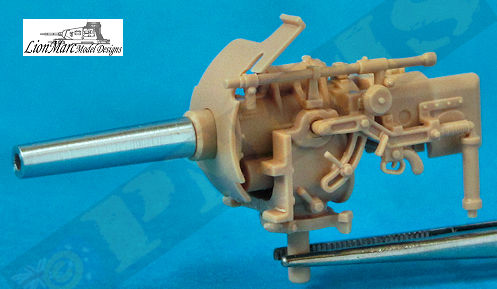
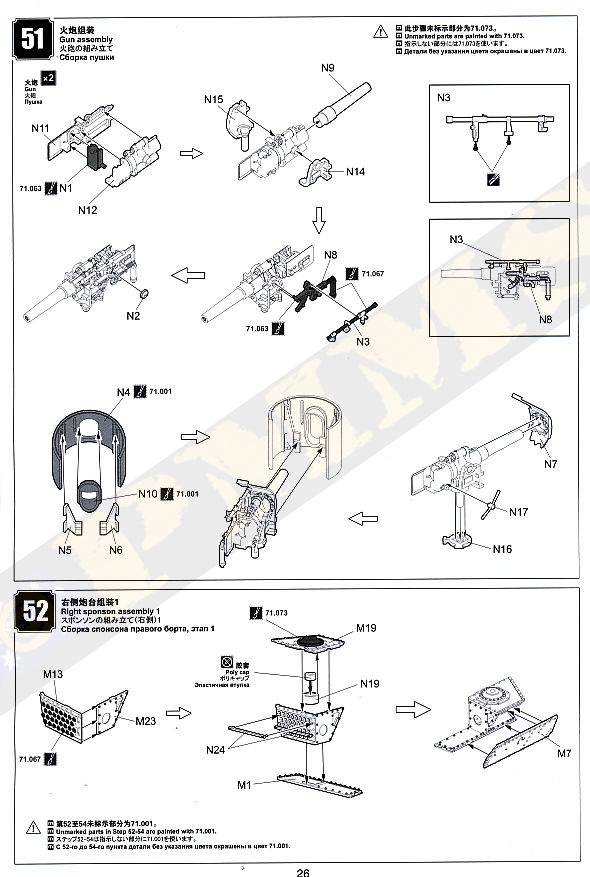
The gun is trapped between the trunnions to allow elevation but if you want this then when gluing the elevation arm (part N8) make sure this is not glued to the trunnion but only the gun itself, the same goes for the top long sight. If glued in this fashion you can elevate the gun if required after assembly. Also the handle on the elevation arm is in the folded down position and if you wanted this in the action position you would need to cut off the handle and reposition in the straight position.
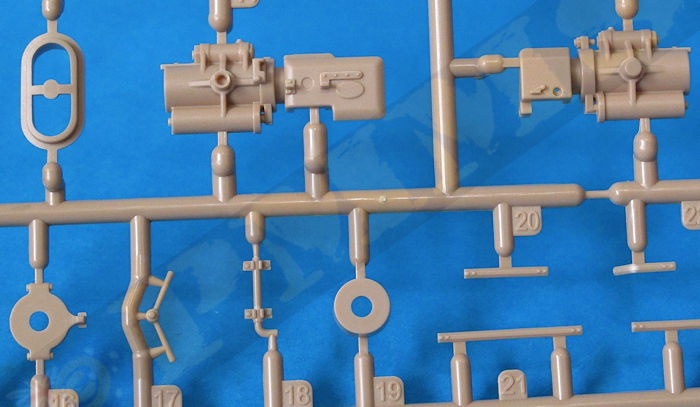
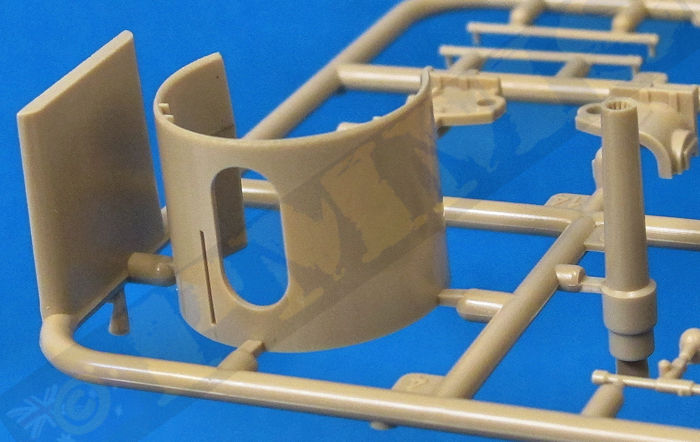
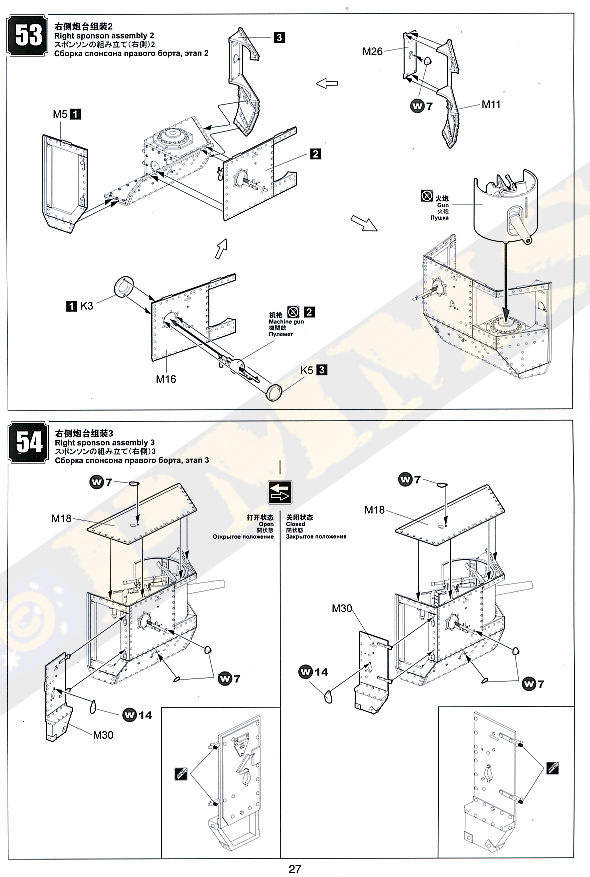
The assembled gun has the small curved shield added at the front and then attached to the inside of the large curved shield ready for fitting to the sponson pedestal mounting.
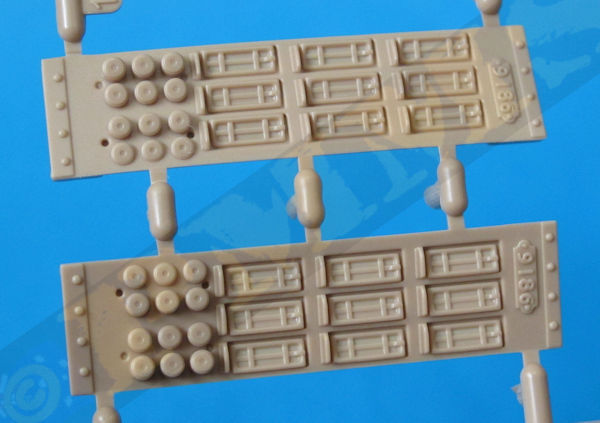
The sponson panels like the others have rivet and other details on both sides without any pin marks evident, the lower pedestal gun mounting has ammo racks in the base and there is a poly cap trapped inside for fitting the gun to allow traverse. The Hotchkiss again has a separate ball mounting which is trapped between the inside and outside ring mounting to allow for full movement of the MG and all the pistol ports in the sponson also have etched covers as with the others in the kit.
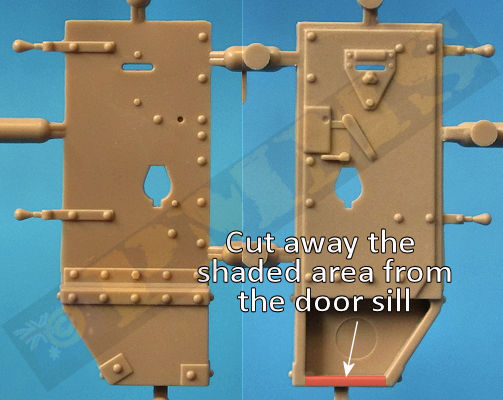
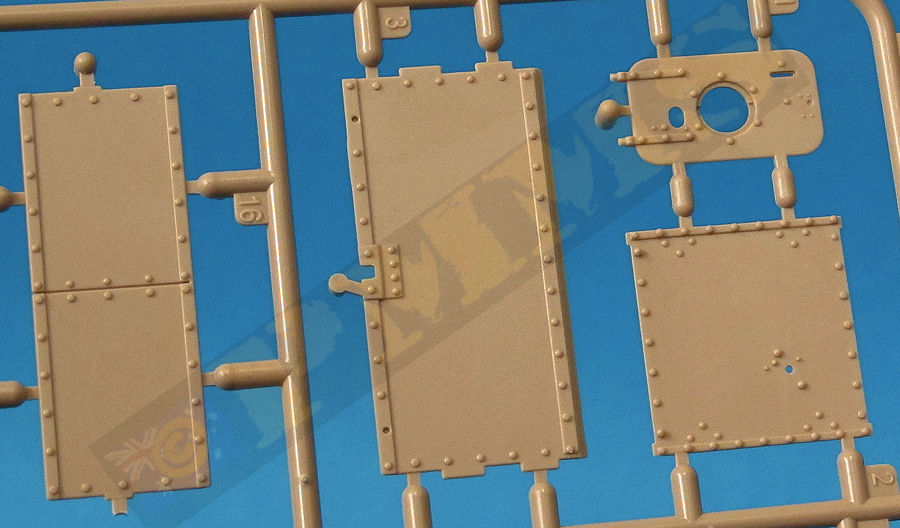
The rear entry door is separate and can be fitted open or closed as you wish, one odd thing is the shell ejection chutes on the bottom of the doors are moulded solid and not open as they should so you should cut away the bottom sill of both doors (M29, M30) to show the opening as it should be. There is also a rare large pin mark in the lower chute section as well which should be removed if you are showing the door open?
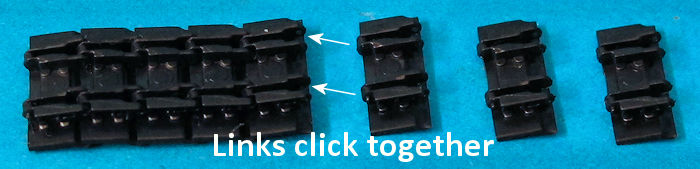
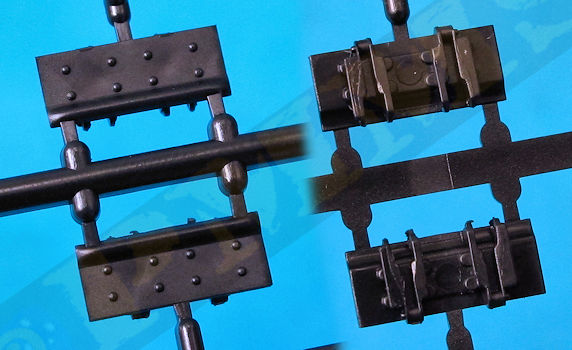
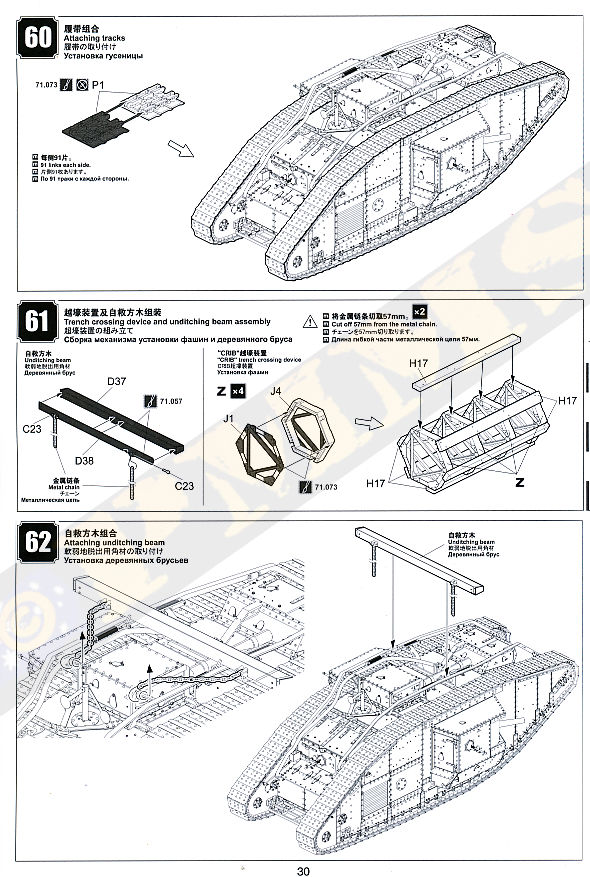
Fitting the links together is quick and easy, there are very small pins on one side of the link that clip into small holes in the corresponding track brackets and due to the “give” on the brackets they do clip together quickly and easily and are full workable afterwards. The only compromise to the detail is the sides of the inner brackets lack a bit of detail but again shouldn’t be that noticeable when the tracks are fitted and these are not visible in most instances.
Also included is the large “CRIB” trench crossing devise which was developed to replace the earlier fascine and due to the CRIB weighing less than the fascine there was less stress on the top rails, the CRIB is made up of pre-formed iron and timber beams bolted together and held in place on the unditching beam by the fine chain provided.
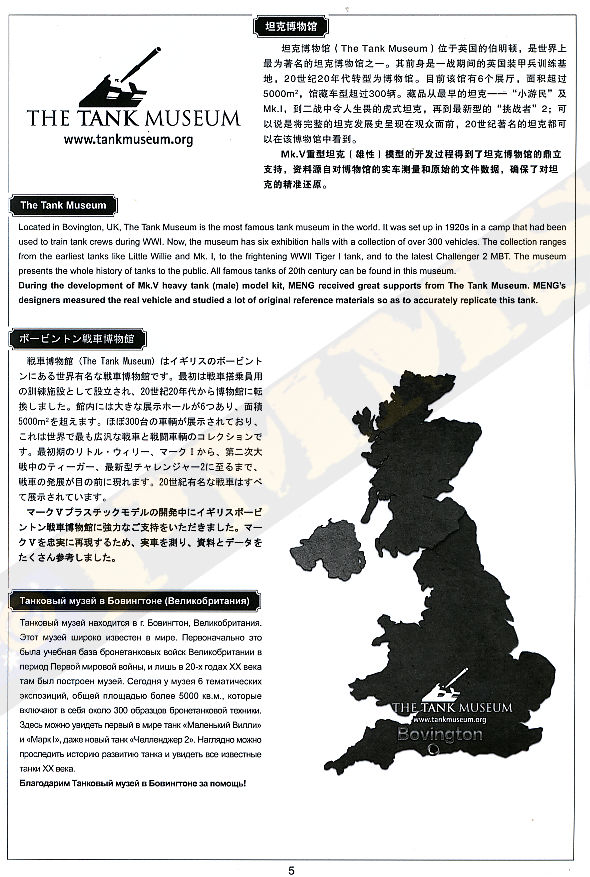
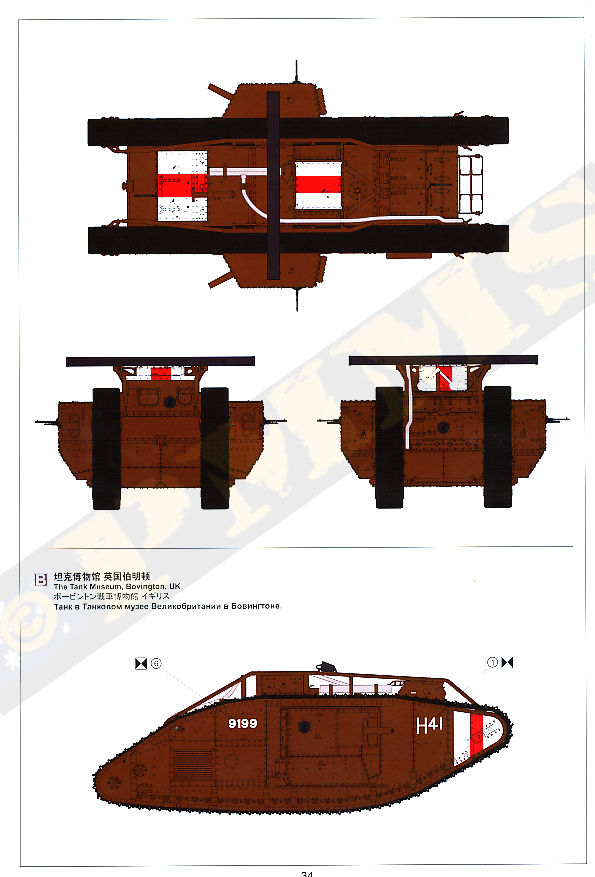
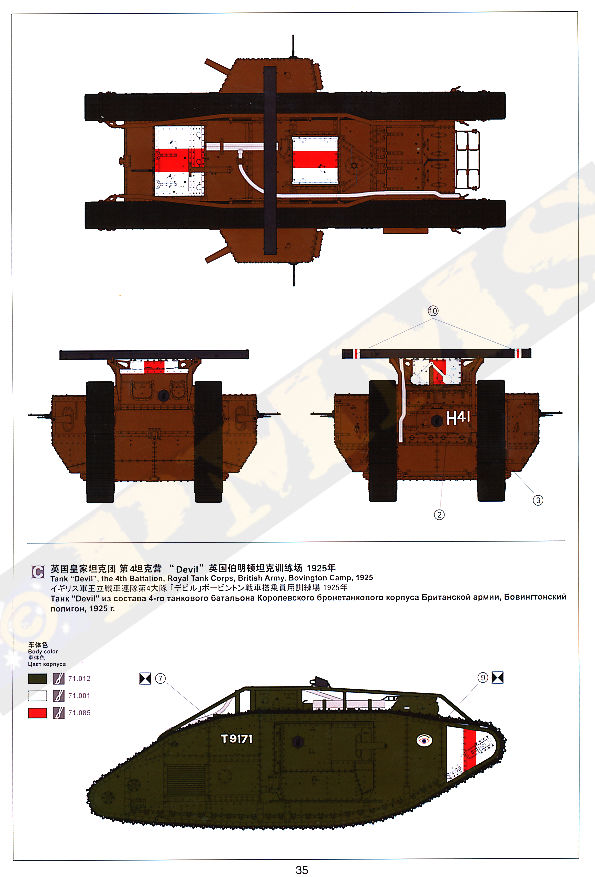
Option A: The 9th Battalion, Tank Corps, British Army, France, 1918 Option B: The Tank Museum, Bovington, UK  Option C: Tank "Devil" the 4th Battalion, Royal Tank Corps, British Army, Bovington Camp, 1925   |
The design of the tracks is excellent and does the job very well with very easy and quick assembly and is lot easier than other tracks with multiple parts without compromising the detail to any great extent.
This kit is a welcome addition to growing ranks of WWI armour and should be well received by modeller’s.
Just a quick not if anyone was thinking of using this interior from this kit for any of the earlier Mk.IV tank kits released? That isn’t possible due to the upgraded new engine and different interior layout of the Mk.V compared to that of the Mk.IV.
Rating 9/10
Click on thumbnails for larger view
Click on thumbnails for larger view
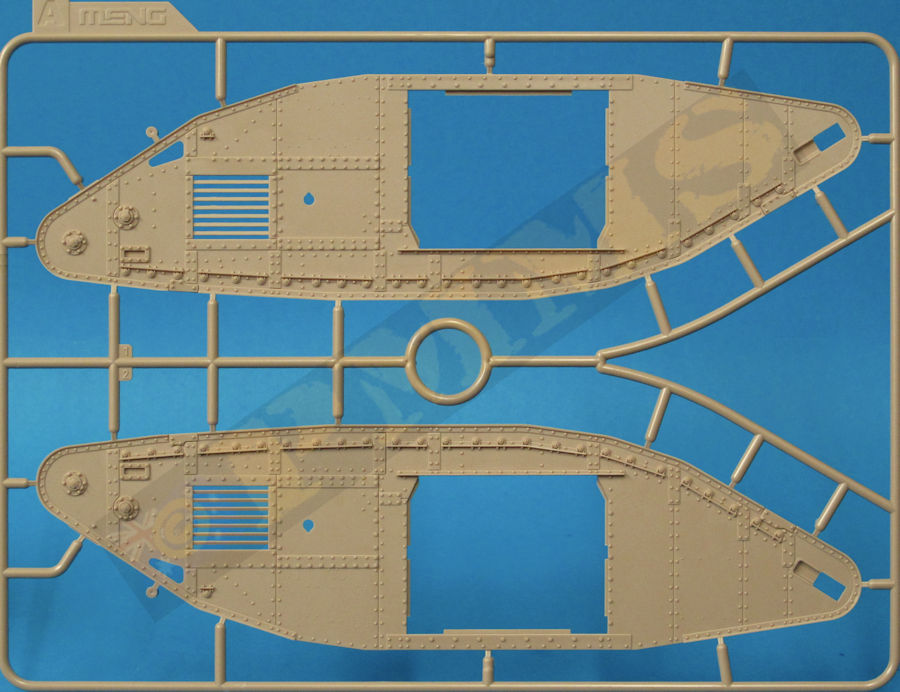


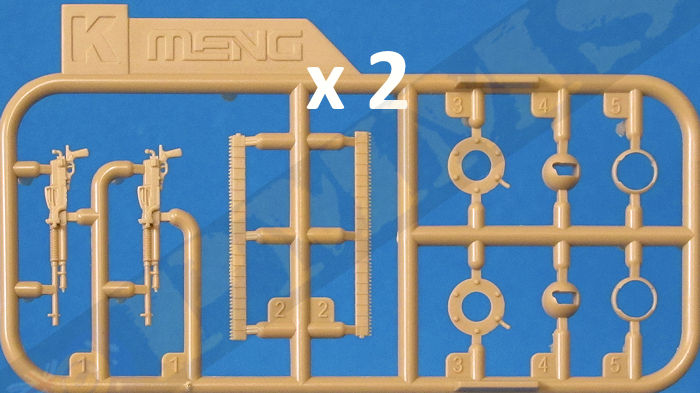
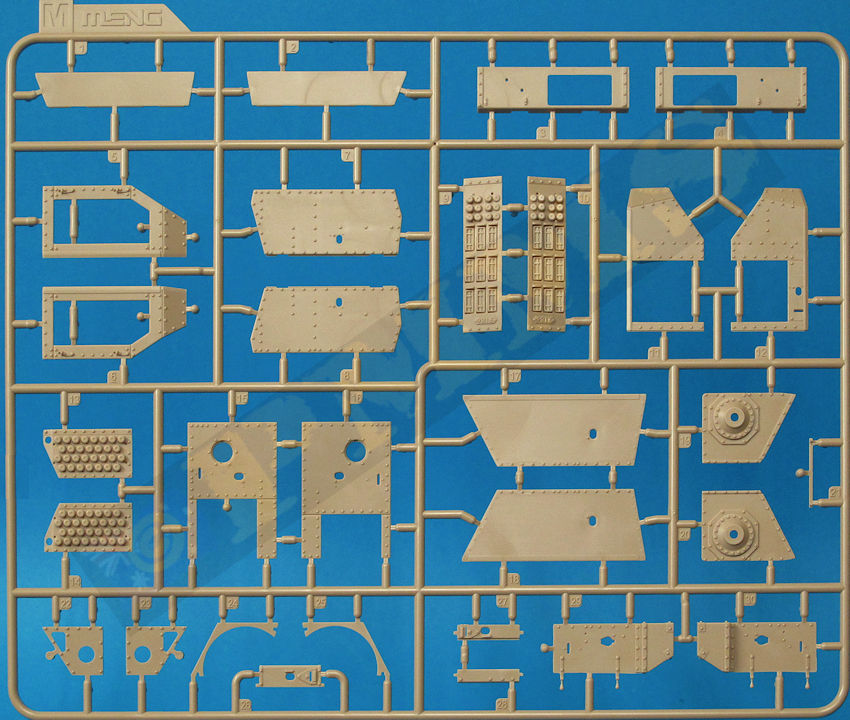
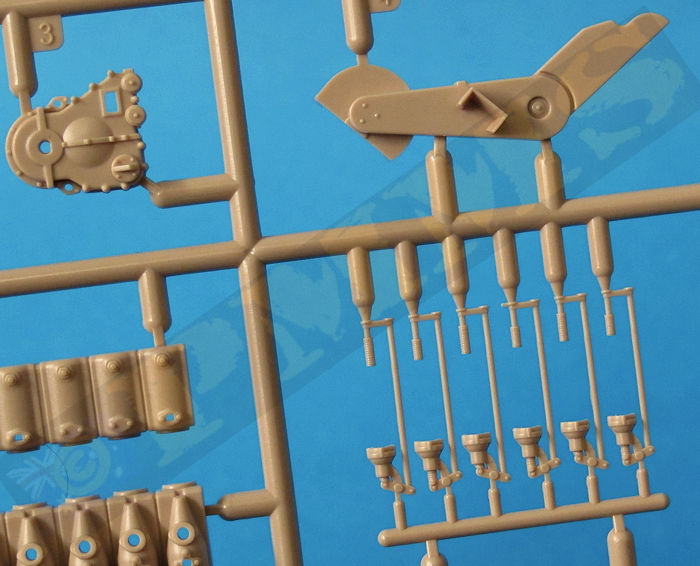
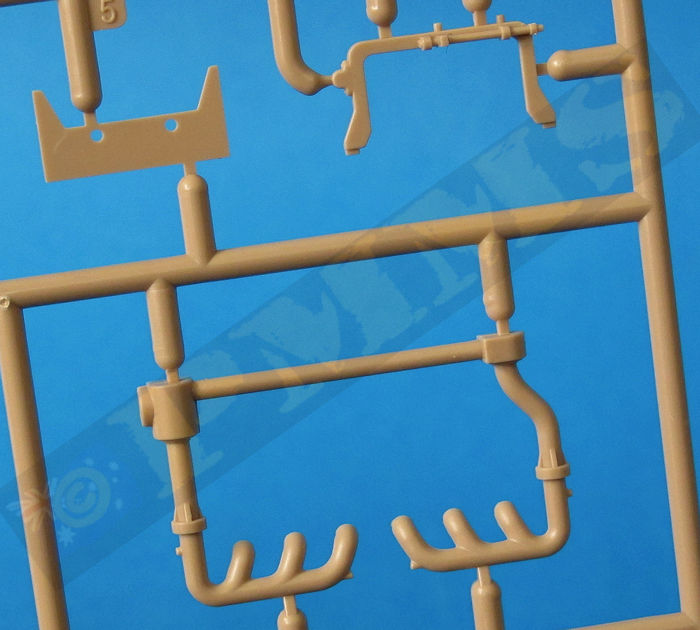
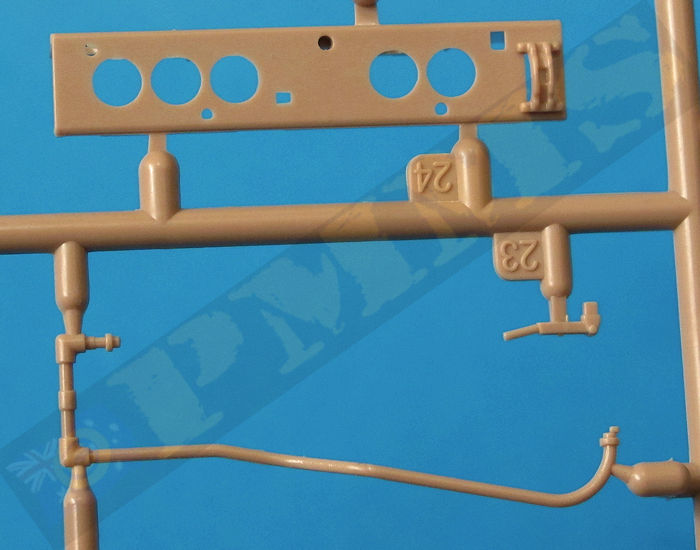
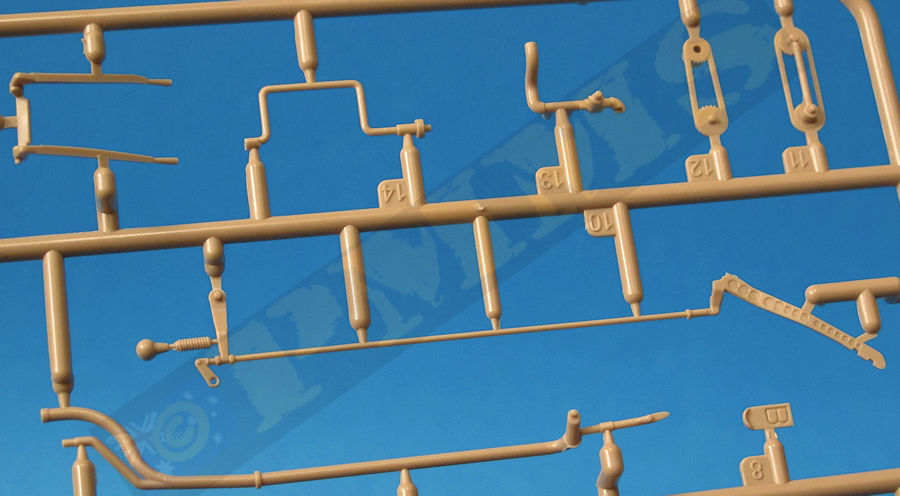
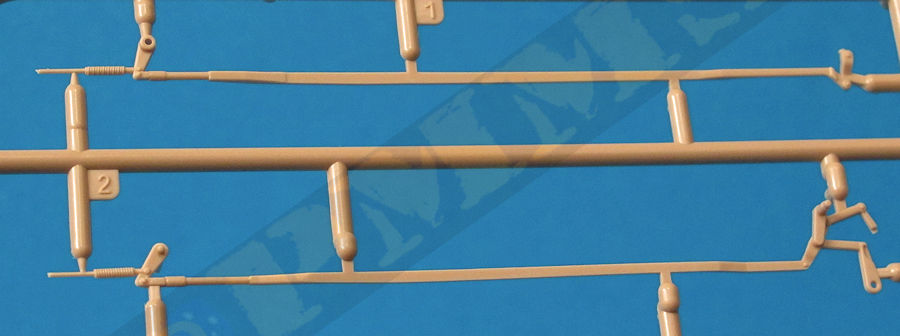
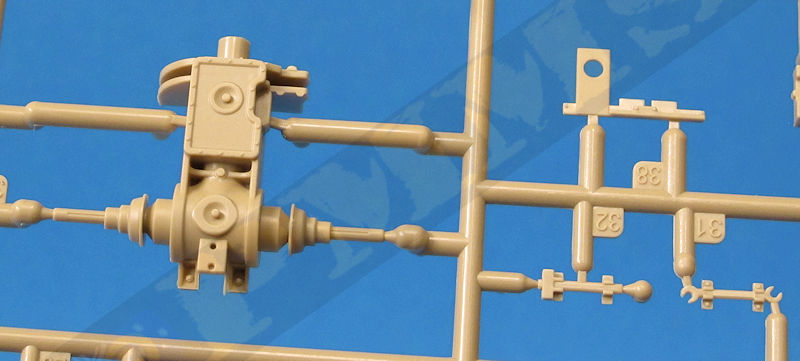
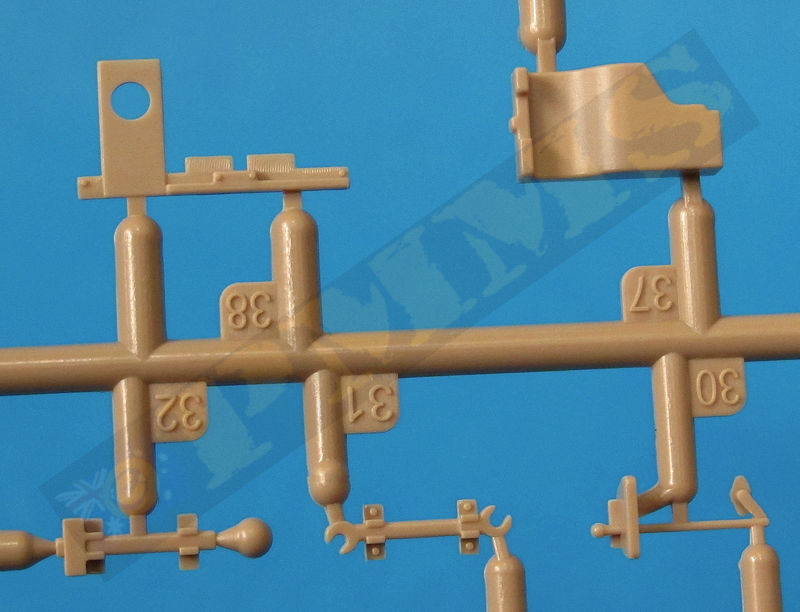
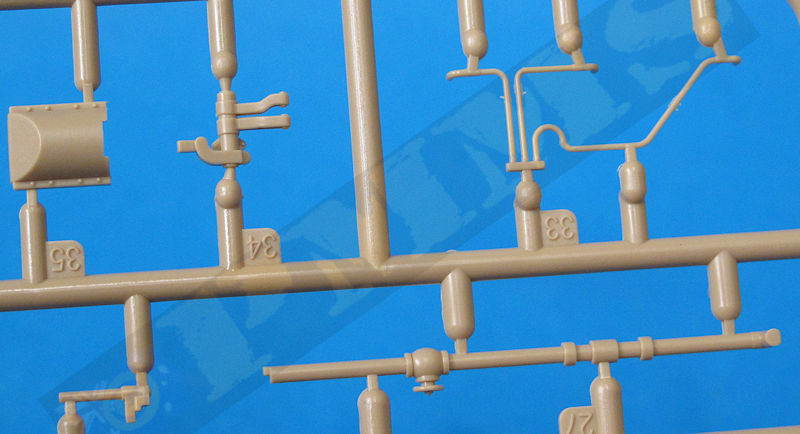
Sprue Detail Images
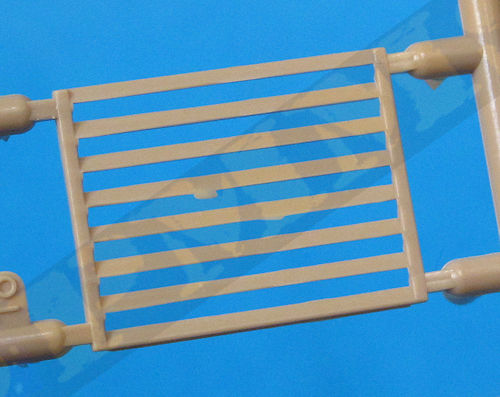
Hull panel and running gear details


Instructions


Close new window to return to page
| Mark V Tank Osprey New Vanguard #178 ISBN 978-1-84908-351-5  |
Thanks to my traumatised bank account and
Please to help the reviews to continue, thank you
