
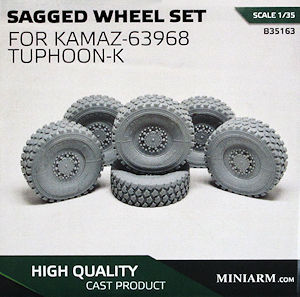
Kamaz-63968 Typhoon-K Sagged Wheel Set
Miniarm 1:35 Scale Set # B35163
Review by Terry Ashley
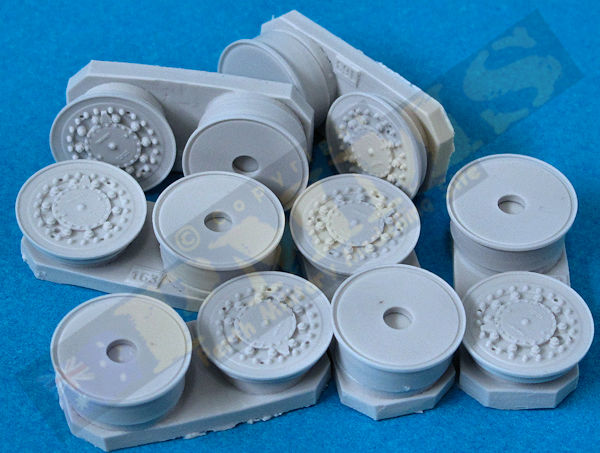
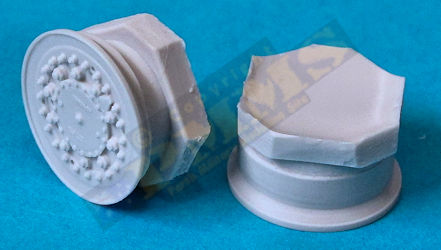
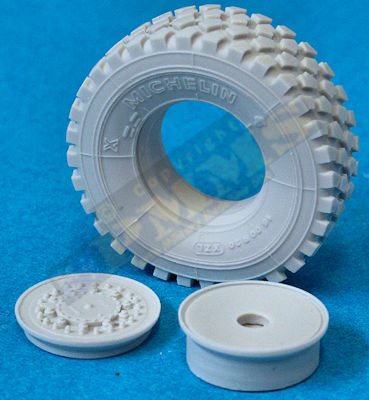
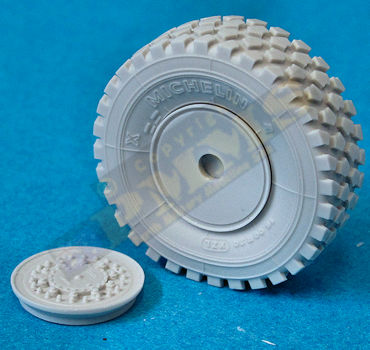
The standard of resin casting is excellent with very well-defined tread pattern and excellent crisp details on the wheel hubs, this detail isn't just a reproduction of the kit wheels but is far more detailed and there are also additional details included, there are still a few minor things to be added such as the outer valve stem but overall they are a marked improvement over the plastic kit hubs.
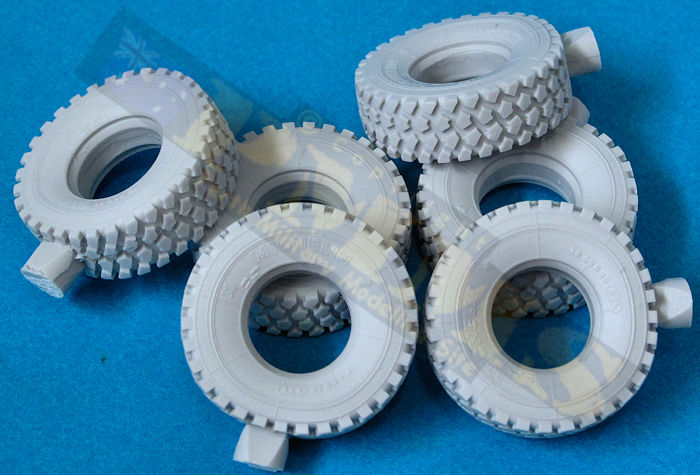
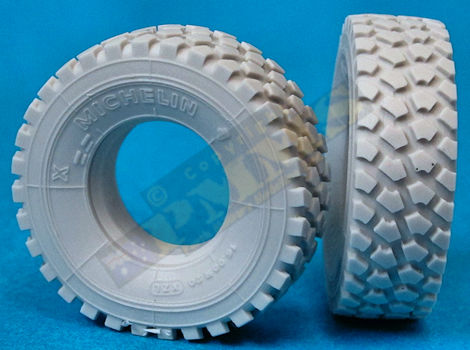
The sidewall embossed detail is also very nicely represented along with clean crisp tread block pattern around the wheels that also include a slight ground contact bulged and flattening effect. There was the occasional very small air holes in the tread pattern on some tyres but they are not really that noticeable as quite small.
To two part hubs need to be cut from their casting plugs and fitted to the tyres before the wheels can be added to the kit, click the link below for the assembly process.
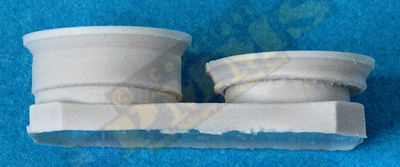
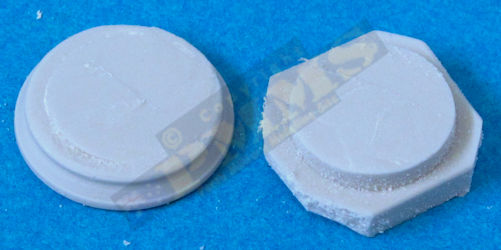
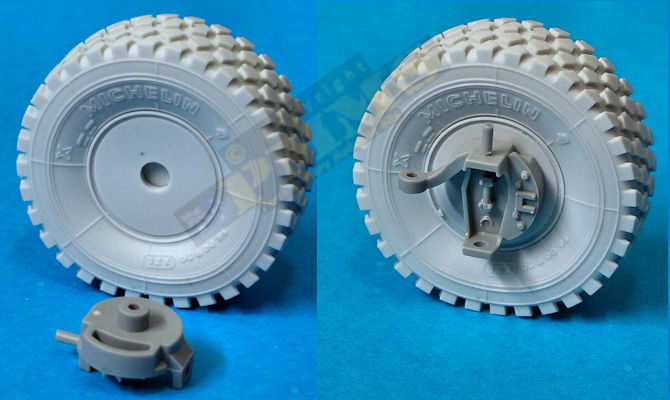
Separate the two hubs and trim plug.
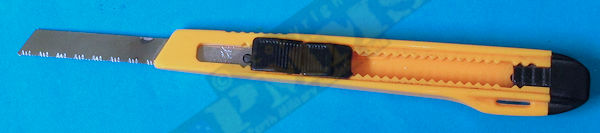
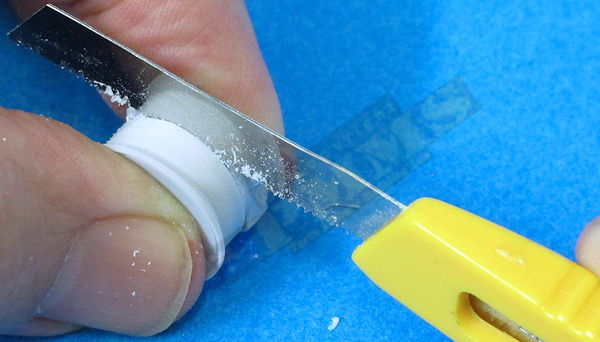
I use these stainless steel etched cutting blades from Lion Roar,
a good course serrated edge that gets through resin quickly leaving larger residue and less fine dust.
They fit into any of the standard sliding blade cutting handles.

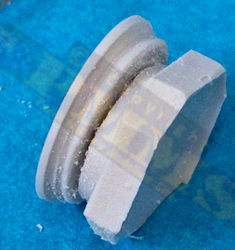
Firstly make a shallow cut and rotate the part until the shallow cut is right around the hub, then rotate the hub as you cut deeper until the parts come apart,

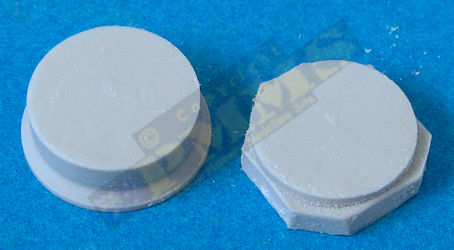
Note the cut first made right around the hub and the resulting nice clean and even cut.
Repeat the cutting process for the other hub half.
The resulting clean cut requiring little if any trimming.
The tyre with casting plug removed and the cut hubs ready for assembly.
Firstly fit the rear hub half ensuring the rim lip sits evenly around the tyre and then glue in place with Cyanoacrylate.
The front hub half is then glued again making sure the align the rim edge evenly.
Note the rims are not glued for these images, just sitting inside the tyres.

Repeat for all six wheels.
The six tyres all have the sidewall embossing in the same position in relation to the ground effect flat section but you can also alter the position of the outer hubs as you fit them to give a different visual effect of not being all the same. You should also note the treat block pattern is the same orientation on each side of the vehicle and is not mirrored like on US or other modern vehicles, this is correctly depicted on the Miniarm resin tread patterns.
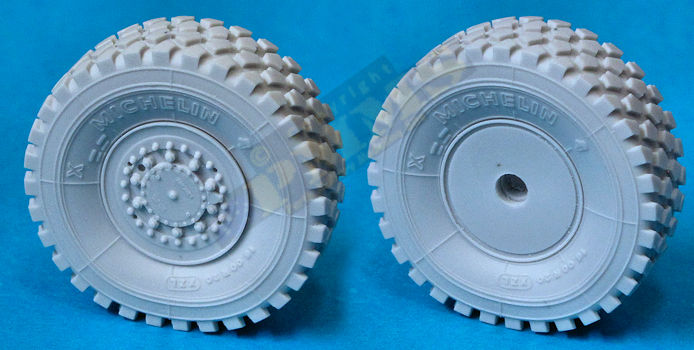
The assembled wheels, note the sidewall embossing in the same position on each wheel front and back.
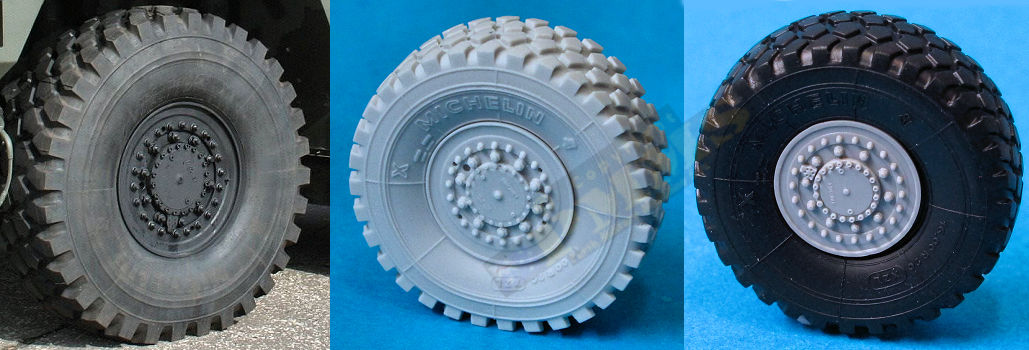
The actual wheels (left), the Miniarm wheels (middle) and Takom kit wheels (right)
Showing the enhanced detail on the Miniarm wheel hubs and sidewalls.
Close-up of the hub details
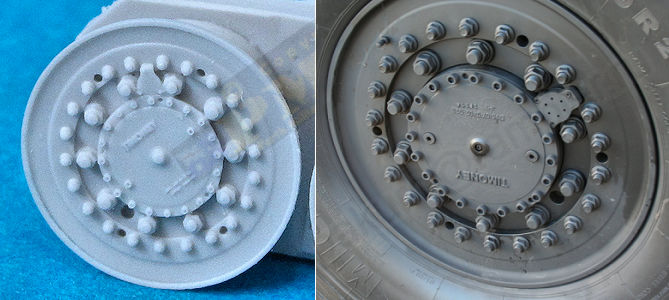
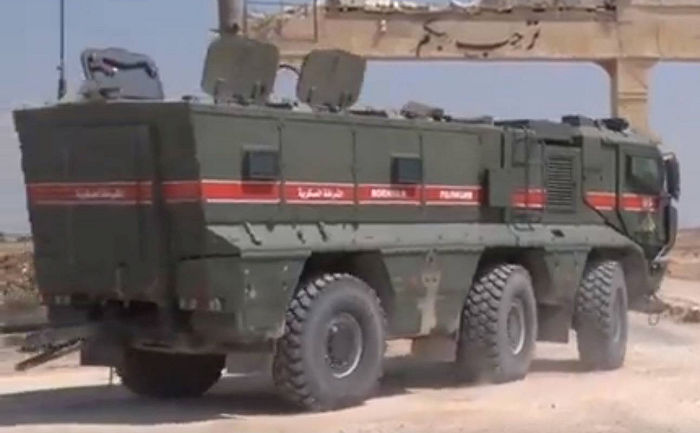
Reference image: www.scalenews.de
The rear of the resin wheels has the same locating hole as the kit wheels but this will need to be drilled a little to take the kit axle stub/plate (kit parts A17, A29) as it's a little shallow (or you could trim the kit axle stub a little if you wish) and then the axle stubs fit to the resin wheels without any further modifications needed, making for a quick and easy substitution for the kit wheels
One issue I had with the Takom kit wheels was some of the vinyl tyres were slightly distorted around the centres and this resulted in some unseemly gaps around the hubs and these replacement wheels also overcome that issue as well as improving the detail levels.
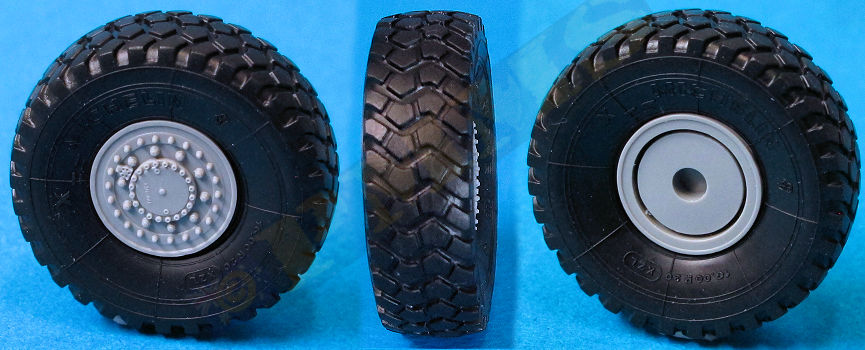
Image showing the tread pattern is the same either side and not mirrored as mentioned above.
(Reference image: www.scalenews.de)
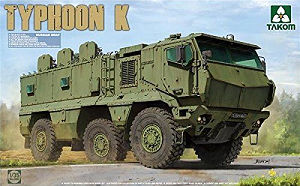
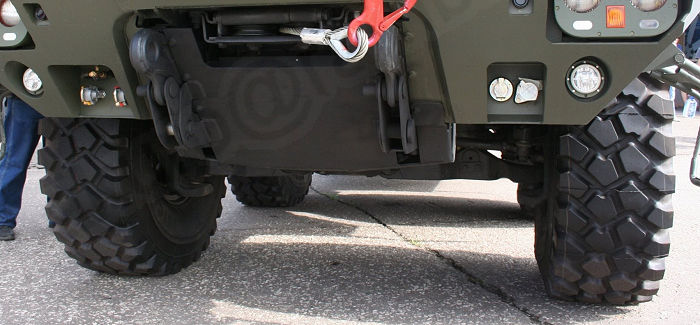
Image showing the first and second wheels steer with just the rear wheels fixed, for those building the Takom kit.
Thanks to Azrael Raven for finding this one.
Rating 9/10
Thanks to by traumatized credit card and  for the review set.
