
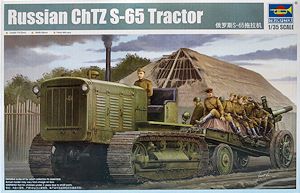
Russian ChTZ S-65 Tractor
Trumpeter 1:35 Scale Kit #05538
Review by Terry Ashley
With a combat weight of 11.2t the Stalinetz S-65 was used to tow heavy ordinance most notably the B-4 203mm Howitzer and ML-20 152mm Howitzer-Gun as well as recovery tasks with many being captured and used by the German Army to tow a variety of loads.
This kit consist of:
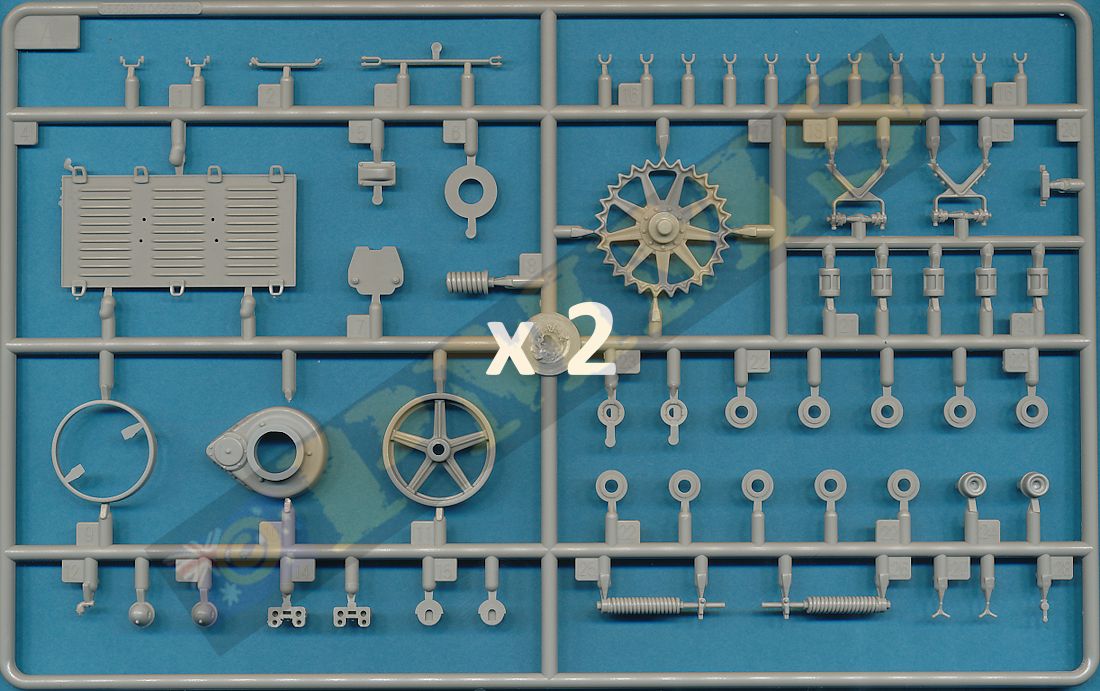
200 parts in light grey plastic
234 track parts in light brown plastic
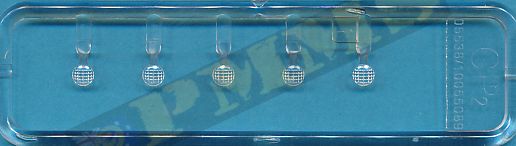
5 clear parts
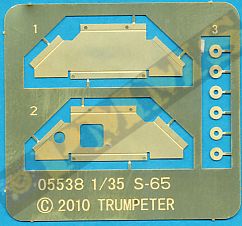
6 photo etched parts
1 small decal sheet
1 twelve page instruction booklet
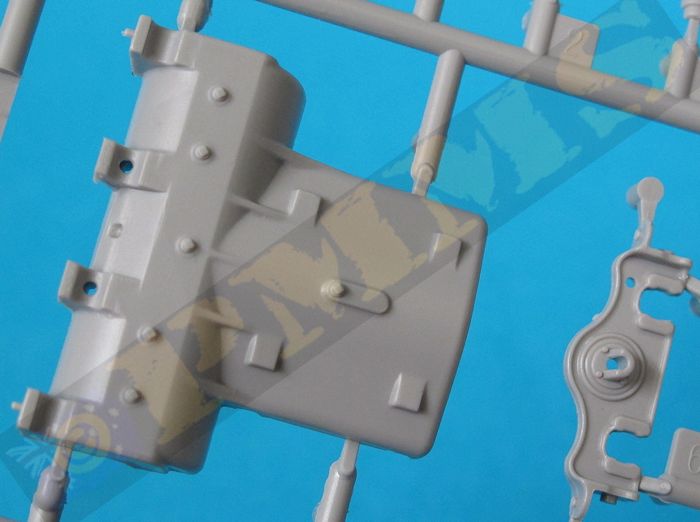
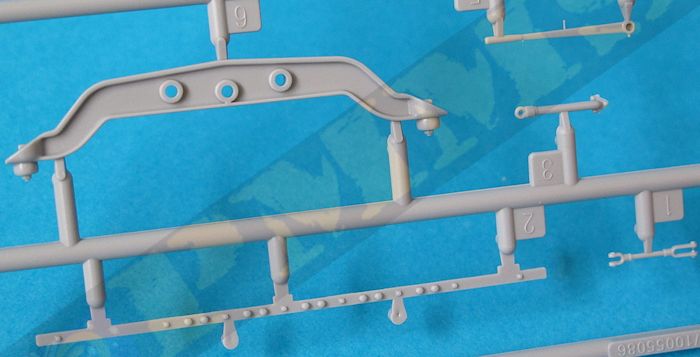
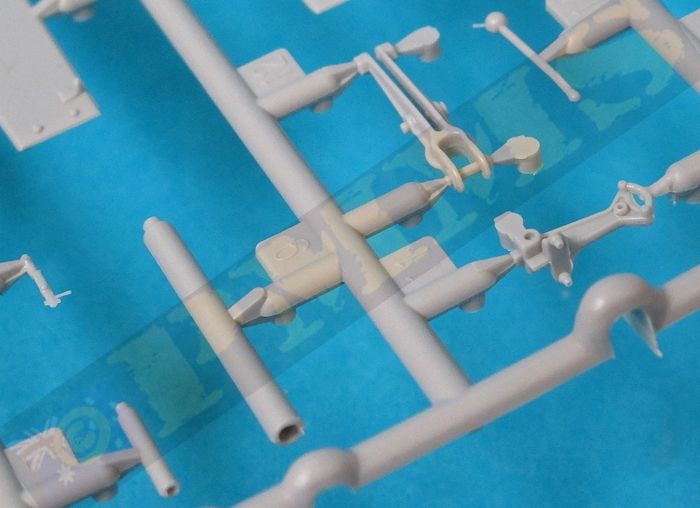
The quality of moulding is good overall with clean crisp details on most parts and a minimum of pin marks visible after assembly, there are some on the suspension bogie arms (parts G7, G9) for example that look daunting on the sprue but are hidden when fitted so don’t worry about these. There is some very minor flash on some parts and some mating surfaces will need to be smoothed and a few locating holes enlarged for a better fit. The most clean-up is needed on the quite prominent mould seam lines on many parts and care is needed on the small fine parts included with the kit.
The kit is dimensionally accurate compared to the 1:35 plans in the Tankograd Tyagatshi book apart from a few smaller items with the individual working track links also being scaled perfectly, the most notable issue with the kit is the total lack of engine inside the huge engine compartment. The vast majority of wartime photos show the tractor with the engine compartment side panels removed exposing the engine. There are some photos with the panels in place so the kit can still be built accurately but the absence of engine is a noteworthy, after all the S-65 was basically just the large diesel engine on tracks.
The kit is broken down into a series of sub-assemblies that can be worked on simultaneously while the glue dries on one assembly, this does speed up assembly time with all the sub-assemblies coming together for final assembly but there are some things to watch out for to prevent later fit problems especially with the engine hood/side panels.
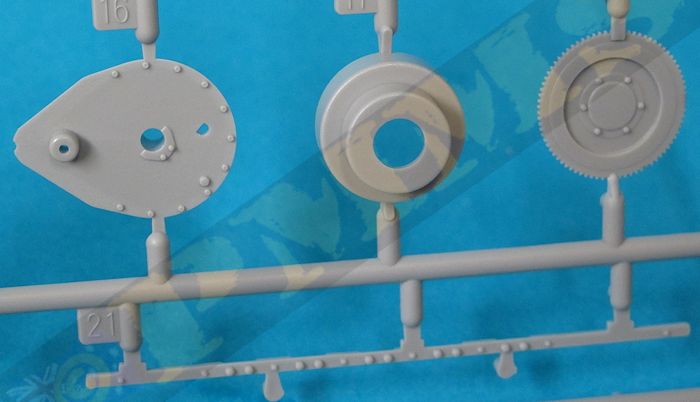
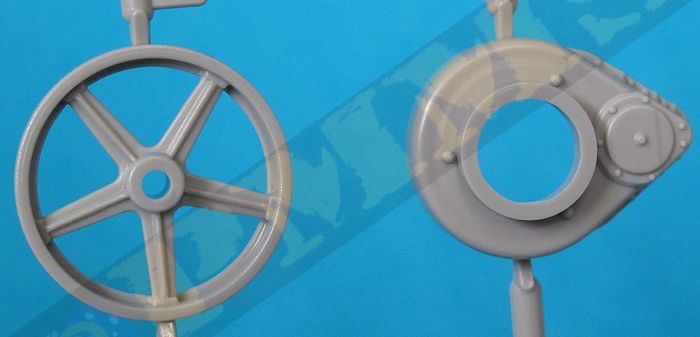
The idler wheel is in two halves with a separate outer disc (part A9) to give better detail but this was too big to fit properly into the main idler and I had to reduce the diameter by careful scraping with a #11 blade to fit, take care as the disc is very thin and will break if too much pressure is applied during this process. The locating hole for the outrigger arm in parts G7, G9 will also need to be enlarged to take the locating pin and the locating lugs along the side bolted strips D2, D21, E10, E11 will need to be reduced in size to better fit into the holes in the bogie sponson sides, this is easier and cleaner than opening up the locating holes. Also the forward locating hole for the spring units (parts A25, A26) will also need to be enlarged slightly for a better fit.
Each of assembled suspension units for separate sub-assemblies and can be set aside for later fitting to the main body of the vehicle.
If you plan on adding an aftermarket engine (one coming very soon from LZ Models) there are a couple of things you can do during assembly to make fitting the engine easier but if not bothered about the engine then just assembly as per instructions.
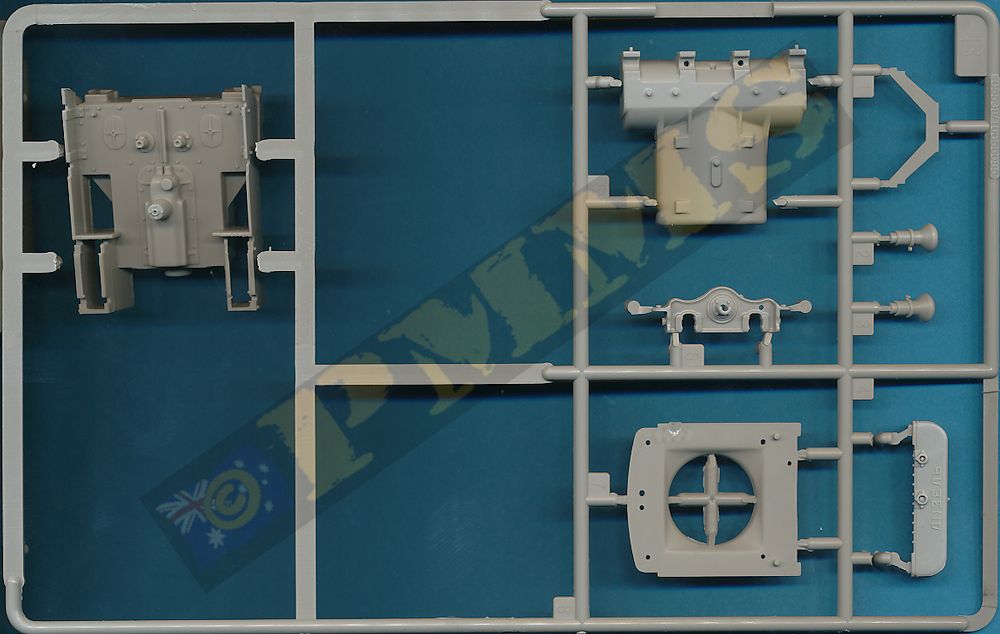
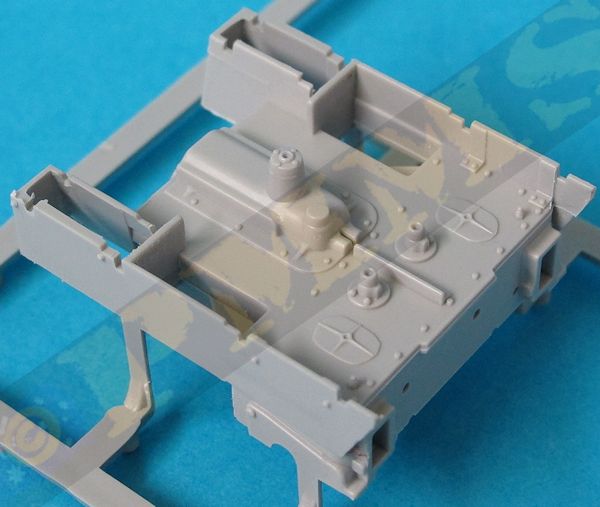
Once the gearbox/transmission is assembled the two part side chassis frames can be added along with the forward engine bearer (part B6) and large suspension bogie support arm (D6) but don’t glue the bottom of the engine pan (part F11) if you plan on adding an engine, this will fit snugly and hold in place without glue in any case if this is the plan? The large flywheel is also easily fitted with the whole assembly being very robust once assembled.
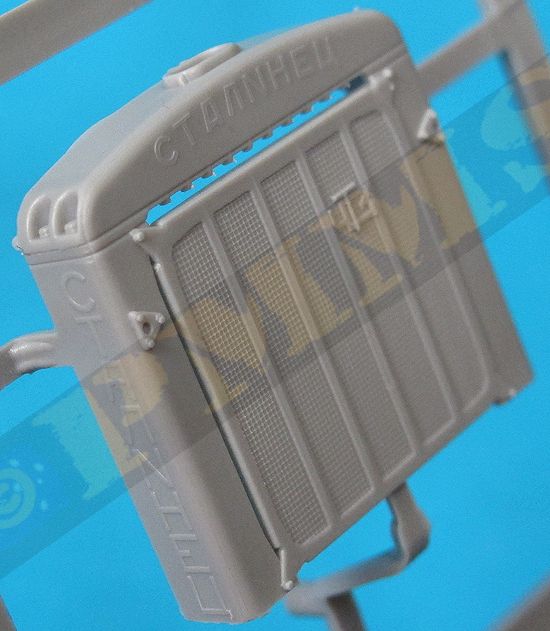
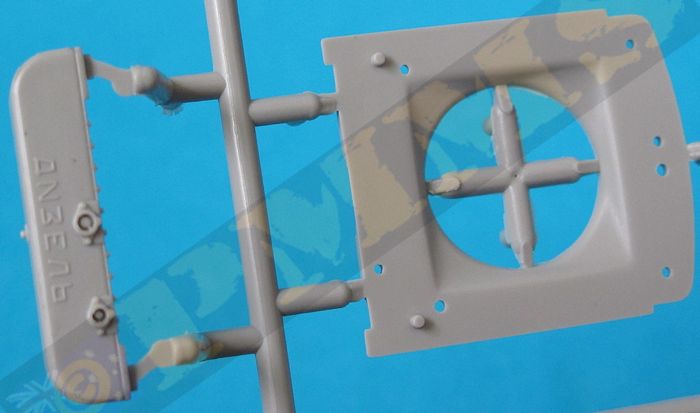
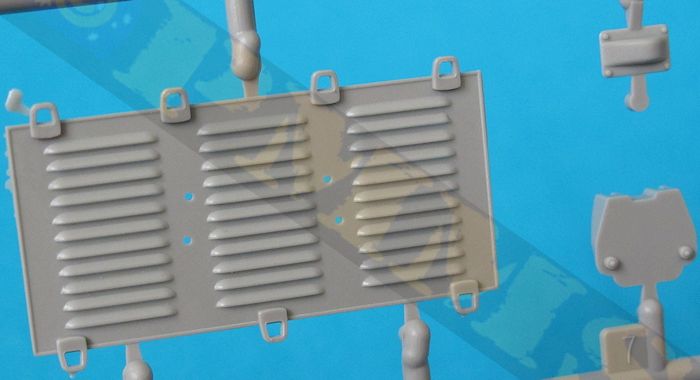
The large radiator is quite impressive with the raised lettering included on both sides, top and bottom of the radiator housing, there are a couple of problems here, the first being the name CTAЛИHEЦ (Russian for STALINETZ) on the top and sides depicted as CTAЛNHEЦ (English depiction of N instead of the Russian И) also the top letters are depicted as outlines when in fact they should be solid raised letters as with the other lettering, not sure why this was done as reference images clearly show solid letters? The lower lettering ДИЗEЛь (Russian for Diesel) is depicted as ДNЗЛь (again with the English depiction of N instead of the Russian И).
The bolt head detail top and bottom is also well done and it also includes the underside drain plug for good attention to detail along with a separate top filler cap.
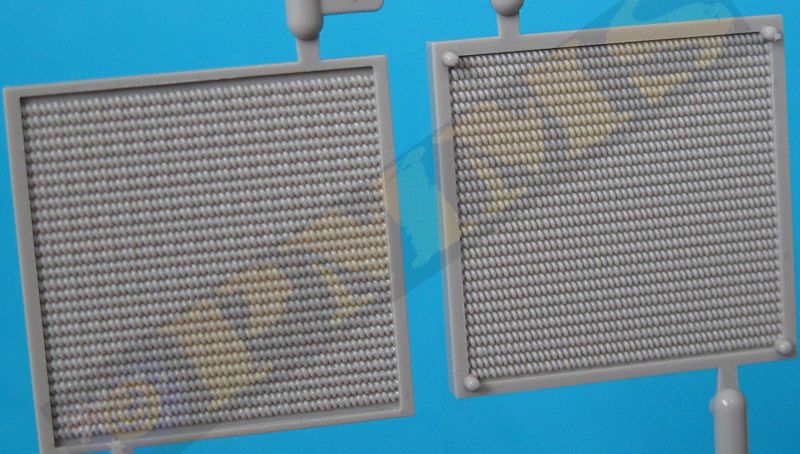
The actual radiator is in two halves with prominent surface texturing but the front protection bars and name badge are moulded with the radiator front mesh and lack a bit of definition, but shouldn’t be that noticeable once assembled. The inner radiator panel has nice details including a separate pipe and it would seem that Trumpeter planned an engine at some stage otherwise there would be no need for this inner detail? You also need to take care when fitting the assembled radiator to the lower chassis as this will have a direct bearing on the hood/side panel fit if not placed correctly and the fit is not that precise on the kit unfortunately. There are two small lugs on the back of the lower radiator that should “sit” against the underside of the chassis frames for the correct location.
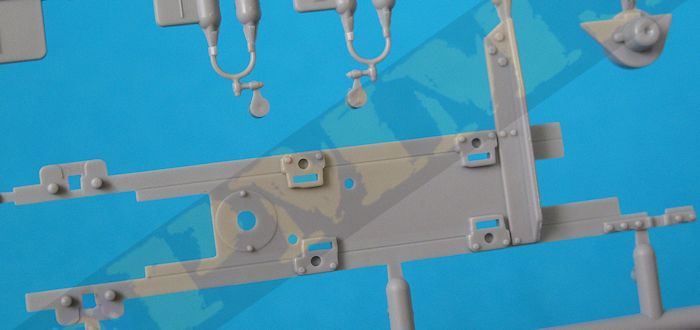
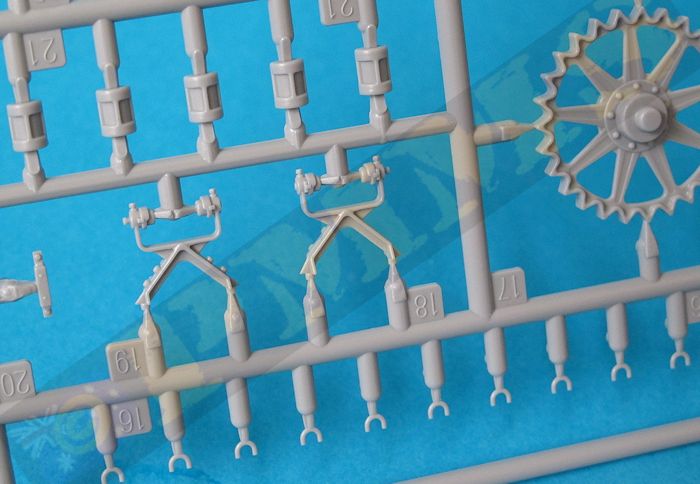
Added to the top of the gearbox/transmission are some quite small delicate star handles and levers but these are all but hidden once the cab floor plate is added but again shows the good attention to detail throughout, there are additional details and another star wheel added to the rear of the gearbox/transmission along with the large rear and front towing hitch assemblies that can fitted at various angled if desired.
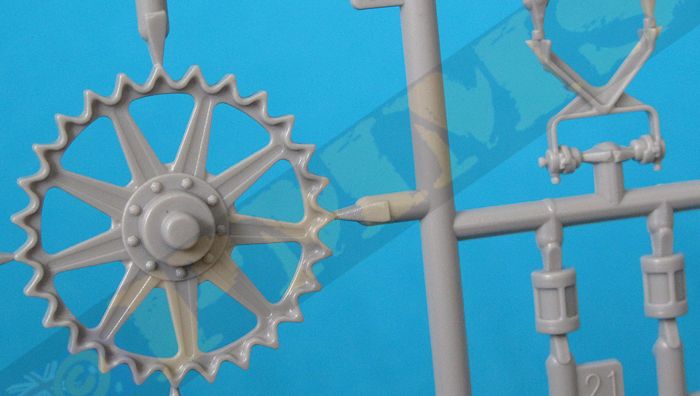
The large one piece drive sprockets and final drive housings are added to the rear of the chassis and there are inner attachment discs (parts A6) that hold the sprockets in place allowing rotation and you should of course be careful with the glue if you want the sprockets movable after assembly. The inner final drive covers fit well as do the housings to the chassis for another robust assembly with small fittings added to the back of the housings.
The suspension sub-assemblies are then added to the chassis and the fit is again without any real problems other than a bit of manoeuvring needed to get the rear drive sprocket hub, forward mount and underside arms to all line up but once in place form a precise and solid assembly.
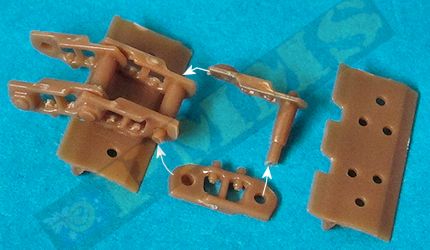
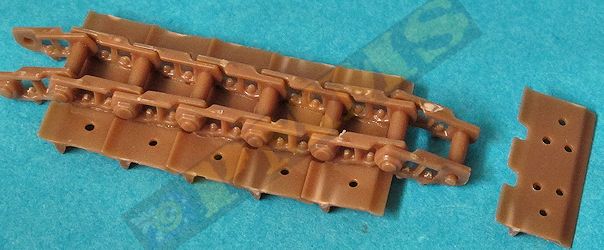
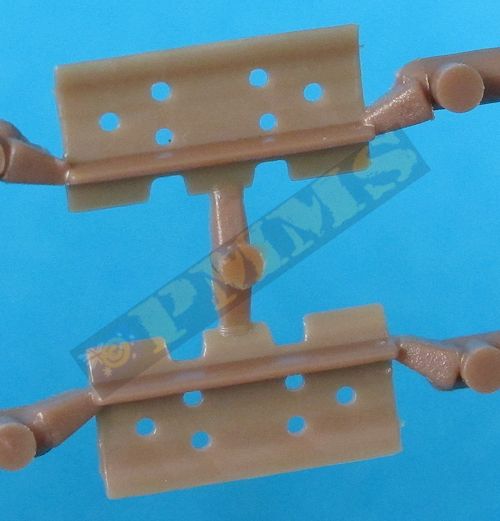
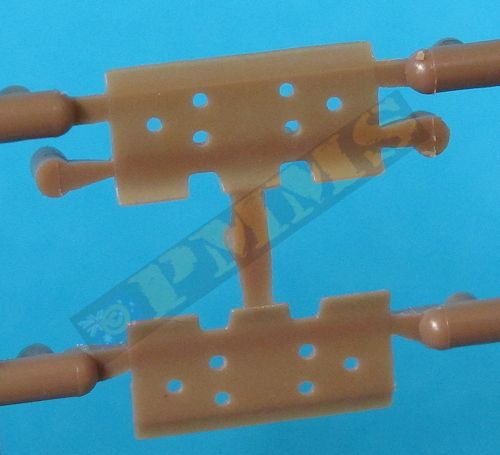
Firstly glue two of the inner brackets to the shoe, the locating pins extend through the shoe to simulate the outer attachment bolts on the actual link, you then fit the next two brackets over the previous link and secure the shoe to hold the brackets together. Ensure to only use a small amount of glue and ensure the brackets don’t splay outwards as the glues dries as this will allow the links to come apart.
Simply repeat the process for each of the 34 links needed for each track run and when fitting to the tractor it’s easiest to fit the track around the drive sprockets as this will hold the links in place while you fit the final links together, these clip easily in place as there is a little flexing of the brackets possible during this process.

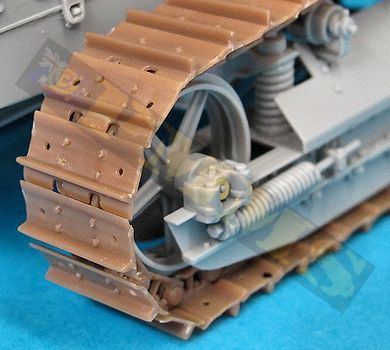
While the track links are the right size and there is the correct number of links the track was too loose when fitted to the suspension and this due to the movement of each track join which stretches out the track run when added around the suspension. To remedy this I glued the links forming the ground contact firmly together as tightly as possible and this reduced the noticeable sag on the top track run. You might want to this with the straight links under driver’s cab to tighten them even more should you wish.
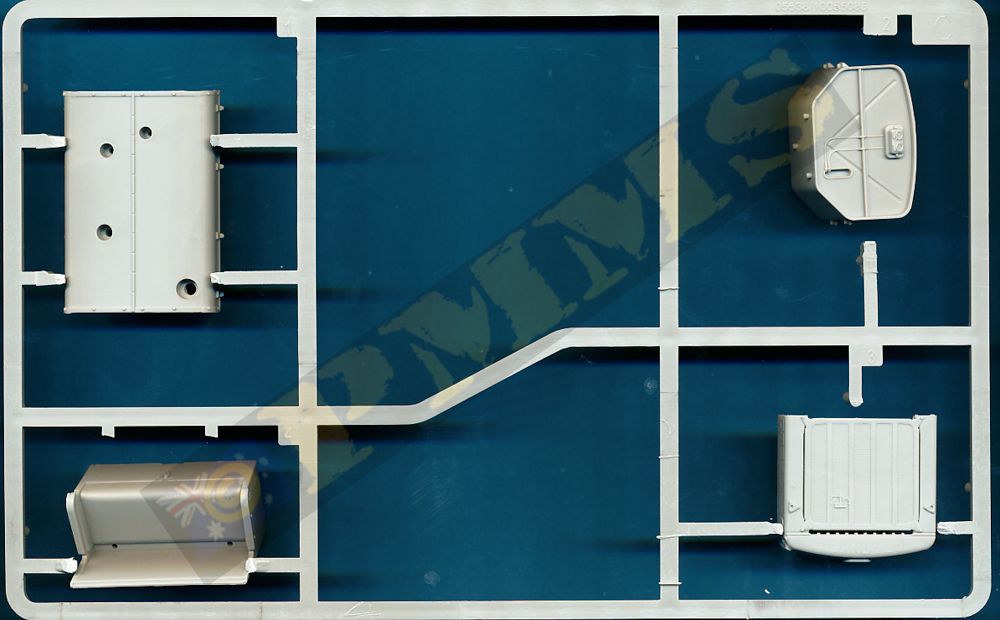
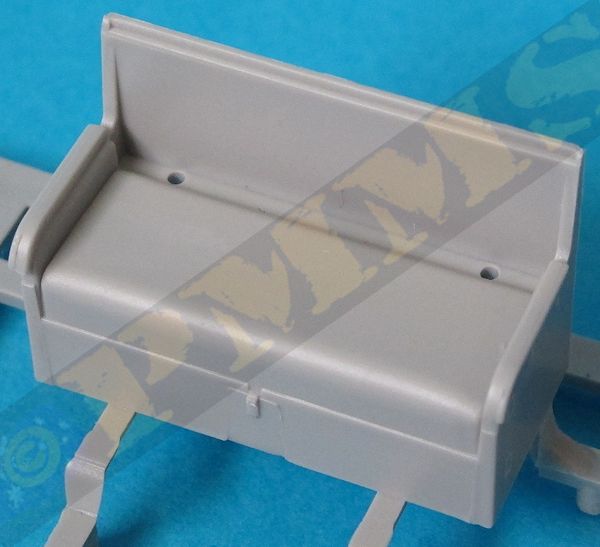
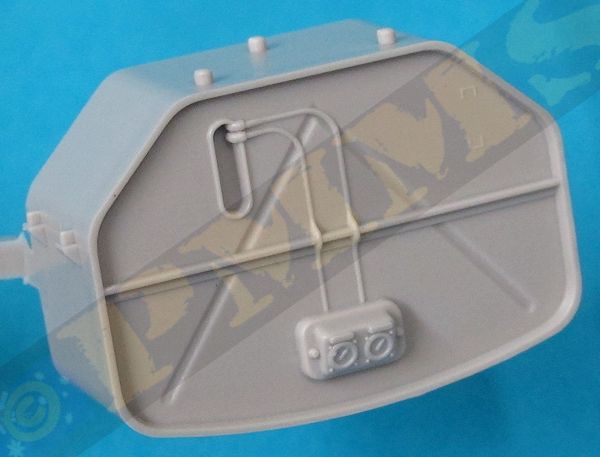
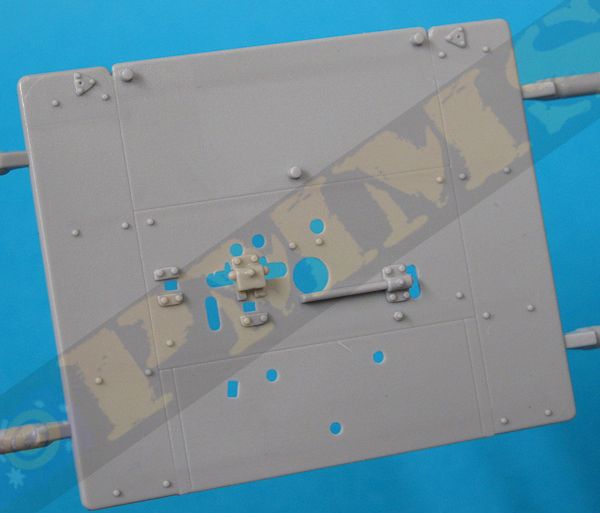
The large two part fuel tank has two small fittings added to the rear and two instrument dial decals are provided for the small instrument cluster on the tank. There are two large brass supports provided for either side of the tank and these require multiple bends in opposite directions and are really quite tricky to get all the bends done as the further you go the more previous bends get in the way of the next if you know what I mean?
Also as the location of the fuel tank on the floor pan effects the fit of the engine hood/side panels it’s best to firmly glue the tank to the floor pan before adding the etched support brackets to ensure the correct placement of the tank.
The assembled driver’s cab fits precisely to the cut-outs in the lower gearbox/transmission assembly but ensure the cab is located as far forward as it will go in the cut-outs to again ensure the hood/side panels fit correctly. tly.
In short they are just way too think to fit in place properly and I reduced the thickness of the inside panel edges considerable until almost wafer thin, the retaining clips along the top and bottom should also be thinned and the openings enlarged. Once these modifications were done the panels then fitted into place far better as can been in the accompanying images, just note the panels are only attached with white glue so then can be removed when I add the LZ Models engine when available.
The remaining items such as the top air cleaner and exhaust pipes can be added without problems and the front and rear light added, these are slightly too small in diameter but there’s not a lot you can do about that at this stage.
The instructions are the usual exploded view drawings that are fairly easy to follow as there are not a lot of parts in the kit but as usual you should carefully study the assembly sequences to avoid any problems along the way.
The lack of engine is noteworthy but as mentioned it can be built quite accurately with the engine panels in place and the aftermarket engines coming can be used by those wanting to expose this on their model.
This is a very welcome release along with the cab version to come and thankfully we already have ready loads for the tractor in the form of Trumpeter’s own B-4 203mm Howitzer (kit #02307) and ML-20 152mm Howitzer-Gun (kit #02315) plus any of the German guns available should you model the kit in German service.
Rating 8/10
Click on thumbnails for larger view
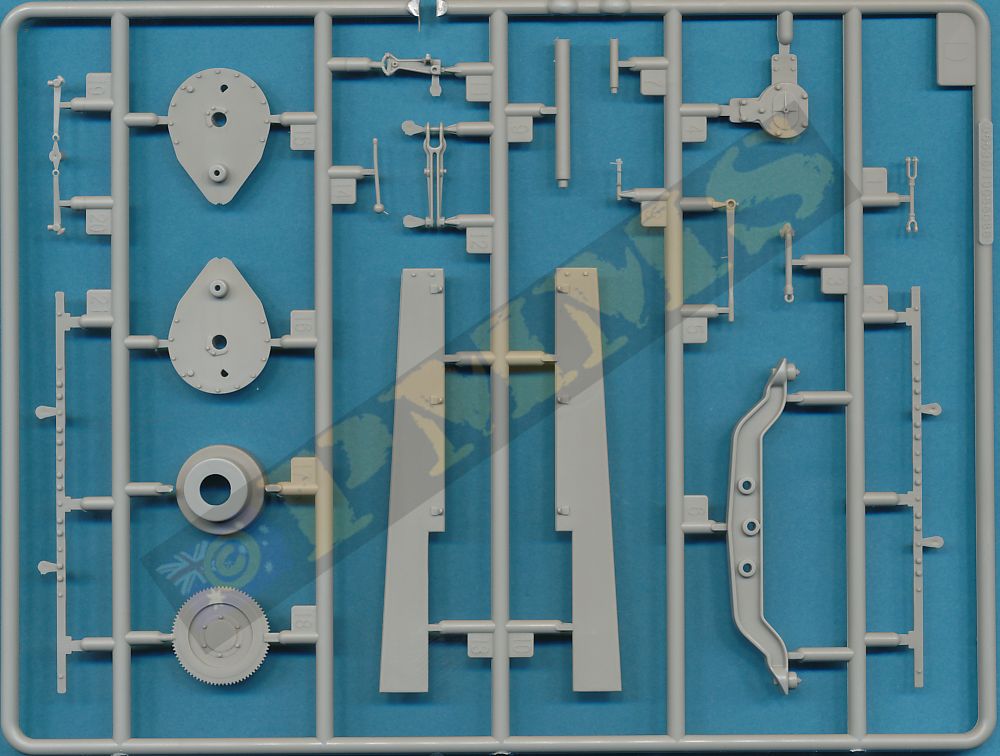
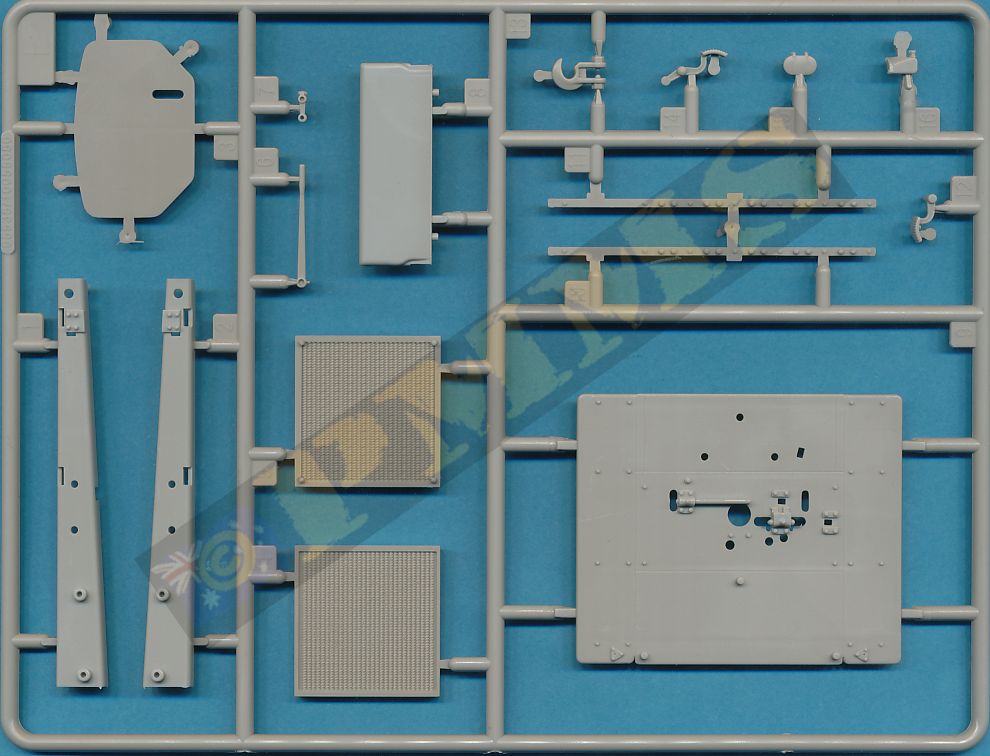

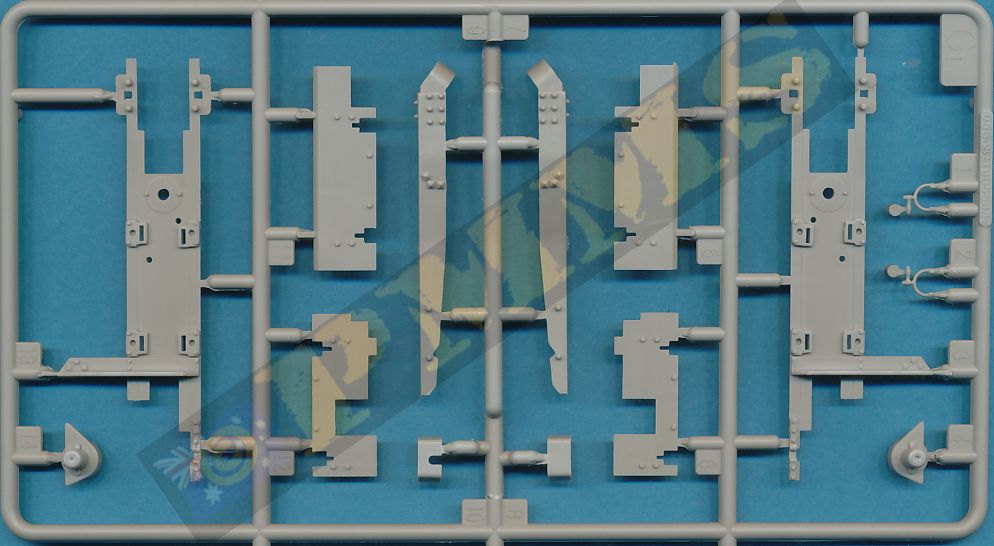
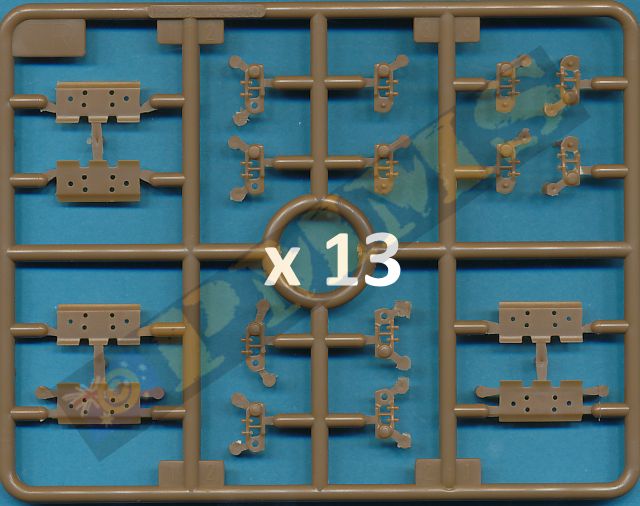
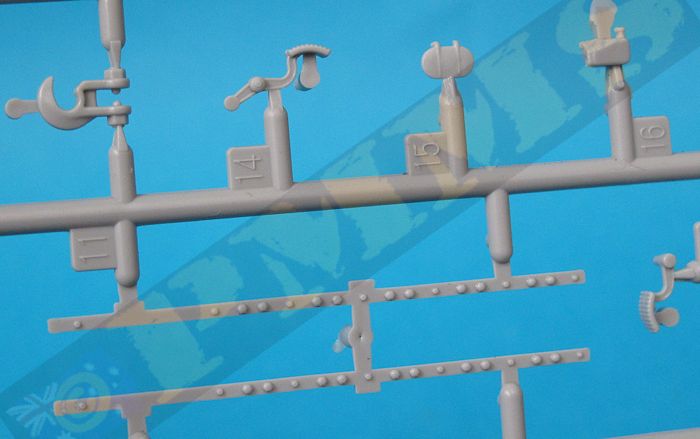
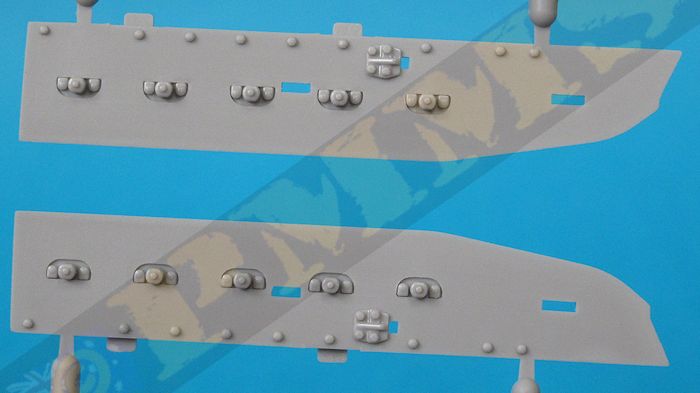
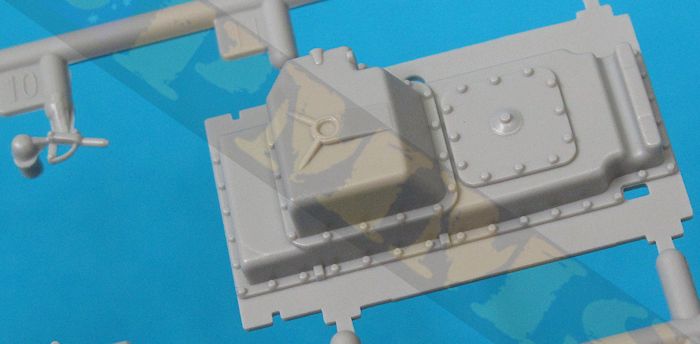
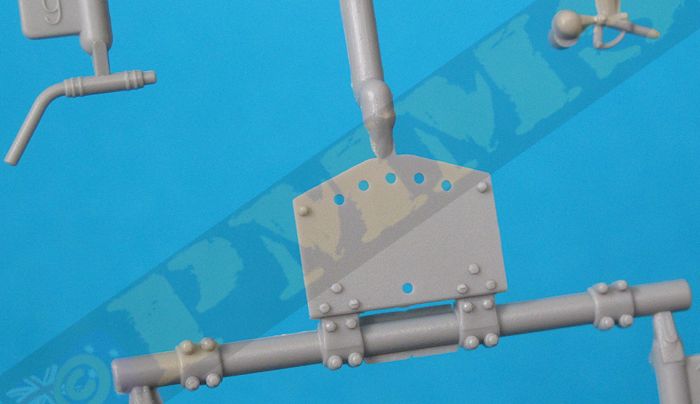
Sprue detail images


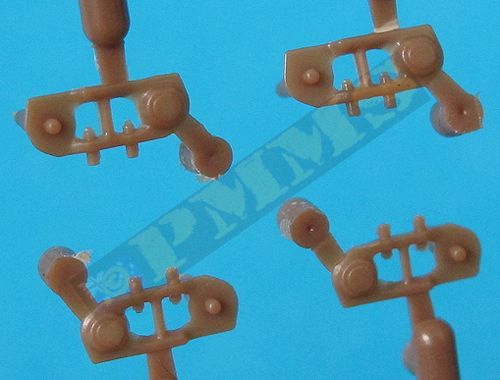
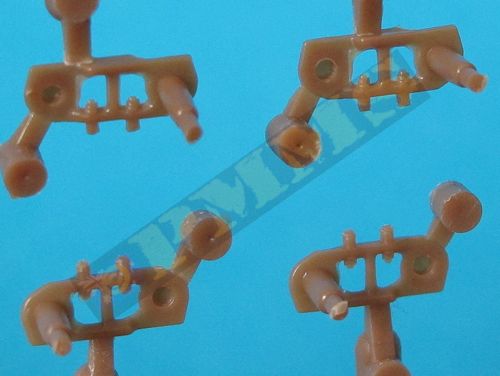
Close new window to return to page
Build Detail Images

Silicon Valley Scale Modelers Website
| Tyagatshi Soviet Full-Tracked Artillery Tractors of World War 2 in Red Army and Wehrmacht Service Tankograd Publishing  |
