
Faun SLT-56
Tank Transporter
Kit Construction
by Terry Ashley
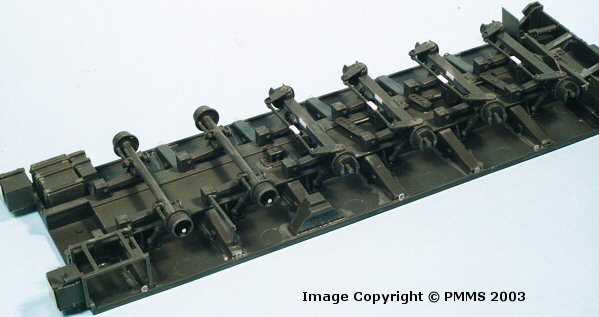
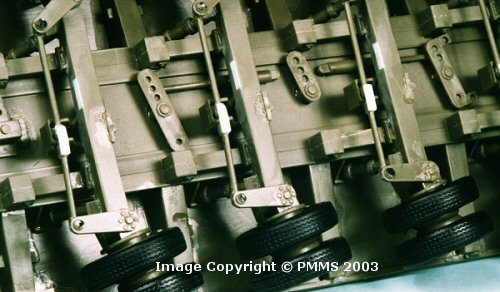
The only thing to watch during this assembly is to get the spring units (parts I25, I44) lined up evenly when attaching to the lower trailer as this will effect the alignment of the axles and wheels when these are attached. Allow the spring units to dry completely before attaching the axles and take care to install the shock absorbers (parts I33) between the axles and trailer bed as you attach the axles as it is difficult to add these later, the instructions do show this. I used a ruler to help align the axles as with the tractor axles to ensure they will all sit evenly on the floor when the wheels are attached.
There were a few pin marks to be removed from the rear mud flaps (parts H23,H24) but this was easily done and it may be advisable to leave off the side reflectors (clear parts G2) as these are easily broken off when handling the trailer during the rest of the assemblies as I found out the hard way.
Tractor Assembly: Steps 1 to 24.
Step 1 to 5: Cab Assembly.
Step 6 to 10: Chassis and Suspension.
Step 11 to 13: Fuel Tank, Spare Tire and Chassis details.
Step 14 to 19: Rear Tractor Assembly (1).
Step 20 to 22: Rear Tractor Assembly (2).
Step 23 to 24: Adding hoses and piping.
Trailer Assembly: Steps 1 to 14.
Step 1 to 5: Deck underside and Suspension.
Step 6 to 7: Gooseneck Assembly.
Step 8 to 10: Final Deck Assembly.
Step 11 to 13: Ramp Assembly.
Step 14: Attaching Trailer to Tractor.
Return to the first look review of the kit.
Page created 28 September 2003