

French H39 Hotchkiss
Bronco Models Kit No. 35001
Construction Review by Terry Ashley
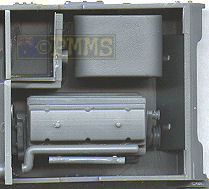
The interior has most of the basic parts but obviously additional details can be added to enhance what you get even further and if you leave the large front driver’s hatches open much of the interior can be seen. The hull floor has diamond tread plate pattern included as well as various bolted ribs and the round escape hatch to add a bit more detail.
The images below show unpainted parts but of course you would paint all these parts before fitting into the hull tub during your build with the instructions showing the basic colours for each.
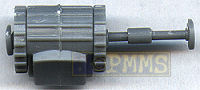
The front differential is made up of five parts that fit together without problems, just watch the direction of the grooves in parts C8, C9 which are designed to mate together inside part C4 as they are fitted together.
This assembly fits neatly inside the front hull section (part C11) but make sure it is positioned as far forward as possible to help clear the gearbox fitted inside the lower hull later.
I departed from the instructions a little by gluing the rear bulkheads (parts A19, C6) at this stage to give time for the glue to dry thoroughly as you fit the other parts, the fit of both was very good without the need for any trimming.
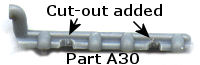
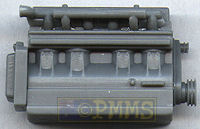
The engine is made up of seven parts and these fit together without any problems except that two small grooves will have to be cut into the bottom of the exhaust manifold (part A30) so it will fit over part A29 located underneath it.
There are locating pins on the lower hull floor for the assembled engine but these resulted in the engine butting too close to the bulkhead so I removed the pins and just glued the engine to the floor a fraction further back for a better fit.
The basic fuel cell has no locating pins and just glues to the floor on the opposite side of the compartment.
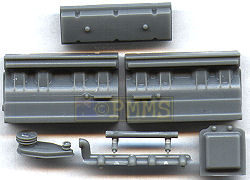
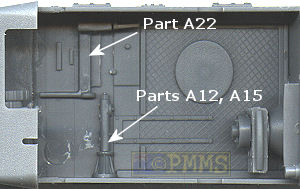
There are a couple of parts that should be fitted first in the front compartment and these are the shaft (parts A12, A15) on the left floor and the bracket (part A22) on the right side so add these now.
The gearbox, driveshaft and rear oil cooler fit together without problems
but a bit of trimming was needed to fit these into the hull tub.
The gearbox required about 1mm trimmed from the front even with the differential
positioned as far into the hull front as possible and a small notch had to be
cut into the bottom left corner of the oil cooler to clear the rib on the hull
floor but these are easy to deal with due to the plastic being fairly soft and
easy to work.
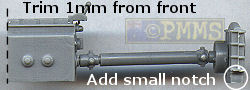
After trimming the parts as above the assembly fits neatly into place but again I removed the gearbox floor locating pins to allow an easier fit.
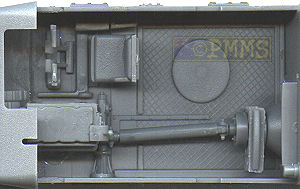
The two part driver’s seat and the steering levers and foot pedals fit easily into place without any trimming needed and finally the front hull section is glued to the lower tub and the fit here was excellent with just a very small join seam down the hull sides to be smoothed after the glue has dried ready to fit the outer final drive housings.
Return to original H39 comparison review.
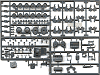
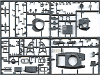
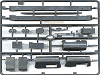
The Sprues:

Thanks to Bronco Models for the review kit.
Page Created February 19, 2006