
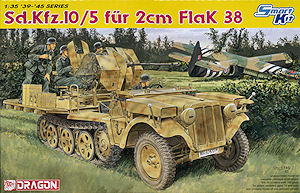
Sd.Kfz.10/5 fur 2cm FlaK 38
DML 1:35 Scale Smart Kit No. 6676
Review by Terry Ashley
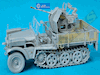
The le.Zgkw.1t Typ D7 was powered by a Maybach NL38/HL42 TRKM 6-cylinder, water-cooled petrol engine driving through a Maybach VG 102 128 transmission with seven forward and three reverse gears for a maximum (allowed) speed of 65km/h on road surfaces.
The Sd.Kfz.10 (le.Zgkw.1t Typ D7 ) was built by seven manufacturers in 5 versions for a total of approx. 14,000 vehicles built between 1938 and 1945;
Manufacturers:
Deutsche Maschinenfabrik AG (Demag) (development contractor), 1075 built
Adlerwerke, 3414 built
Büssing-NAG, 750 built
Mechanische Werke Cottbus (MWC), 4750 built
Maschinenfabrik Niedersachsen Hannover (MNH), 600 built
Mühlenbau-Industrie A.G (MIAG), 324 built
Oesterreichische Saurerwerke, 3075 built
Versions:
Sd.Kfz.10/1 chemical detection vehicle.
Sd.Kfz.10/2 chemical decontamination vehicle
Sd.Kfz.10/3 poison gas laying vehicle (later converted to ammo resupply vehicles)
Sd.Kfz.10/4 2cm FlaK 30
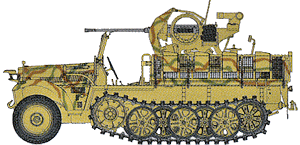
Sd.Kfz.10/5 2cm FlaK 38
Field modifications included vehicles fitted with a 3.7cm PaK 36 or 5cm PaK 38 anti-tank gun as well as the Sd.Kfz.10/4-5 cab and engine compartment having armoured plates fitted during 1942/43.
It should also be noted that some vehicles during 1942 were fitted with additional armour plate around the cab and engine compartment and given the kit version adding this armour would be applicable option.
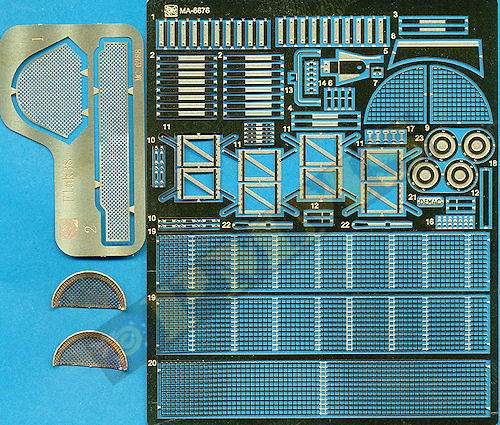
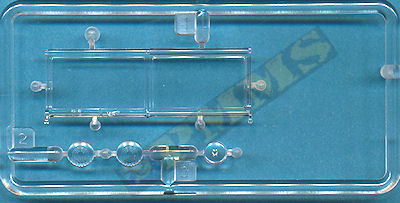
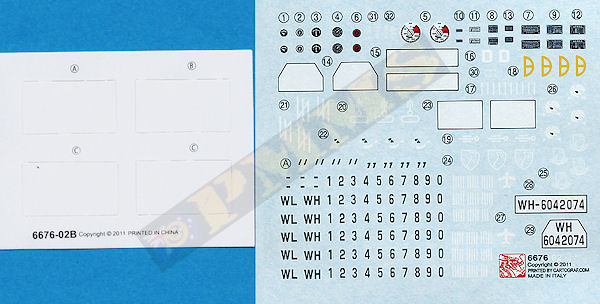
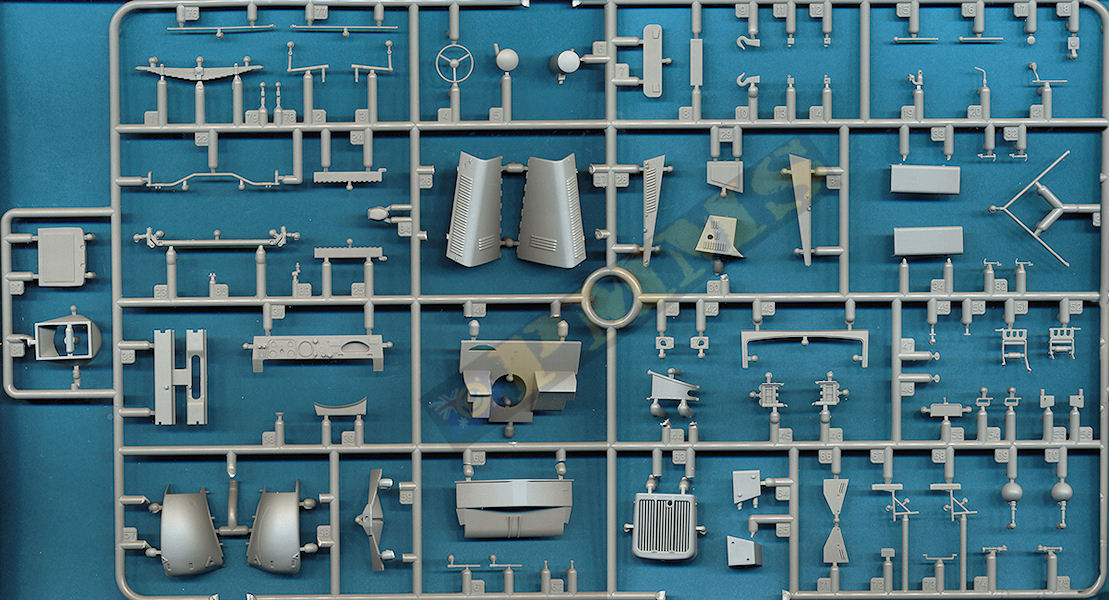
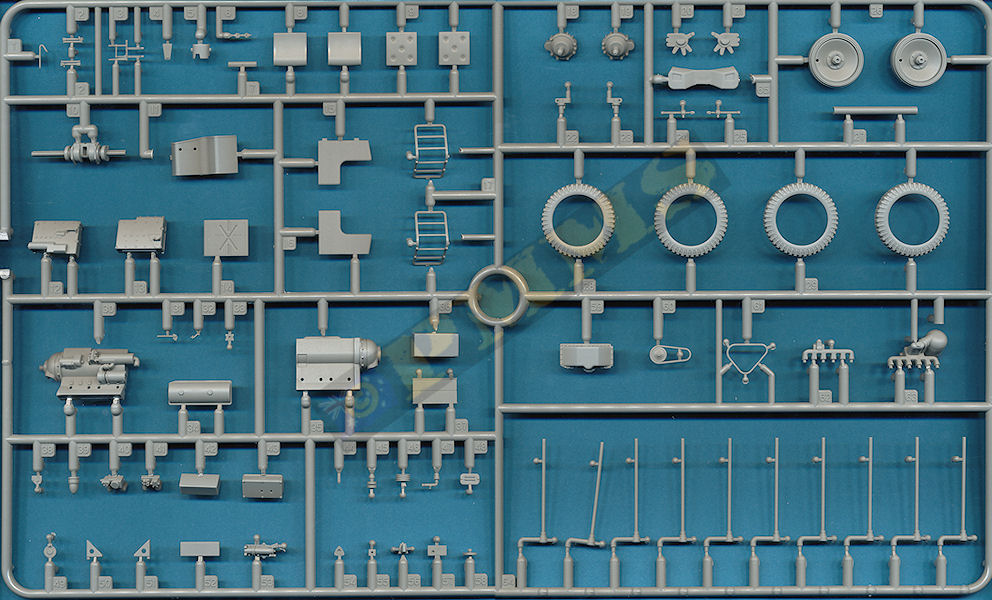
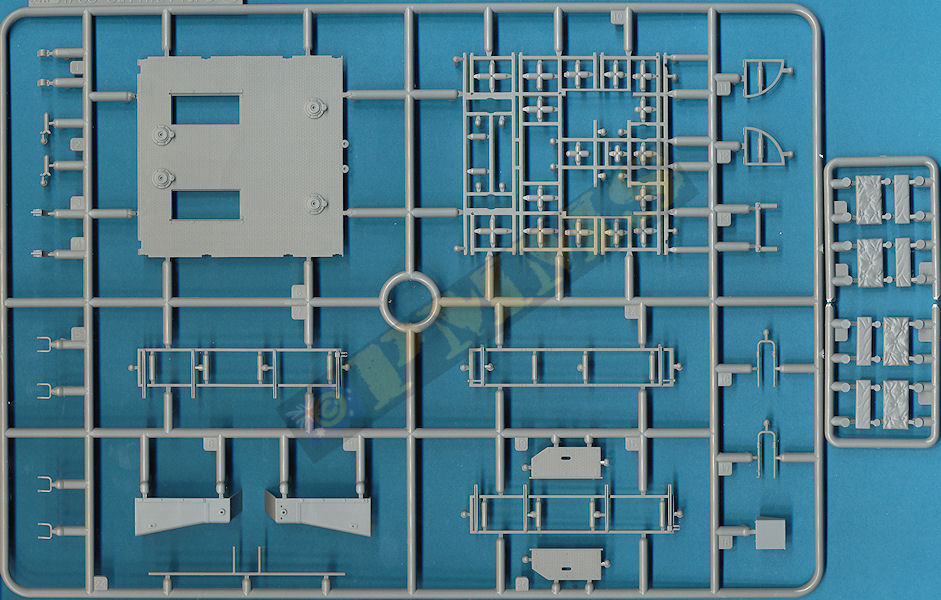
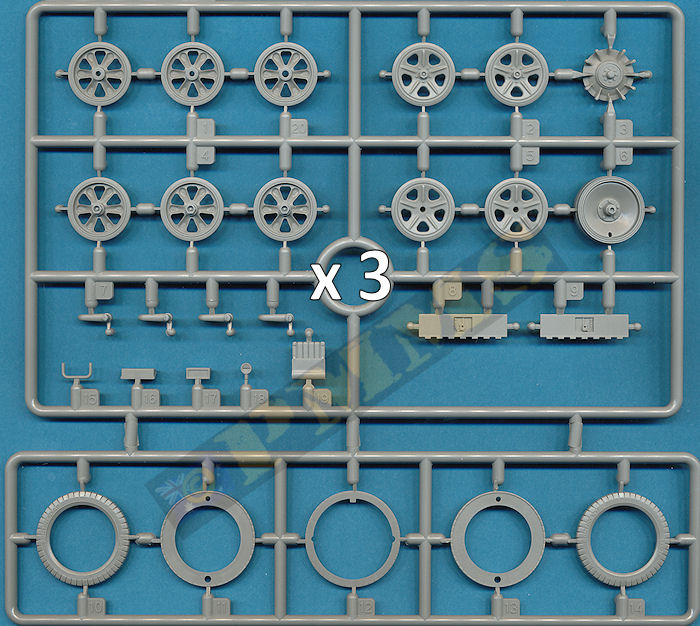
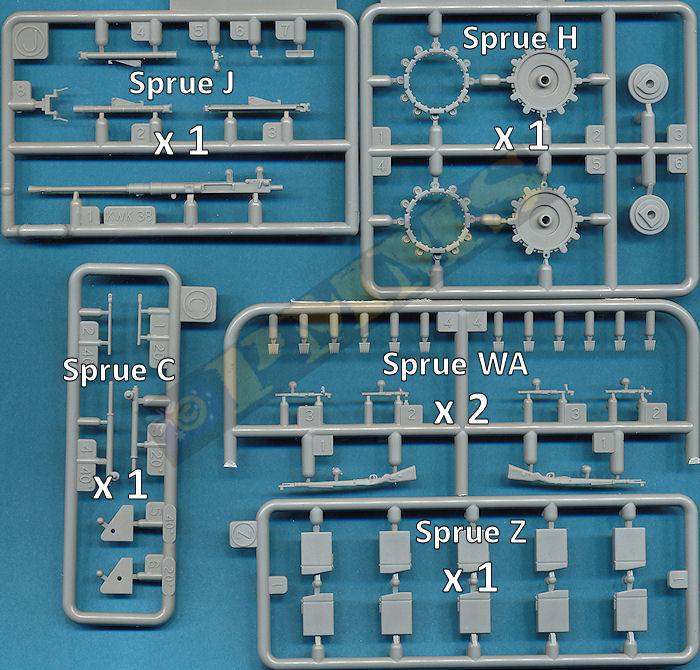
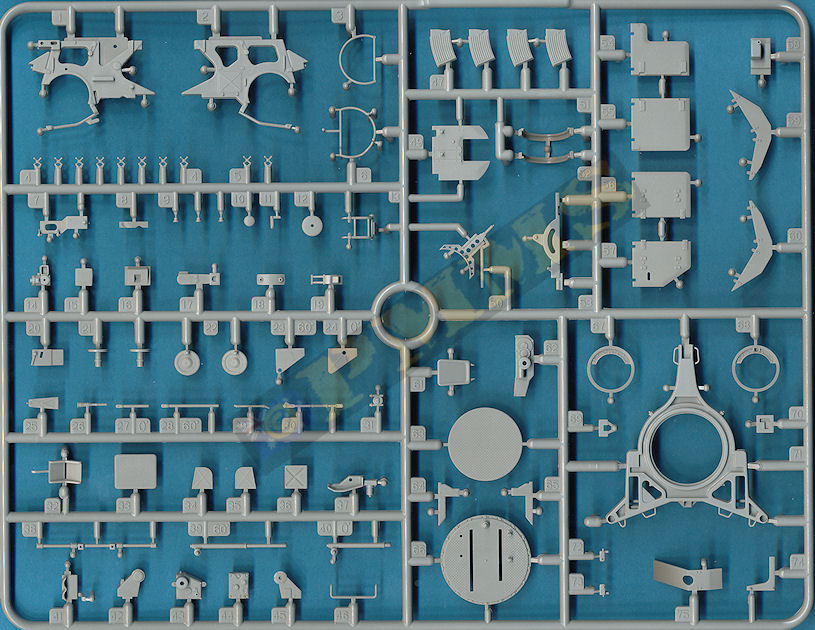
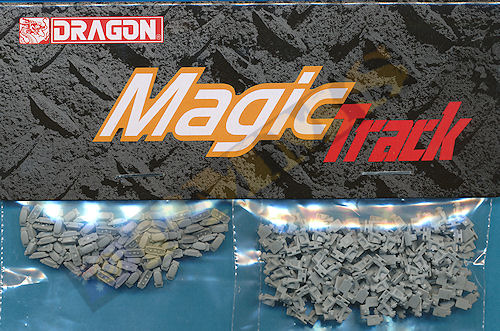
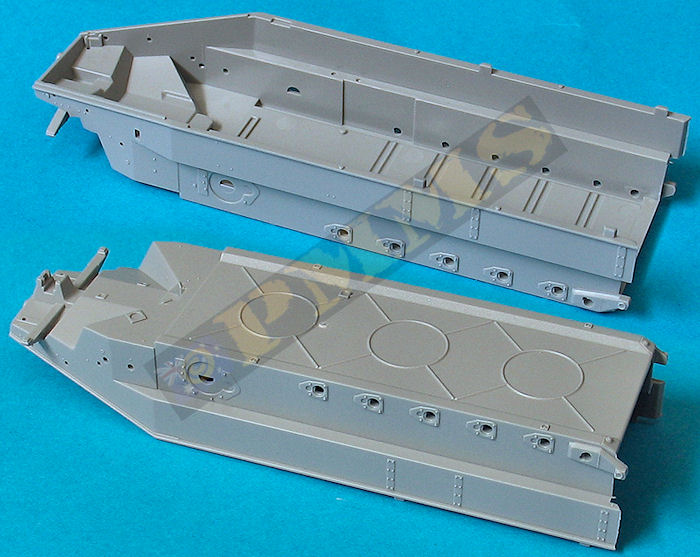
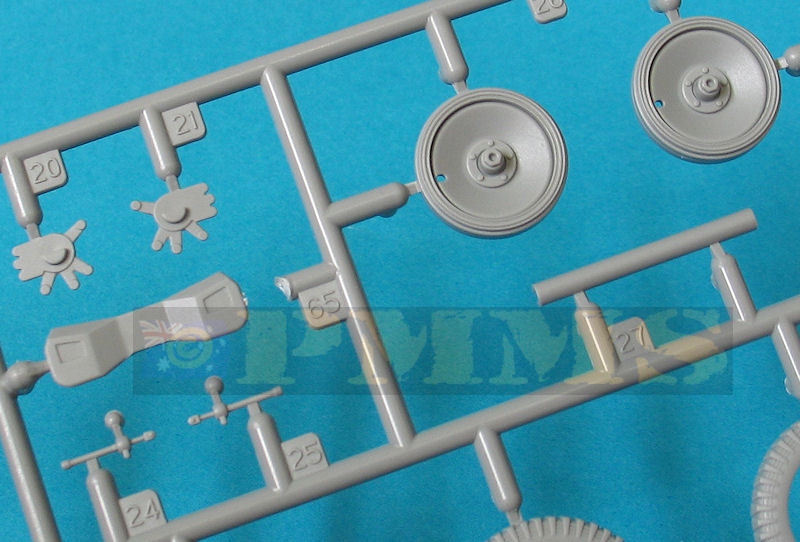
The kit consists of 445 parts in light grey plastic, 4 in clear plastic, 109 etched parts, 96 individual “Magic Track” links plus the decal and instruction sheets.
Dimensionally the overall kit dimensions (hull width, length, rear flatbed) match the recent 1:35 plans in the Panzer Tracts 22-1 Leichter Zugkraftwagen 1t book listed below very well although there are a few issues with individual components, mostly the suspension/running gear.
The front wheels are 2mm smaller in diameter than the Panzer Tracts plans indicate (more on this below) and the new style drive sprockets 1mm smaller in diameter as well as the drive rollers being oversized and they are too narrow compared to the plan dimensions (and photos), again more on this below. The road wheels/idlers are the correct size as per the plans.
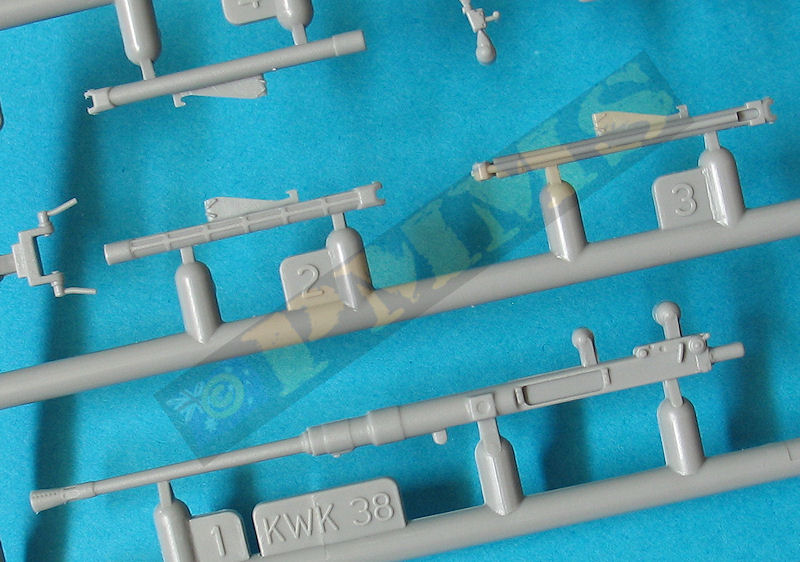
The strangest issue is the kit has the wrong gun! While it’s supposed to have the 2cm FlaK 38 the kit actually has the shorter 2cm KwK 38 gun tube which means its 5mm shorter than it should be. The sprue J is clearly marked “KwK 38” so it seems one of the minions packing the kits got it wrong. I guess it’s not that hard really when you have sprues with the 2cm FlaK 38 and 2cm KwK 38 both marked Sprue J in different kits.
People may think some of the comments below are just nit picking but I believe modellers deserve to know exactly what is in a kit so they can make up their own minds instead of the glossed over reviews that are little more than product adverts these days, another reason for their mention here for which I make no apology.
And as I’ve mentioned numerous times I simply present the information and it’s up to the individual to take or leave it as they see fit.
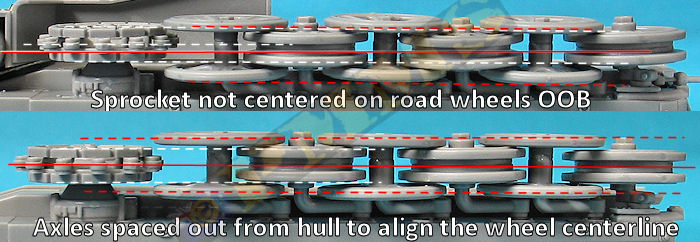
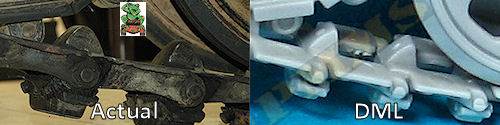
The separate axles have the full torsion bar included with these fitting into channels on the inside of the hull tub, this will allow you to articulate the axles should you wish too? But the road wheels sit too close to the hull and the centreline of the drive sprockets don’t align with the centreline of the road wheels if you fit the axles/torsion bars as intended. This is not a real big deal as it’s very easy to correct by fitting the axle/torsion bars about 1mm further out from the hull than designed (i.e. don’t push them all the way into the locating holes) ensuring the axle stub sit at the correct height still, made easier due to the full width torsion bars with the axles.
Added to the hull sides are the final drive housings and rear idler mountings, the idler axles should not be glued in place and you should trim the small locating tab from the locating pins to allow for any adjustment needed for the correct track sag when fitting the tracks. There are small plates (parts A41, A21) to be added to the hull idler mounting but these are not identified in the instructions so be sure to add these before attaching the idler axles.
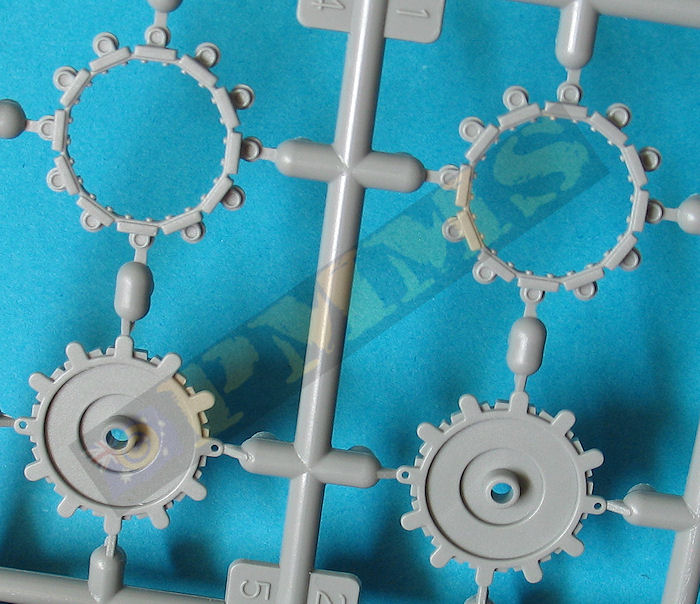
The drive sprockets are the newer tooled items from the recent Sd.Kfz.250 kits but according to the Panzer Tracts plans they are actually too small in diameter by just over 1mm and the drive teeth (rollers) oversized as well they are too narrow. Interestingly the older drive sprocket still found in the same kits are the correct size but with less detail than the retooled sprockets.
The best way of illustrating the width issue is to look the spacing between the drive sprockets and outer edge of the track; this clearly shows the new DML sprockets to be too narrow.
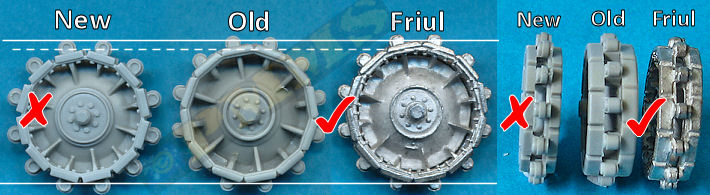
Images illustrating the drive sprocket width issues.
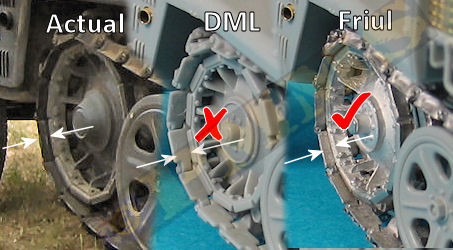
One reason for the narrow sprockets could be the road wheel alignment as mentioned above, but if substituting the sprockets for ones of the correct width such as those in the recent Friulmodel set #ATL-110 (or even the older DML sprockets which are the correct size) it opens up another can of worms as the sprockets where they overlap the first road wheels on the right side suspension don’t fit between the road wheels. After fixing the centreline alignment you will still need to trim the insides of the first two road wheels and the inside of the Friul sprockets where they overlap the road wheels, but that is a whole different story from what we are here for.
When fitting the sprockets to their axle stubs you should trim off the smaller pin on the end of the axle to allow the sprockets to sit properly onto the final drives.
The kit track which is workable individual link has nicely done details on the cast links but the guide tooth is the wrong shape, this is so the track will fit the undersized sprockets. There is also some clean-up required as there is a pour bur on each tooth and a couple of shallow pin marks on the inside of each link should you wish to remove these as the road wheels tend to hide these a little.
The actual vehicle uses 41 track links per track run with the kit using the same 41 links but the fit of the track around the sprocket is very tight and doesn’t sit flush with the facets without some coaxing due to the sprocket issues. You will also need to adjust the position of the idler axle to allow for the correct track sag over the road wheels which is easily done if the axles were not glued in place earlier as mentioned.
Assembly of the track is the usual for German half-track track with one link pins fitting into the next and held in place with the separate rubber track pad, just ensure you don’t get glue on the pins while gluing the pads if you want the track to articulate?
So after all this it’simple to realign the road wheel axles but it may be easier to live with the slightly undersized and too narrow sprockets, the oversized drive rollers and the incorrect shaped guide teeth if you didn’t want to go the aftermarket track option, it’s up to the individual as always to decide?
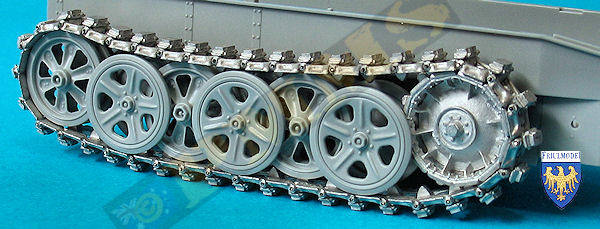
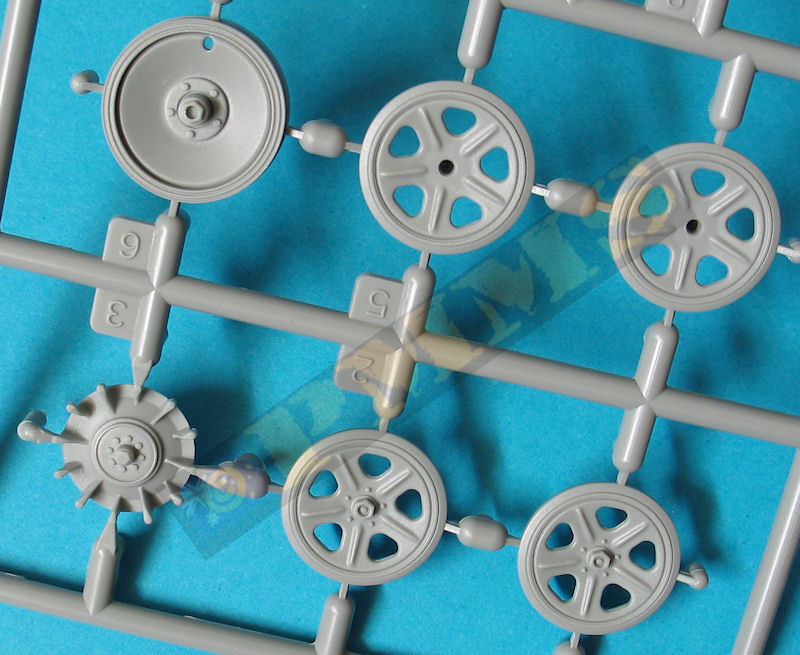
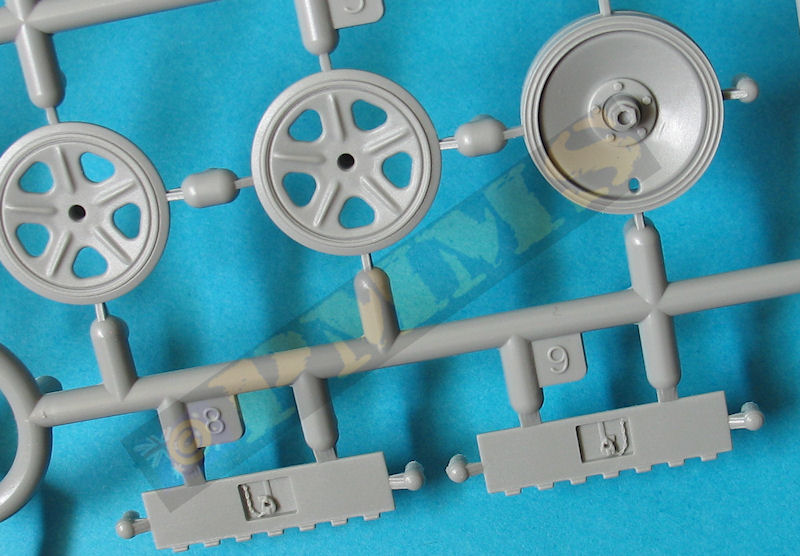
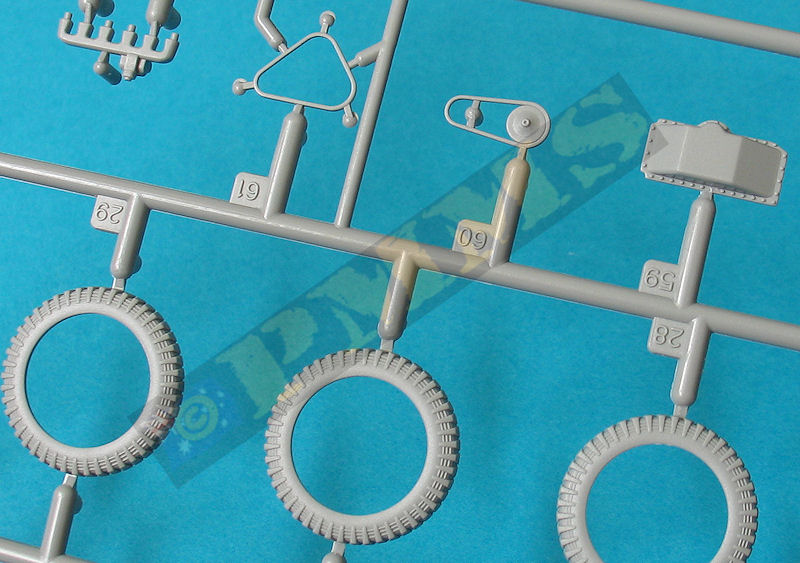
Moving on, the later pattern road wheels are the correct size and have nice detail included on the cast rims and there are two styles of front wheels included in the kit. The original wheels in two halves and the newer sandwich style with five ‘slices’ to construct each wheel, there are different wheel rims for each style of wheels so check the part numbers carefully.
The older style tyres are quite basic in detail and have no sidewall embossing while the new sandwich style have the now familiar “CONTINENTAU” embossing, it’s an easy task to use the tip of a sharp #11 blade to turn the U into an L should you wish?
As mentioned above the recent Panzer Tracts plans indicate the diameter of the front wheels is about 2mm smaller than they should be, this again raises other issues as all other Sd.Kfz.10/250 kits and available aftermarket resin road wheels are all the same diameter (give or take a fraction) as the DML wheels, so does this mean everyone has got the wheel diameter wrong all these years? The diameter of the wheel hub matches the plans; the discrepancies are in the depth of the tyre side walls.
The front suspension has the full width leaf spring, front axle, steering arm, the stabilizer bar and shock absorbers as separate parts that fit together easily with just the fine mould seams to be removed. The axles are fixed in the neutral position but it wouldn’t be too difficult to alter the angle should you want animate the steering position. There is a small mounting bracket (part A72) for the stabilizer bar that again is not shown in the instructions and this should be glued to the hull before the rear stabilizer bar pivot pin is fitted into place.
Adding to the wheel size issue is the front axle stub of the kit is located 1mm further back than the plans indicate and the kit wheels when fitted don’t fill the fender curve evenly as they do on most period and restored vehicles but honestly I need to gather further info on this before passing final judgement on the tyre size issue.
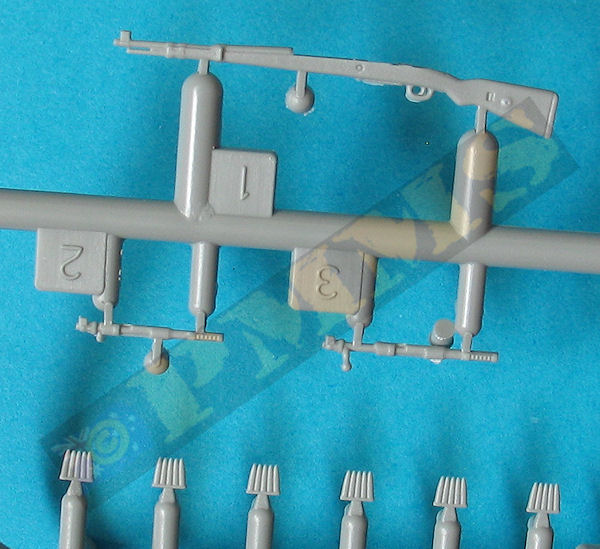
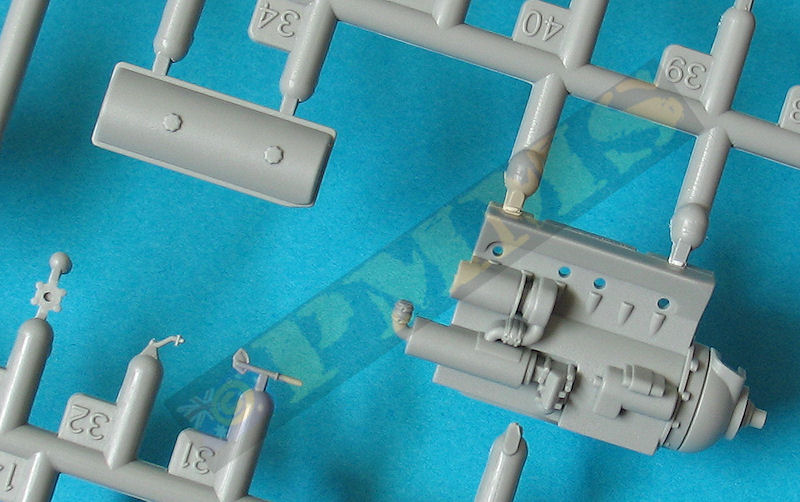
There are a couple of minor fit issues with the vacuum generator, you shouldn’t fit the part B33 as this will foul on the rear tray bed and the rear top corner of the vacuum generator has to be trimmed slightly for the same reason, doing this now will avoid problems when you come to fit the rear bed later.
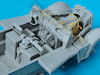
The transmission is in one piece with fairly simplified details such as the perforated heat shields but there are also some very fine linkages provided that give a good appearance to the assembly.
Note the small part B4 added to the side of the gearbox is not called out in the instructions and you will also have to shorten this by half for the driver’s seat to fit.
The assembled gearbox/transmission, fuel tank and storage box fit to a lower mounting plate that in turn fits to the lugs in the lower hull without any problems with the three part seats which have separate frame and cushions for a nice appearance then added to the assembly.
The engine firewall has the opening for the engine clutch housing and separate brake and clutch pedals added along with the full width instrument panel that had nice engraved instrument cluster and other details. Decals are provided for the instrument dials to add a good appearance although the instructions don’t alert you of their existence with the dials just lurking on the decal sheet.
Added to the instrument panel are small side panels with more open louvers and the engine door mounting panel. When fitting the firewall/instrument panel to the hull tub make sure the panel side panels sit flush with the hull tub top sill otherwise the fit of the engine hoods could be compromised.
The windscreen and frame is a single clear part to which is added the wiper motors and wiper blades plus the driver’s visor and care is needed when gluing these to the clear screen to avoid damage, also you may want to leave off the wiper blades till after painting for easier handling? For this purpose the kit includes painting masks for the four windscreen segments (two front and back) to make the task easier.
The windscreen is held in place with two attachment brackets that allow you to fold the windscreen forward should you wish at any stage.
Added to the side of the firewall panel are the very fine turn indicator stalks and rear view mirror on the driver’s side, these just hang out there asking to be broken off so leaving these till last would be a good idea?
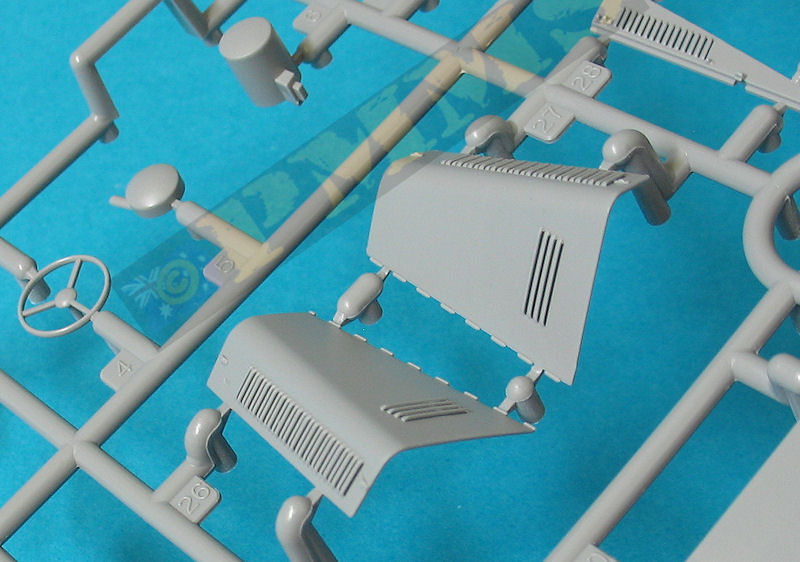
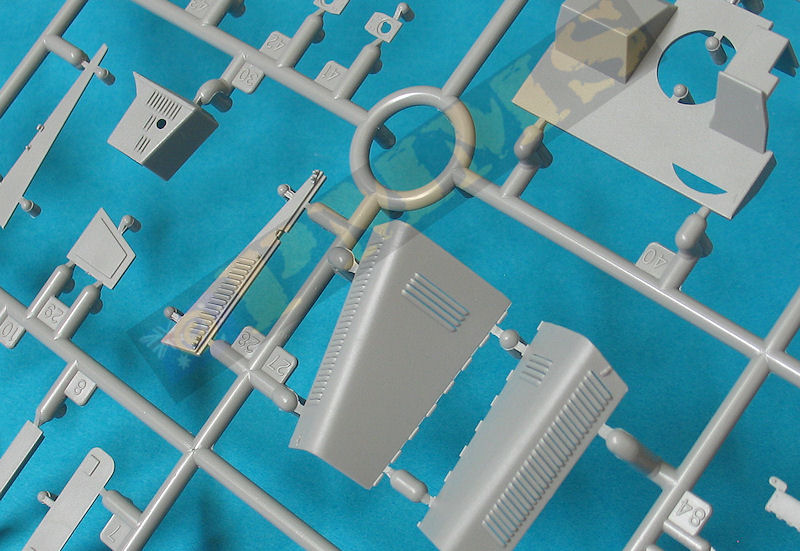
The engine compartment panels and hoods have impressive open louvers for a very good appearance, there is some fine mould seams on the insides of the louvers that when removed with a sharp #11 blade will improve the look further. The hinge and other details on the engine panels are also well done but the engine hoods are a little on the thick side should you show these open and thinning the edges will again improve the appearance if shown open?
You need to take care when fitting the engine panels as there are no actual locating lugs and the two lower side panels (parts A28, A31) must be aligned perfectly level with the front of the chassis to ensure the radiator housing fits correctly, temporarily fitting the radiator housing while gluing the side panels will avoid any later fit issues.
There are very fine T brackets that can be fitted in the ‘open’ or ‘closed’ position depending on the position of the engine hoods.
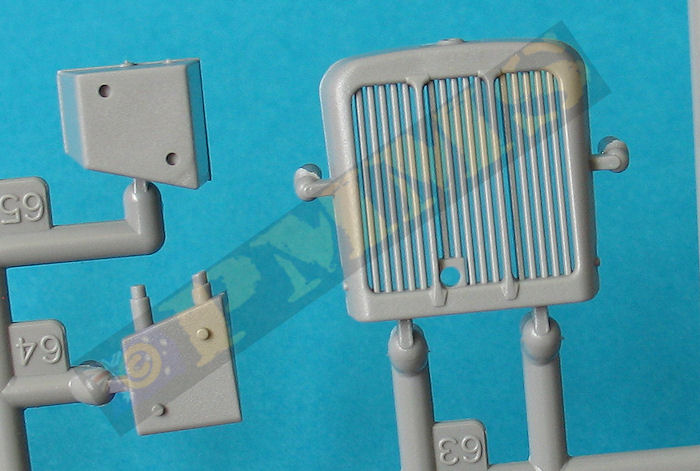
The radiator fits into the radiator shroud with this assembly fitting to the front of the chassis between the two side panels with the support rods between the radiator and firewall; this has to be fitted before the radiator housing.
The radiator housing has open louvers and the correctly positioned engine crank hole for another impressive moulding with the name badge “DEMAC” provided in etched brass. Note this says “DEMAC” instead of “DEMAG” but from a distance the difference between a C and G is marginal as the letters are only 2mm in height.
The radiator cap (part A17) is again not called out in the instructions but just appears in the illustrations in step 13 and you should also note there is a small lip around the edges of the housing, this should be there but as the sprue attachments are on this lip it is inevitable some damage will result during the clean-up process.
Added to the chassis are the two separate fenders which have very positive locating pins/holes for a precise fit with a two part muffler added to the left side, the short solid exhaust pipe is not well done and this will benefit from being replaced with a short section of brass tubing (or similar) for a better appearance. The muffler cover box also has fine open louvers and these again can be opened up a little more with the sharp #11 blade to improve the appearance.
The two side fender sections should be fitted flush with the hull tub sill as the rear edge of these fit under the rear tray bed when fitted later.
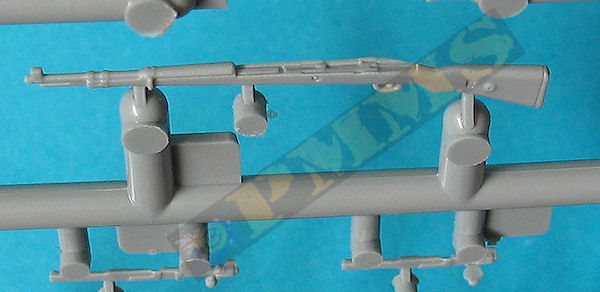
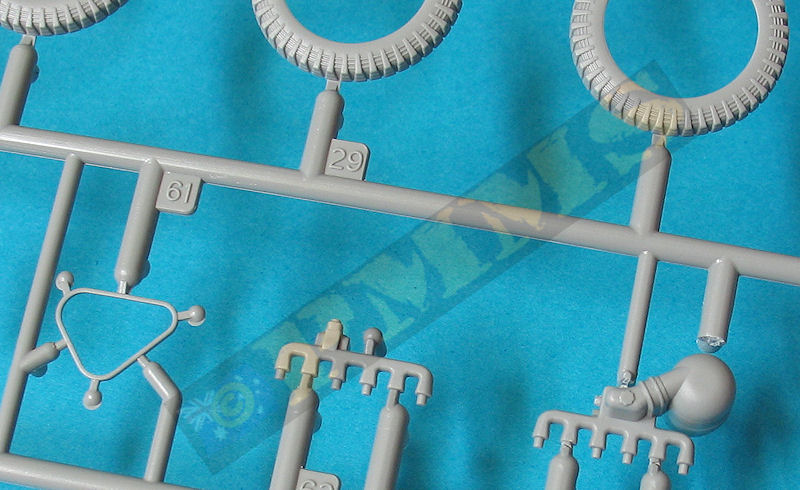
Added to the fenders are the two large Kar 98 rifle racks and covers, these are in two parts with the cover separate which allows you pose this open to expose the rifles in their racks should you wish this in a diorama situation. The kit has only four ‘Gen2’ Kar 98 rifles but as the racks carry three rifles per side you are left with a couple short unless you find two more rifles which shouldn’t be a problem as these have been included in quite a few kits along the way.
Other items added to the fenders are the headlights that have clear plastic glass and the light bulb moulded inside to hollow light housing for added detail but there are no black out slit covers for the lights as there should be for wartime use. The Notek light has an etched mounting bracket plus two fine width indicator stalks, these again are just asking to be broken off so leaving these till later in the assembly would be advisable.
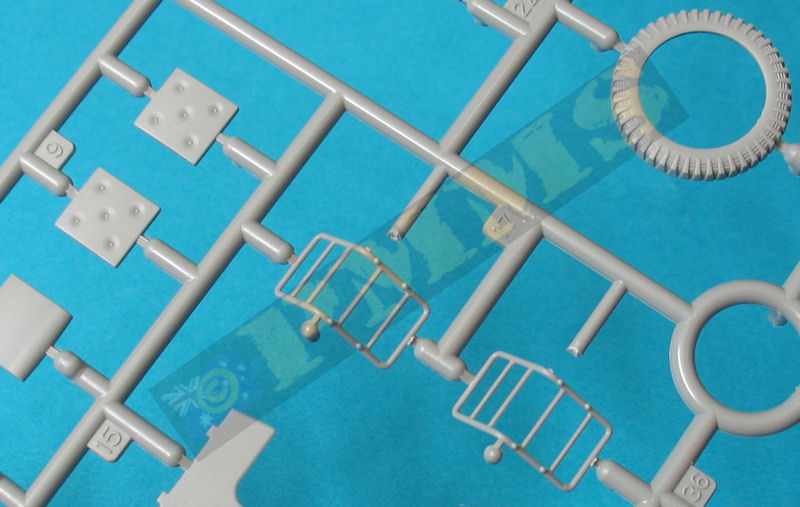
The folding side panels have the plastic frames with the support brackets/hinges included with fine etched mesh to add inside the frames, you need to take care as there are fine recesses for the ammo can racks and these have to align between the side frames so take care when fitting the mesh. It should be noted the actual “mesh” on German half-tracks isn’t mesh in the normal sense but more like the slat armour bars seen on modern armoured vehicles so the etched mesh is a compromise in any case.
The etched ammo box mounting strips are added to the side mesh and rear frames but the instructions show all of these as parts MA2 when the strips added the rear frame are longer and should be numbered MA3, MA4 so take note.
There are additional small etched L shaped mounting brackets for the boxes that need careful bending but the ammo boxes themselves are undersized somewhat in any case. The actual boxes hold two 20 round magazines but the height of the kit boxes are less than the magazines supplied with the kit and are noticeably small when compared to period photos.
There are two curved corner sections of frame and etched mesh to use if the sides are folded down in combat mode and these are folded inside the side frames in travel mode. Added to the rear underside of the tray is the numberplate mounting plate, this should also have the taillight but unfortunately this isn’t included in the kit and you will have to scavenged one from any other German armour kit as it’s the standard German taillight.
Also note if you are going to build the kit with the side frames lowered do not fit the four steps (parts C5) as these will foul on the lower tray sides when you try and lower the side frames.
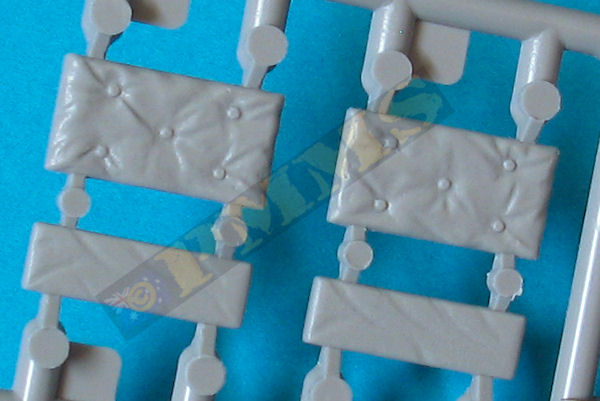
Two crew seats and backrests are provided with etched ‘legs’ and mounting brackets with the cushion backrest having nice detail texturing , note; these seats are only used in travel mode and are stowed away when the gun is in action with the side frames lowered.
As mentioned above the kit includes the sprue J with the shorter 2cm KwK 38 gun tube instead of the appropriate 2cm FlaK 38 gun tube meaning the barrel/flash suppressor is 5mm shorter than it should be.
This is easily fixed by using any of the available aftermarket metal 2cm FlaK 38 barrels to improve the detail of the flash suppressor at the same time but it would have been nice to have the correct barrel to start with as not everyone wants’ to buy an aftermarket item.
There are a few other minor dimensional issues when comparing the kit parts to the latest 1:35 plans in the Panzer Tracts 22-1 Leichter Zugkraftwagen 1t book but nothing too drastic.
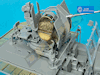
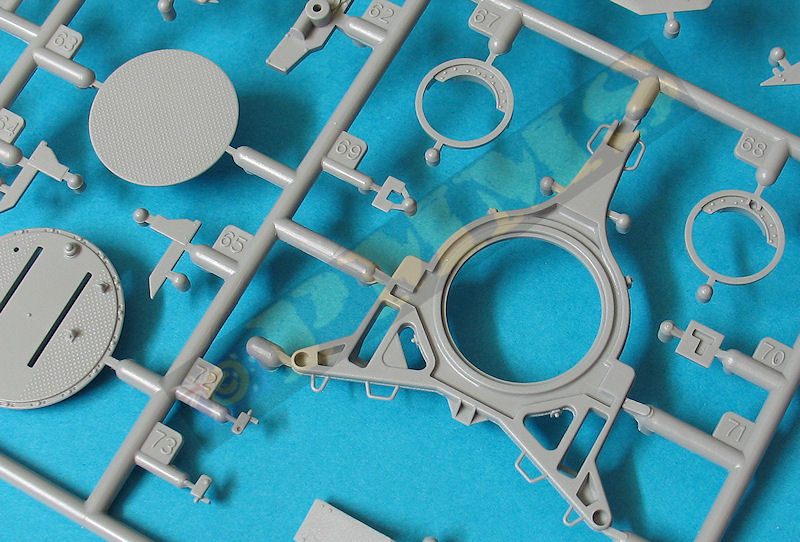
The turntable is about 2mm too small in diameter and the contours of the lower carriage are “squashed” at the front for want of a better word as a consequence with the curve from the turntable base to the front arm not being as elongated as it should. The plastic gun shields are too wide as well as being way too thick; they do have bevelled edges to simulate a thinner appearance but are woefully inadequate by today’s standards. The front fillets either side of the gun slot are undersized, and there are large join gaps between the upper and lower shields at the front that will need to be filled, but using any of the myriad of etched shields available would improve the appearance considerably.
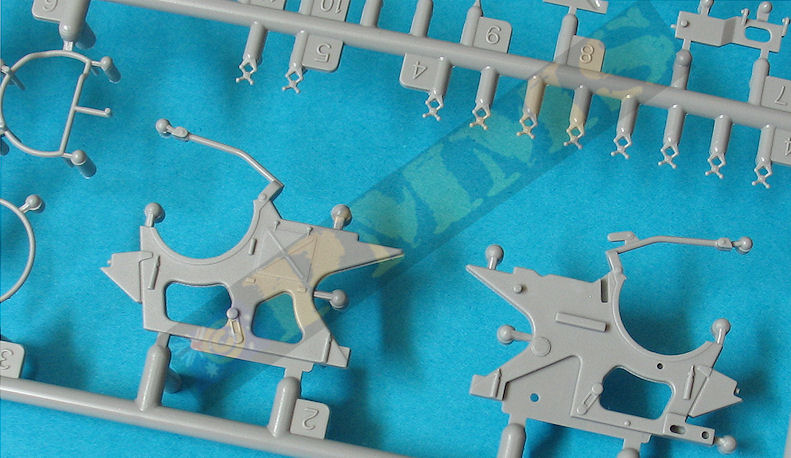
The curve at the back of the two side gun mounting frames is too sharp and should have a more rounded appearance with the kit also featuring some very nicely done details such as the very small star hand wheels around the kit and the welds around the lower tricycle base and the two main gun mounting frames. These have the sprue attachment point right on the welds and some nifty #11 blade work is needed to preserve the weld seam while trimming the attachment bur.
The gunner’s seat is nicely detailed and can be fixed in the up travel position or lowered action position along with the early style elevation and traverse hand wheels plus a fairly basic Flakvisier 40 gun sight.
The gun itself can’t elevate after assembly and you get alternate parts to fix the elevation at 0°, 20°, 40° or 60° elevations so you must make a choice and use the appropriate parts, thankfully the instruction call out the correctly numbered parts for each alternate elevation angle so there shouldn’t be any problems?
The kit includes the spent cartridge basket with plastic frames and etched mesh for the netting, while its inclusion adds nicely to the overall model there are a few issues with the basket that should be mentioned.
 |
|
Overall the upper mesh looks good when fitted but the design of the thick lower basket mesh with the wrong profile mesh does mar the final appearance of the basket.
The turntable on the base is held in place with a large underside plate (part A63) that allows for full 360 traverse, strangely this underside plate has tread plate texturing like the upper turntable, must be for the insects to get a firm footing, only kidding folks.
Fitting the assembled FlaK 38 to the platform is very simple as the triangular base fits perfectly to the two forward mounting posts and under the rear bracket, this allows you to add or remove the gun at any time for easier painting etc.
Overall the fit of the parts was very good with the major structures not requiring any trimming with the very precise fit making for a fairly straightforward assembly, any minor issues were mentioned above.
This issue has been mentioned on many occasions by various people but still continues to be a problem with DML kits and it would appear a little more care does need to go into the kit instructions overall.
There are also two sets of instrument dials with the large colour dial and smaller dials as well as an assortment of data placards to add as required with a small diagram in the guide showing the placement of these items on the instrument panel.
The B&W painitng guide has illustrations for six vehicles but five of these are for the 1943-44 time period and as the kit is a 1942 production type so these may not be truly applicable but then again if there isn’t precise reference data on the actual vehicles it’s hard to say they are wrong really.| Option 1:
21.Pz.Div., Normandy 1944 Option 3: 1.Pz.Gren.Div. "LAH", Kursk a943/44 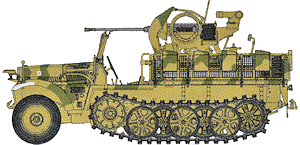 Option 5: Unidentified Unit, Eastern Front 1943/44  |
Option 2:
3.Pz.Gren.Div. "Totenkopf", Eastern Front 1943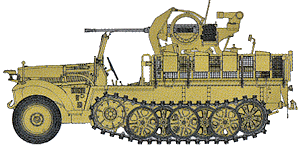 Option 4: 2.Pz.Gren.Div."Das Reich", Fastov 1943/44 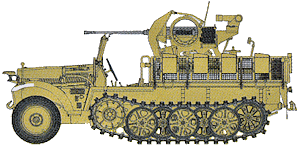 Option 6: 1.Brig.(Motorised) "LAH" Eastern Front 1942  |
But as we have seen previously there are areas that need attention for a truly accurate kit. The engine requires a considerable makeover for an accurate HL 42 TRKM engine, the undersized drive sprockets result in track compromises including incorrectly shaped guide teeth to fit the sprockets as well as the actual spacing of the road wheels and hull that all needs attention.
The early type 2cm FlaK 38 has a few dimensional issues but nothing serious and overall builds into respectable early gun but the shields are rather sad and there is the issue of the incorrect KwK38 barrel instead of the required FlaK38 barrel tube included in the kit.
If you are not fussed with the numerous small issues mentioned above the kit is really a generational leap over the elderly Italeri offerings and overall will build into an attractive model of a 1942 production vehicle OOB. But there is plenty of scope to add or not add details as you see fit with the main areas of concern being the running gear size and placement, the engine as well as the barrel issue which really shouldn’t be.Rating 8/10
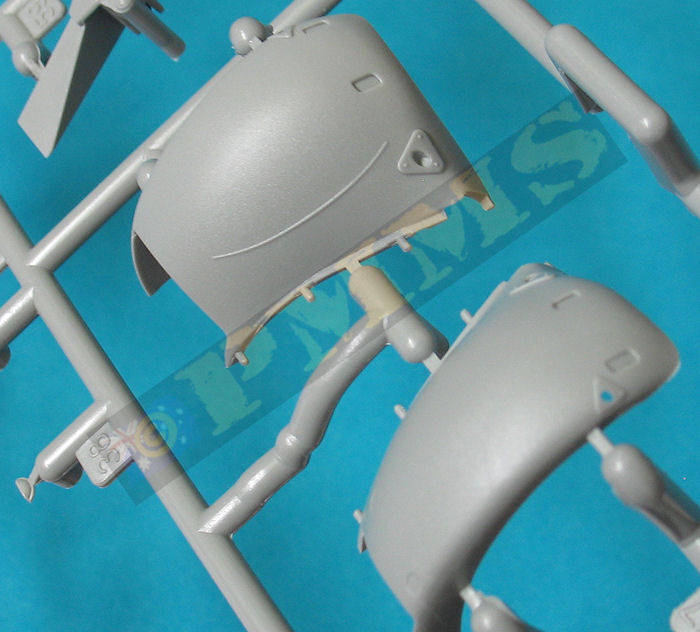
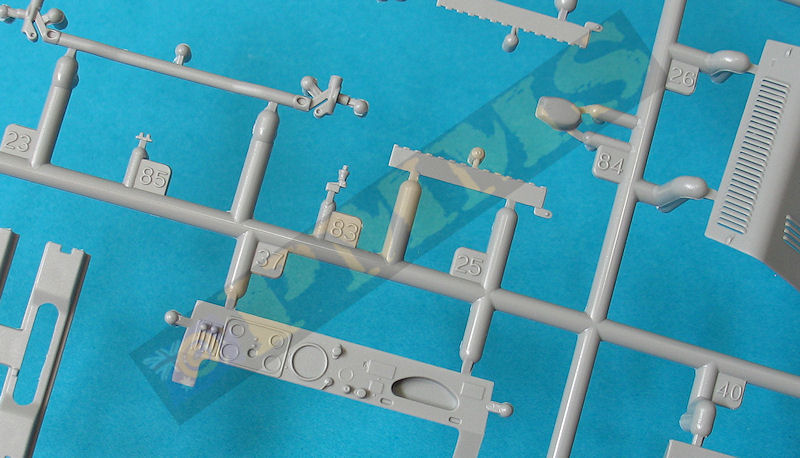
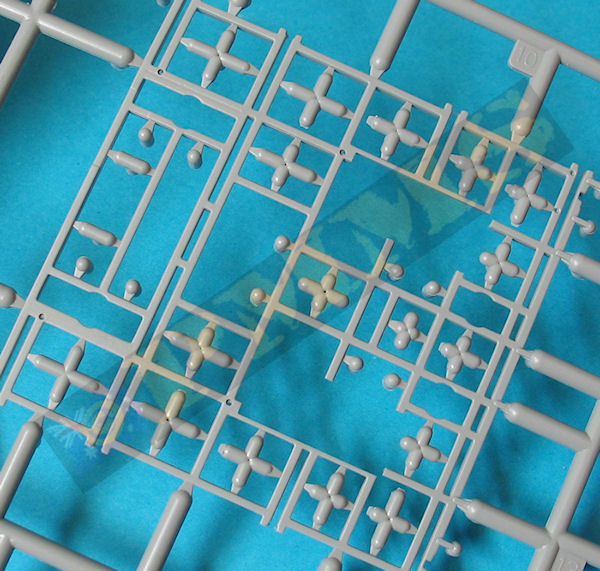
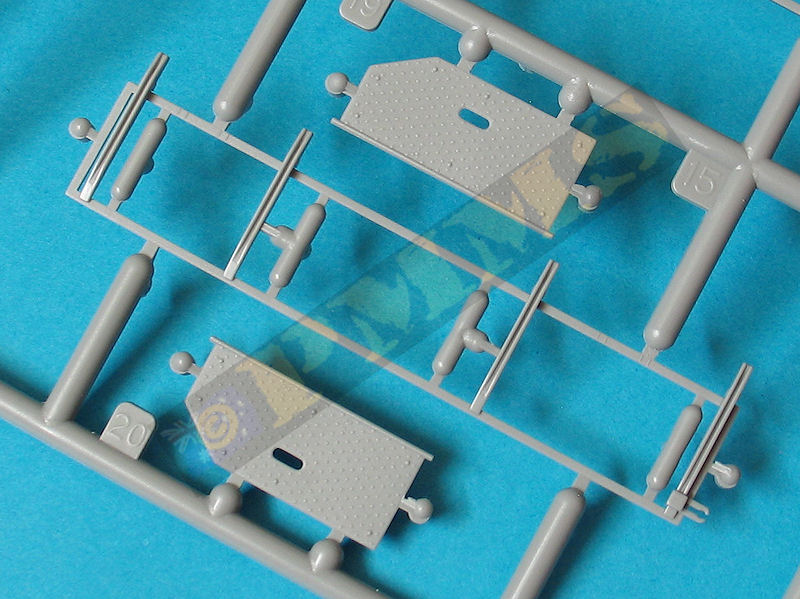
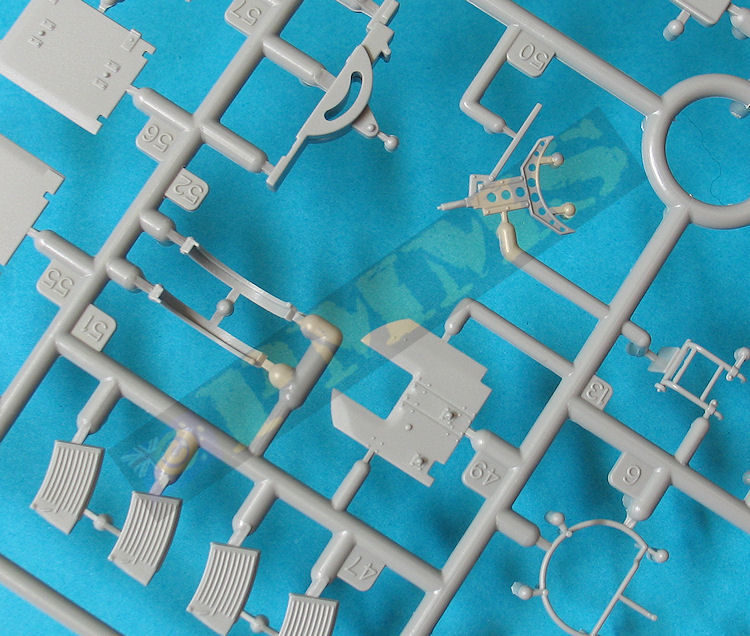
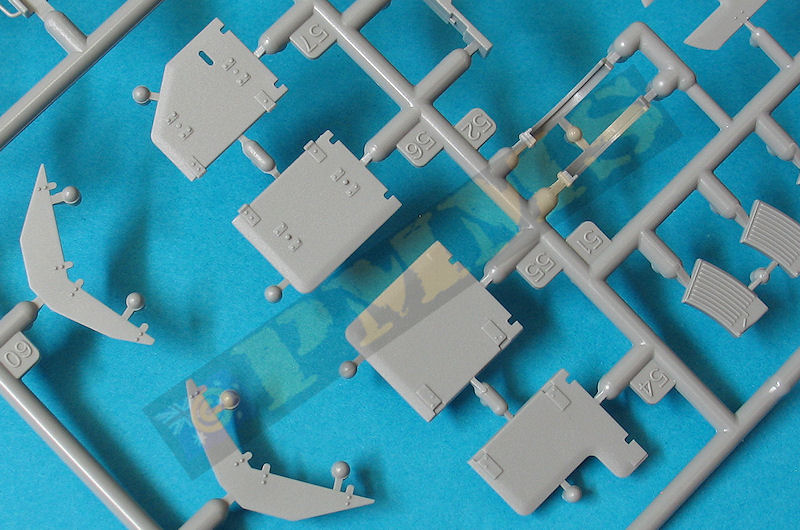
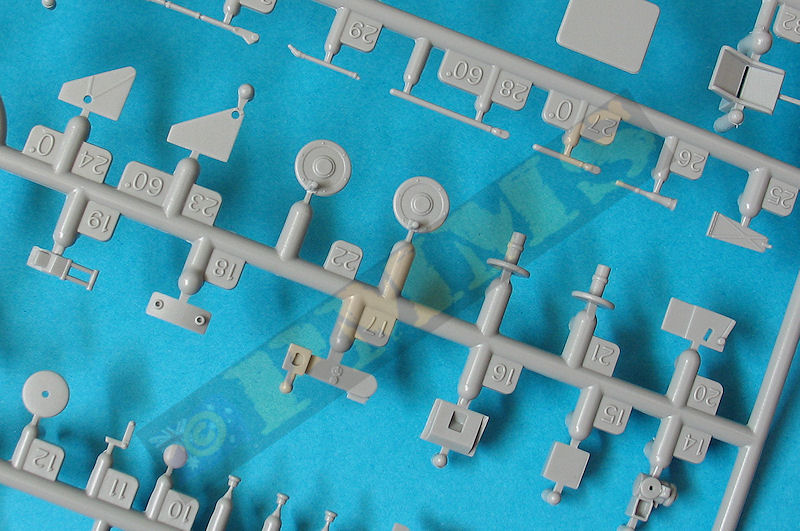
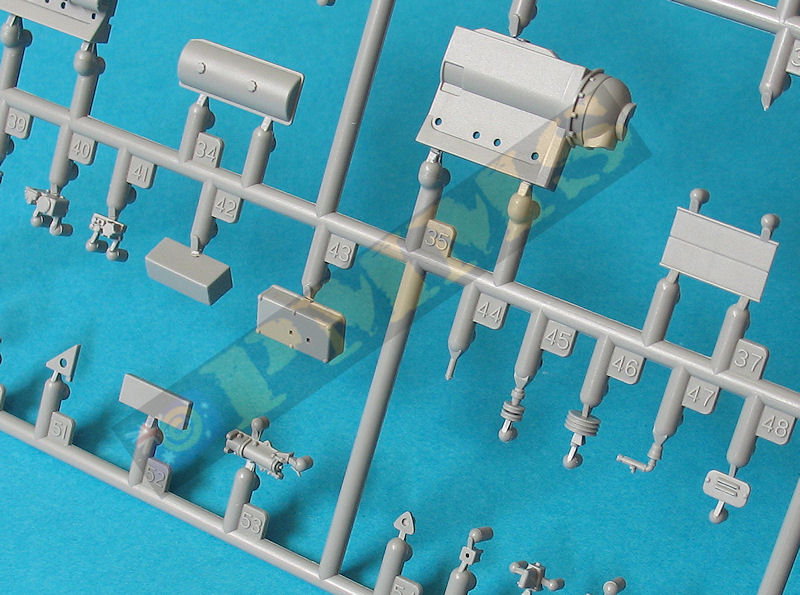
Sprue images
Click on thumbnails for larger view
Build images

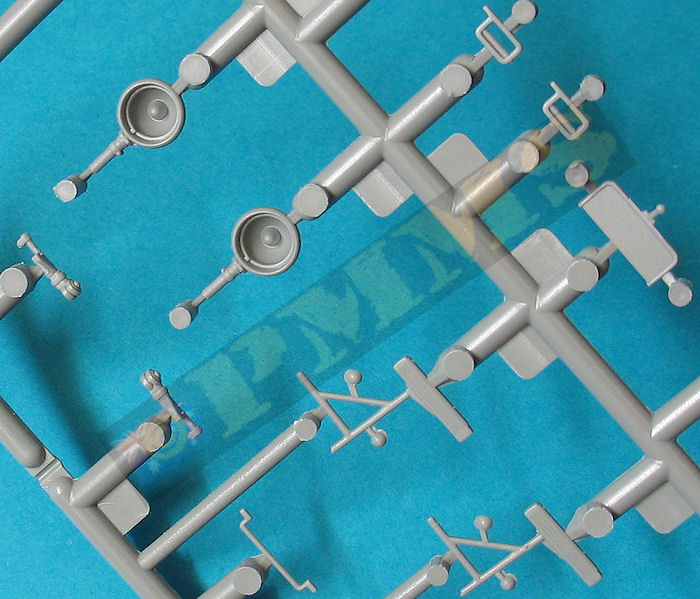
Sprue detail images


| Leichter Zugkraftwagen 1t (Sd.kfz.10) Ausf.A and B and Variants Panzer Tracts No.22-1 ISBN 0-9815382-5-8  |
Halftrack Vehicles of the German Army 1395-1945 Schiffer Military History ISBN: 0-88740-758-7 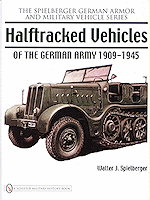 |
| Sd.Kfz.10 Demag
in detail Wings & Wheels Publications R 057 ISBN 978-80-86416-92-2 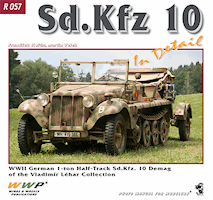 |
Flak 30 & 38
in detail Wings & Wheels Publications R 061 ISBN 978-80-86416-95-3 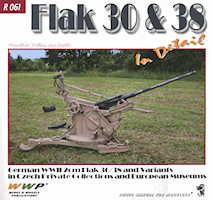 |
| Flak
at War Trojca Publications ISBN: 83-60041-15-6 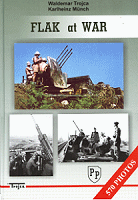 |
German Light Half-Tracked Prime Movers 1934-1945 Schiffer Publishing Ltd.  |
| Toadman's Leichter Zugkraftwagen 1T (Sd.Kfz.10) Ausf B. Photo Detail CD  |
Sd.Kfz.10/4 (it's really mostly on the /5) Wydawnictwo Militaria 172  |
