Welded Lower Hull
for Tacsa M4A1 kits
Formations Set No. F102
1:35 Scale
Assembly sequences
Note: All resin to plastic parts are only dry fitted in these images indicating the excellent fit of parts.
1. Glue the lower sponson fillers and inner engine firewall to Tasca upper hull
this is for easier and more precise alignment to the resin lower hull
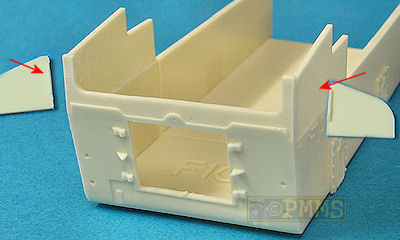
2. Cut off rear plate side extensions
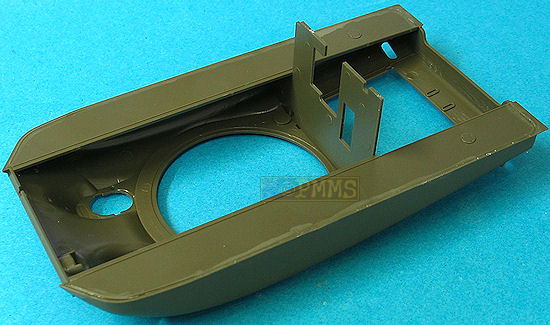
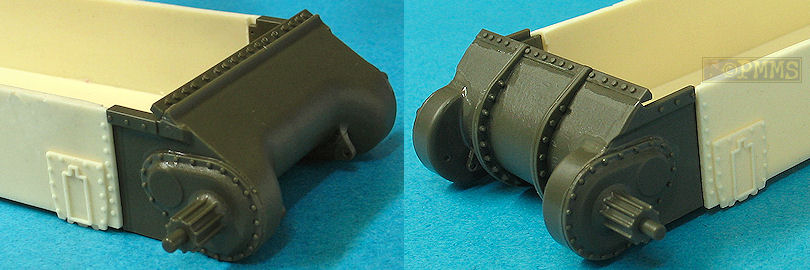
3. Assembled transmissions added to resin hull
no trimming other than the usual cleanup of the resin hull was needed here
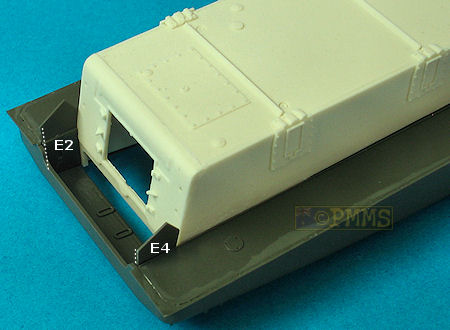
4. Rear hull fit also very good with precise location of the sponson fillers to the resin hull.
The rear inserts (Tasca parts E2, E4) required about 0.5mm trimmed from the rear edge for a better fit,
this being about the only trimming needed in the whole assembly.
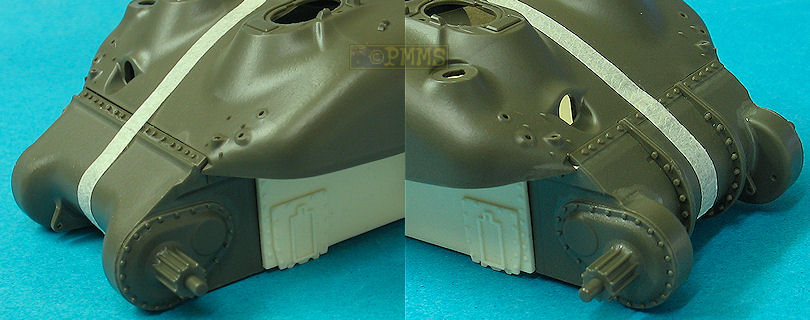
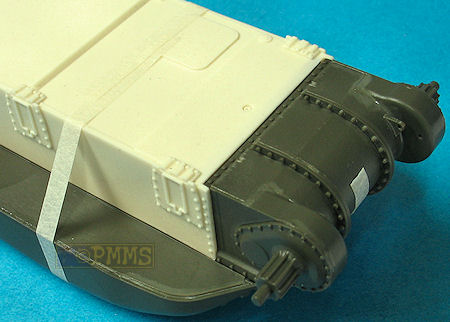
Upper hull added, note excellent fit to the resin lower hull as is the transmission cover.
Two views of the excellent fit around the hull front without any trimming needed.
The remainder of the kit is assembled as per the Tasca kit instructions.