
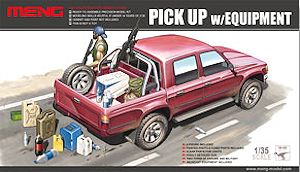
Pick Up w/equipment
Meng Model 1:35 Scale Kit #VS-002
Review by Terry Ashley
As this is the same basic kit, the review below is from the previous kit with additional comments for the new parts.
You will also have to take care working with the black plastic as it is quite difficult at times to see the detail and where to trim and position parts, added to this the softer plastic resulted in a little flexing with some parts making alignment a little difficult at times, this and the positioning was most noticeable with the suspension parts.
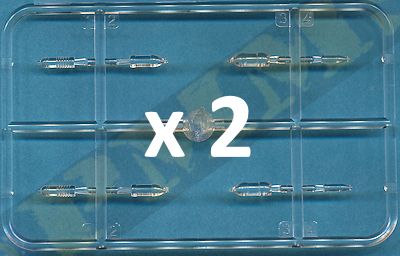
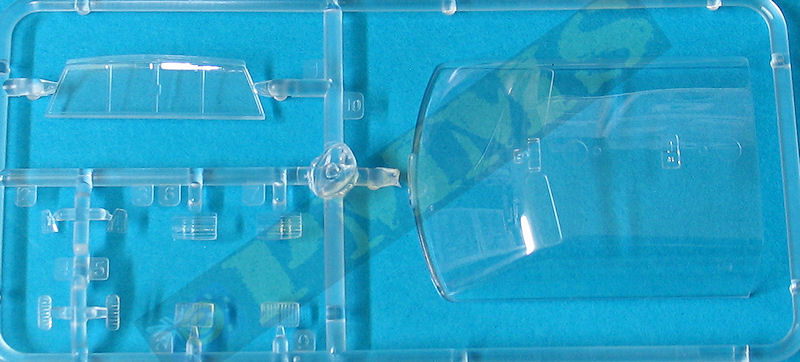
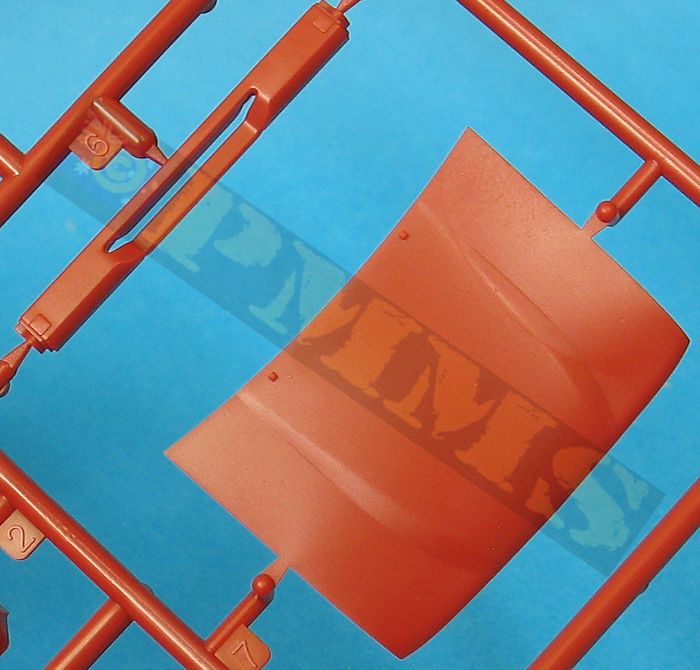
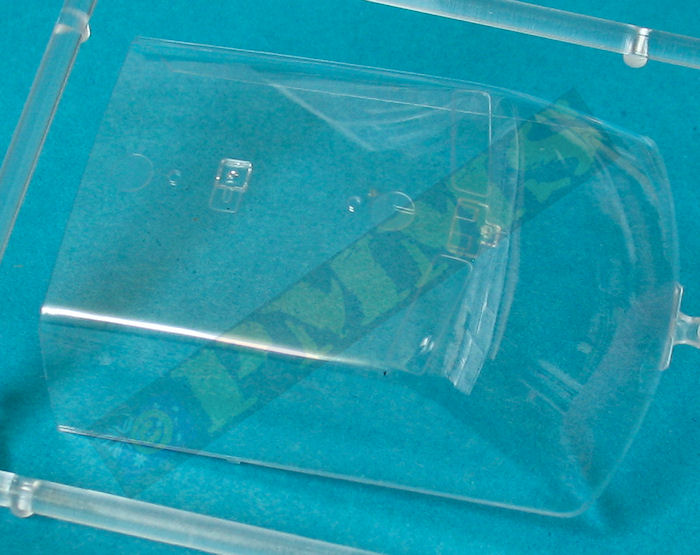
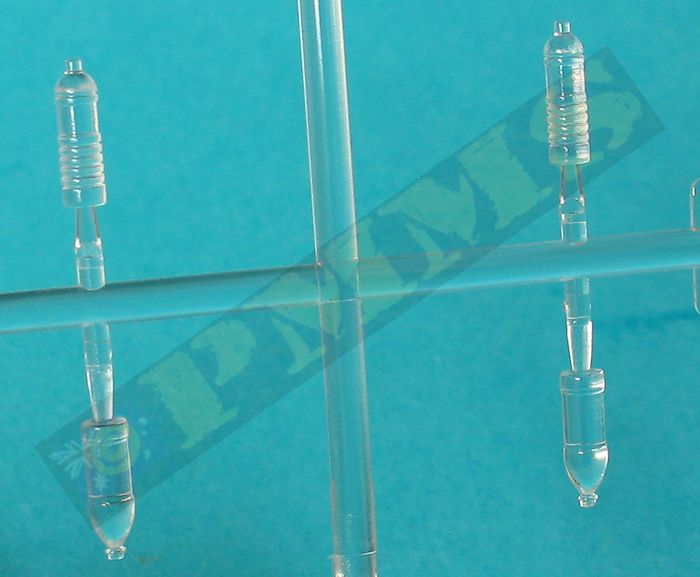
The clear plastic parts especially the large single piece window section are quite thin and very clear without any hint of distortion or internal mould flow lines that can sometimes effect large areas of clear plastic, the usual care is needed when removing the clear parts from the sprues due to hard brittle nature of clear plastic.
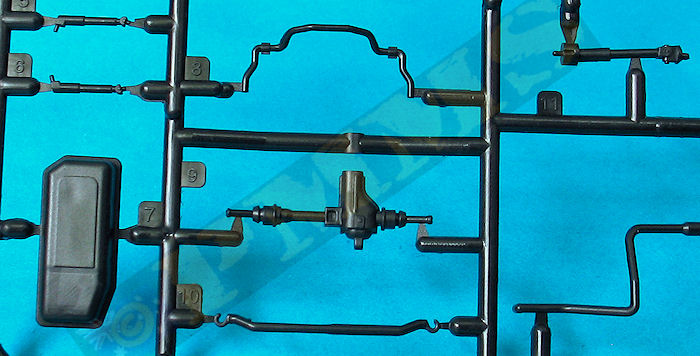
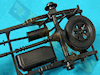
The lower sump guard includes the lower wishbone suspension arms with separate shock absorbers with a two part transfer case added behind the engine and short drive shaft.
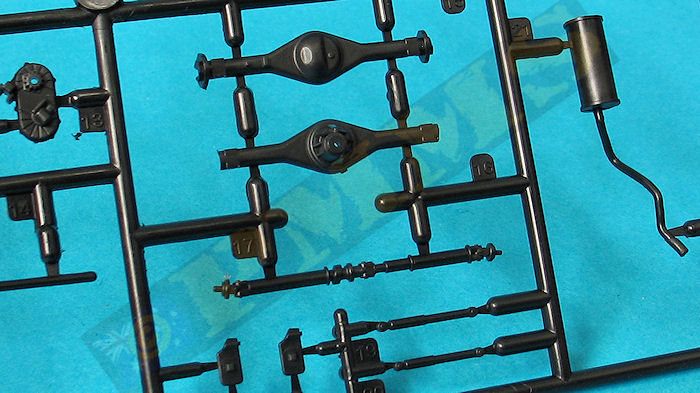
The two part exhaust pipe/muffler will need the pipe drilled out for a better appearance and was added along with the fuel tank before moving to the two part rear differential/axle with separate leaf spring units, shock absorbers, and brake drums, the instructions show to fit the rear drive shaft before the differential.
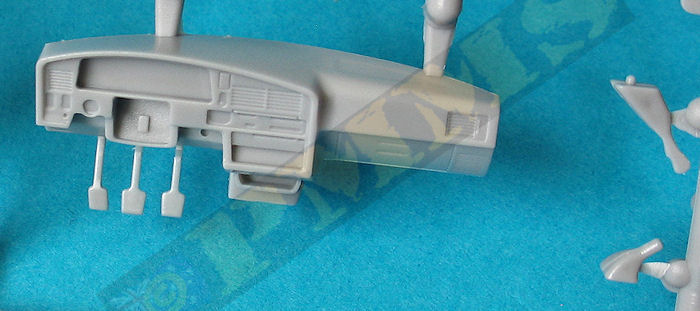
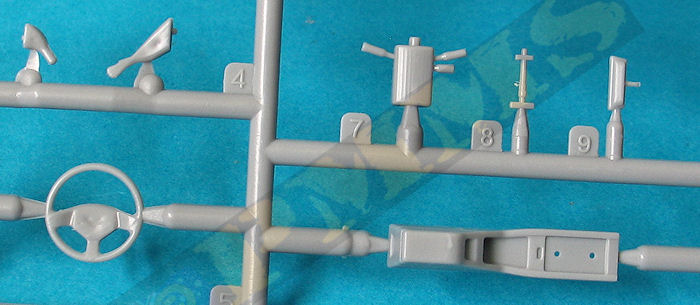
The main front left hand drive instrument panel has well done details on the instrument cluster with decals for the dial faces as well as the centre consol and right hand detail. The three driver’s foot pedals are moulded under the panel and are fairly basic but you can’t really see these after assembly anyway.
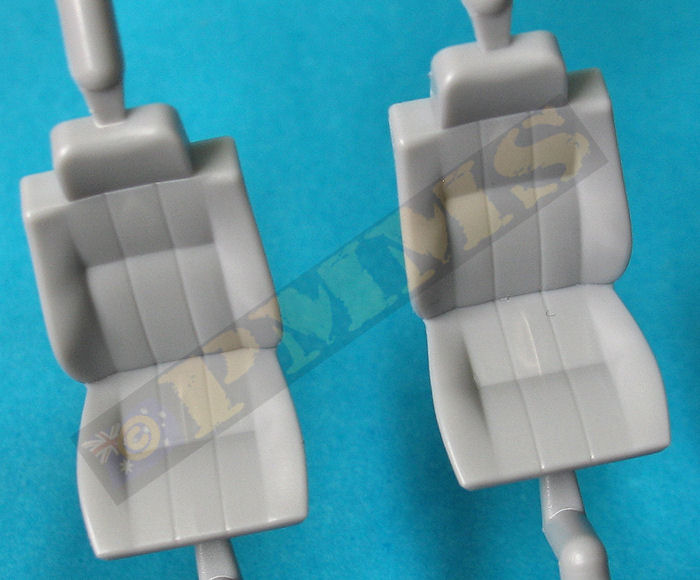
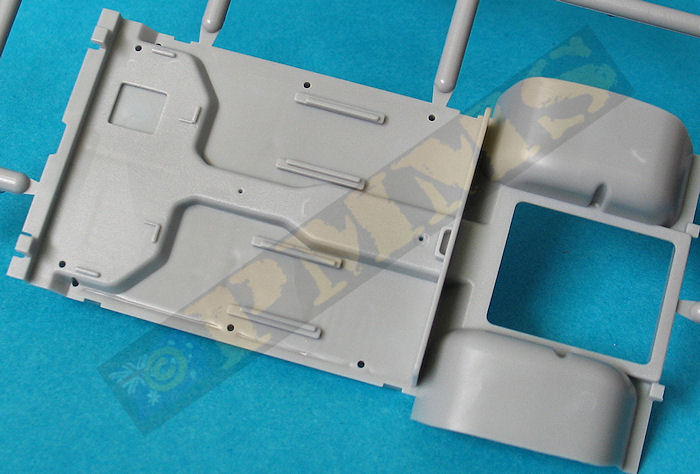
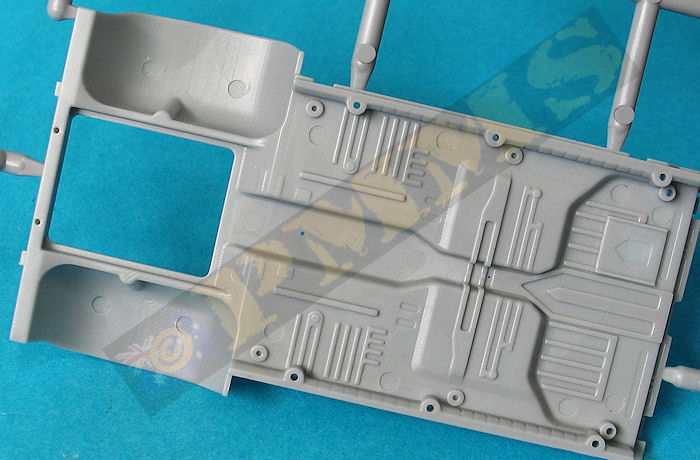
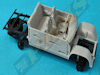
The steering wheel column has the three control stalks included with a separate steering wheel with the correct features for the model and the separate hand brake lever added to the panel. The assembled instrument panel is attached to the floor section with the fully assembled interior tub attached to the lower chassis frame via locating lugs for a precise fit.
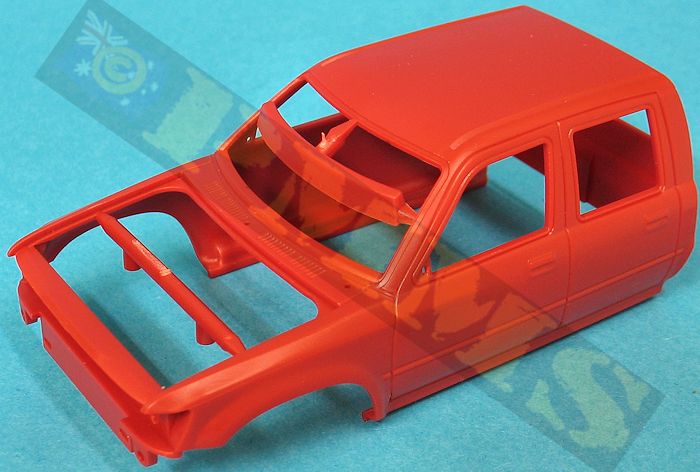
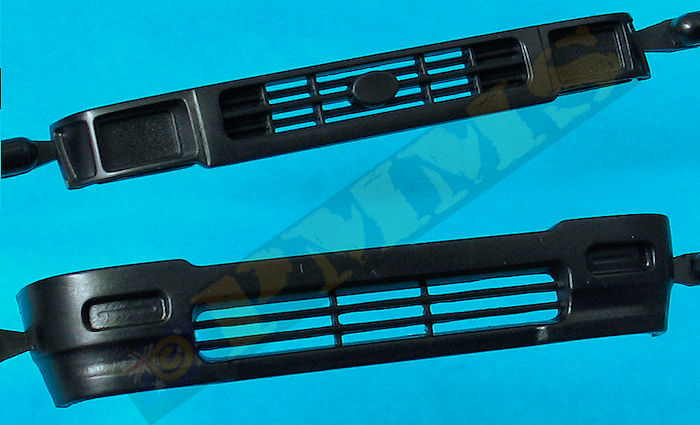
Exterior detail on the body is nicely done with the contours matching photos of the model type well although the door handles could be better defined. Additional parts are provided for the side door mirrors, windscreen wipers and the front grill and bumper which have excellent definition on the grill work. The radiator grill badge is just a plain oval ready for an aftermarket Toyota badge with clear ‘glass’ inserts for the head lights and side light units as well as the indicator lights in the lower bumper section. The lights will need to be painted on the inside before fitting as they sit on the black plastic as well the white areas behind the grills are visible and this would need to be painted before fitting the grills.
The body shell is fitted over the assembled chassis/interior tub with the instructions showing the do this before fitting the front radiator and bumper sections as the front of the body shell clips over a tab on the floor pan. There is one thing to note when fitting the rear of the body to the interior tub, there are two locating lugs on the tub and corresponding holes in the rear body wall but the lugs shouldn’t fit into the holes as you might think. The rear body wall should sit on the lip of the tub and rest against the lugs, a little confusing to say the least (see images).
Once assembled there is a sizable gap between the top of the inner door panels and the outer body window sills that can be seen through the large windscreen but there is little you do about this as this stage of assembly unfortunately.
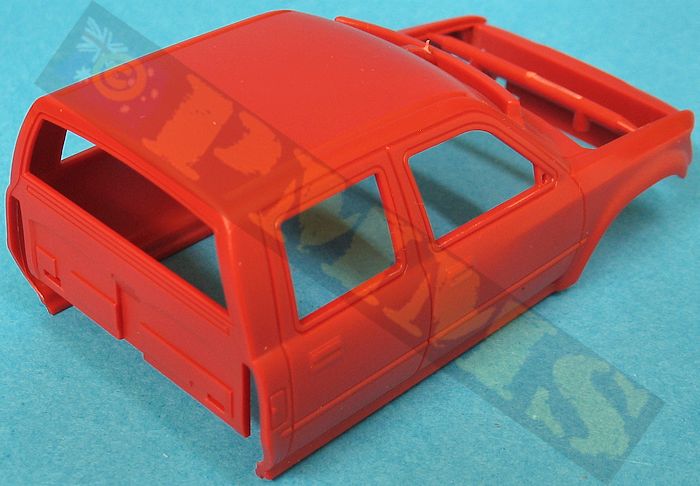
There are also the clear plastic light clusters on each rear corner and a two part roll bar with etched mountings should you wish to build the pick-up as a civilian vehicle without the gun mounted? To fit the roll bar you need to drill out four locating holes in the top of the wheel wells as indicated with indentations on the undersides of the wells. Assembly is straightforward with good fit of the parts and the assembled tray fit to the chassis as with the body.
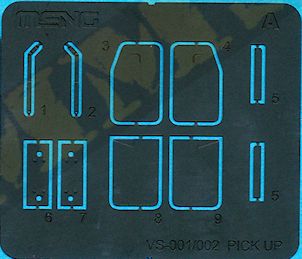
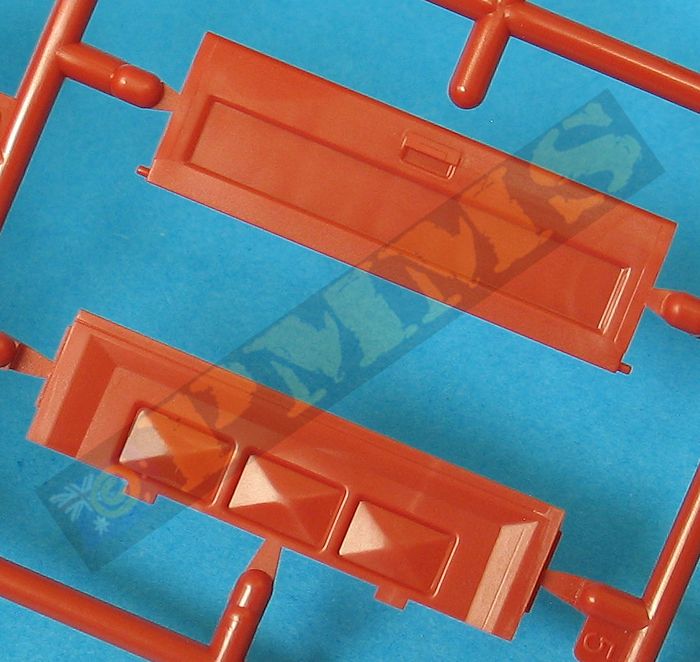
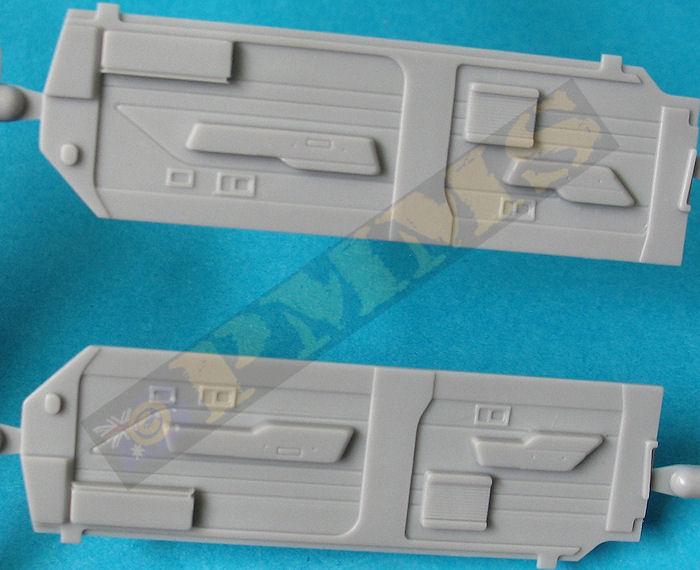
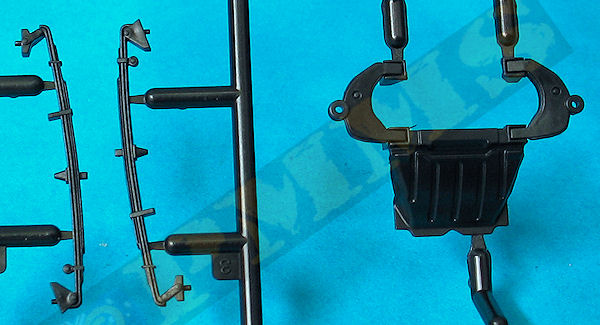
Also provided are the four mud flaps in etched metal added to the four wheel wells and the under body panels below the doors to finish off the upper body.
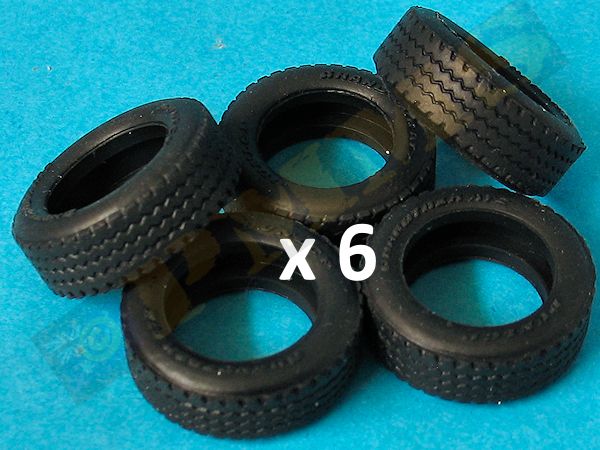
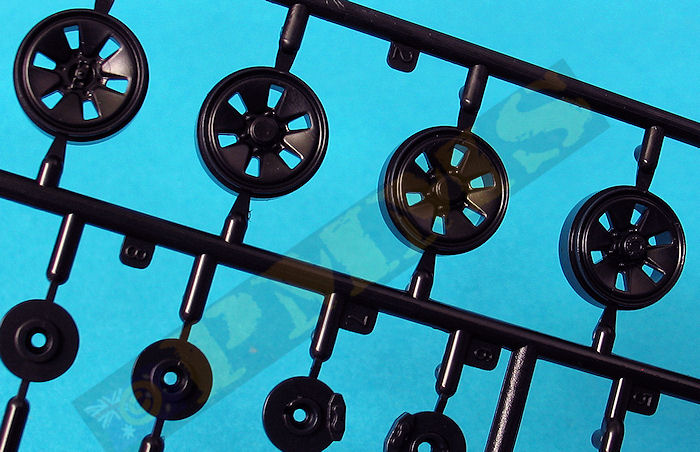
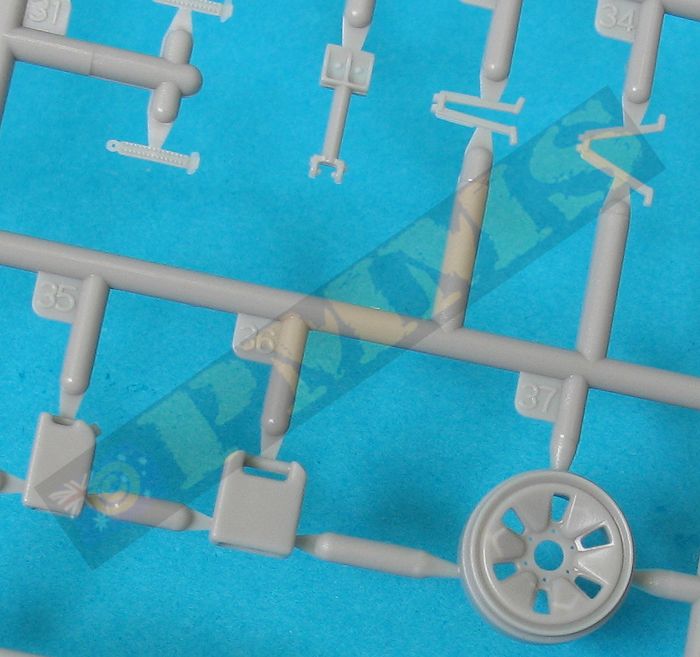
The rims are cleanly moulded without any cleanup other than the sprue attachment bur but watch as the hubs are different for the front, rear and spare wheels provided. Detail on the rubber compound tyres is well done with good tread pattern and depth as well as legible “Dunlcp” (with a ‘c’) and “Grandtrek ATZ “ embossing on the sidewalls, this is a deviation from the actual “Dunlop” and “Grandtrek AT20 “ for the same licencing issues as mentioned above. A minor issue is a little bit of rubber flash on the shoulder of the tyre which you may want to carefully remove; this can be an interesting exercise with the medium.
The wheels are designed to just glue in place on the axles with the spare added under the rear tray, it’s probably best to leave these off till last to aid in the painting process.
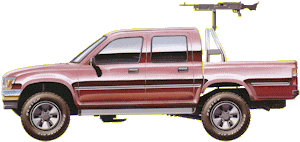
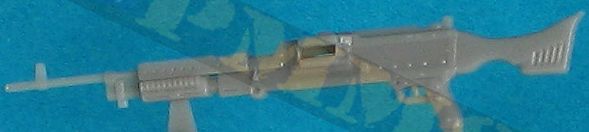
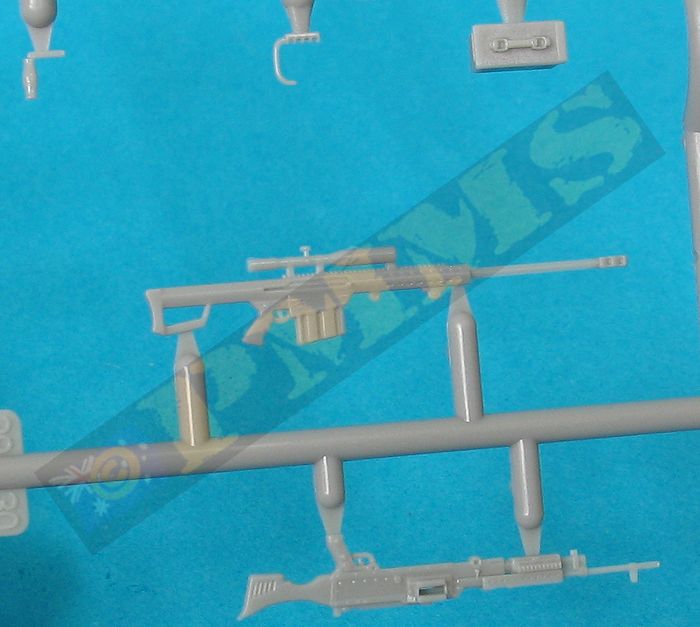
The M240 has nicely moulded details with again separate parts for the lifting handle and bipod legs that can be fitted in the folded or extended position as required. It can also be mounted on the truck roll bar as an alternative to the ground bipod setup allowing different scenarios to be modelled.
M240B 7.62mm GPMG
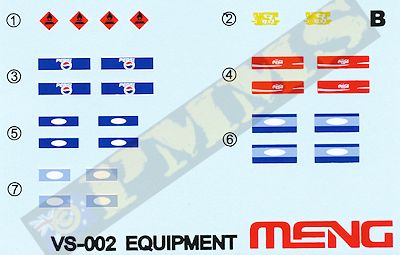
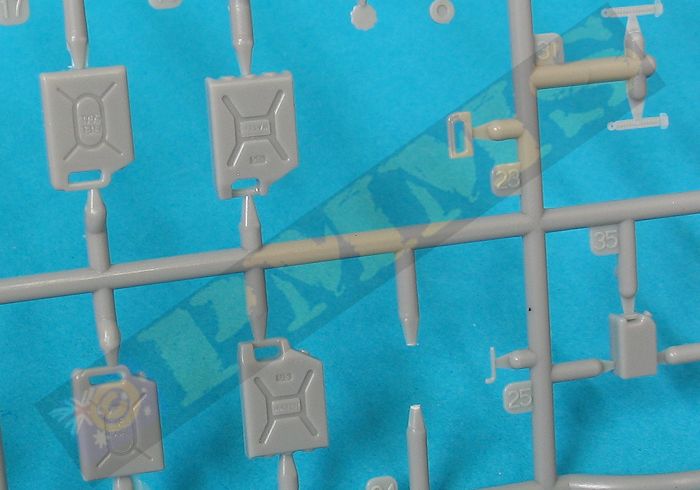
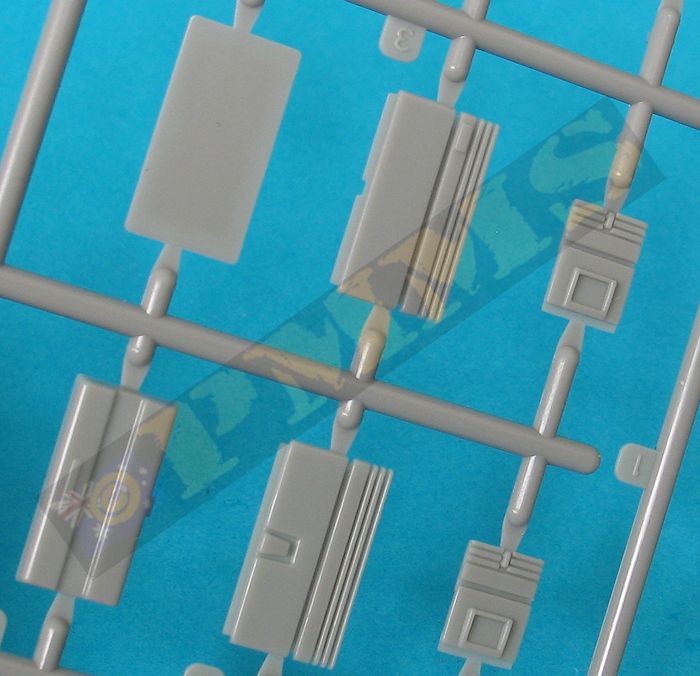
There is also a selection of equipment with three large Coleman coolers of different styles that can be assembled with the lip open if you wish. There are three styles of smaller plastic cans and plastic fuel and water “jerry” cans plus a variety of clear plastic drink bottles, these have labels on the decal sheet for some of the most common brand names. A couple of rucksacks and an additional spare tyre can be used as required.
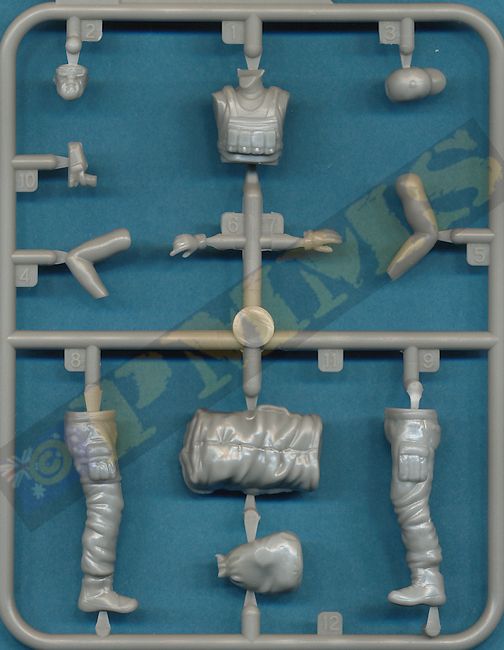
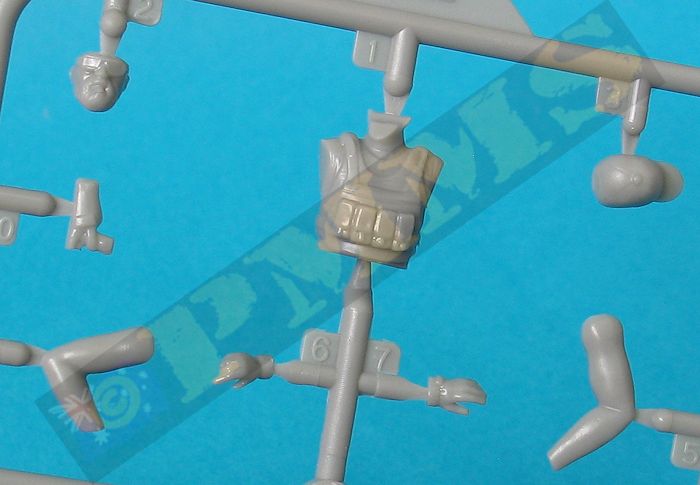
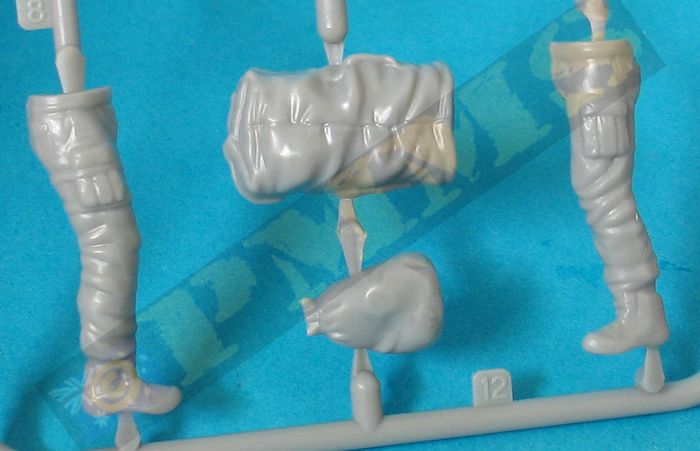
The figure is broken down in the usual manner with separate legs, torso, arms, head and cap with the fit being acceptable but some minor trimming of the joins may be needed as is often the case with plastic figures.
Included with the instructions are colour illustrations of three colour options red, blue or white but given the red plastic the red or blue would be the obvious choice as a few primer coats would be needed for a white finish and you could basically finish the kit in state of disrepair as you wish. Also included are paint numbers for Hobby Color, Mr.Hobby and Vallejo colours used during the construction.
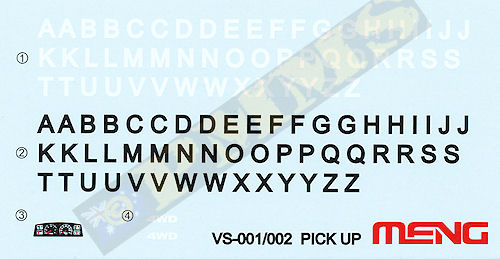
This can be used to apply the tailgate TOYOTA name but note that no all vehicles in this model year range had the name on the tailgate so check references.
The second sheet has the bottle labels and some other stencilling to use as required.
The interior is quite complete but there is plenty of scope for additional detail such as seat belts and smaller detail items with the large clear part lacking any detail on the pillars and lower body join. The exterior is quite nicely done but after all there isn’t a lot of additional stuff on a civilian vehicle like on a military vehicle in this regard but again the engraved lines for the doors are oversized from what they would be if the doors were separate like with the separate engine hood.
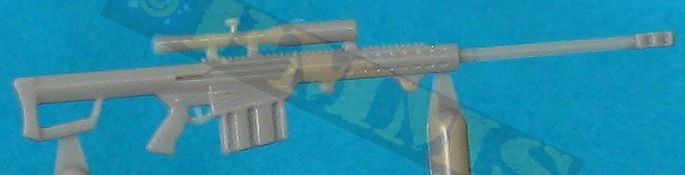
The inclusion of the M82A1 and M240 as well as the civilian contractor figure with assorted equipment allows further diorama opportunities for the kit.
Overall this is a nice kit and offers numerous possibilities for civilian pick-up or armed as depicted and can be used in virtually any location Worldwide.
Rating 7.5/10
Click on thumbnails for larger view

Sprue Detail Images

Build Images
Close new window to return to page
Thanks to
