
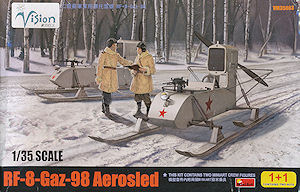
RF-8-Gaz-98 Aerosled
Vision Models 1:35 Kit #VM35003
Review by Terry Ashley
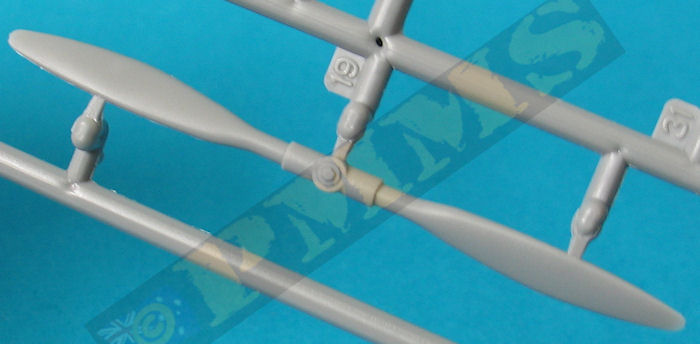
The RF-8 was powered by a GAZ M1 auto engine (the same as in the BA-64 A/C) developing 50hp and driving a 2.35m diameter metal propeller, the use of the metal propeller overcame a shortcoming of other designes using wooden propellers that would shatter on contact with tree branches. The engine was mounted on the rear wooden extensions with light tube frames with the radiator loacated at the front of the engine compartment housing with the fuel tank located in the rear of the hull.
The RF-8-GAZ-98 Aerosled was produced from January 1942 with approximately 2000 being produced before the end of the war and continued in service for some time post war.
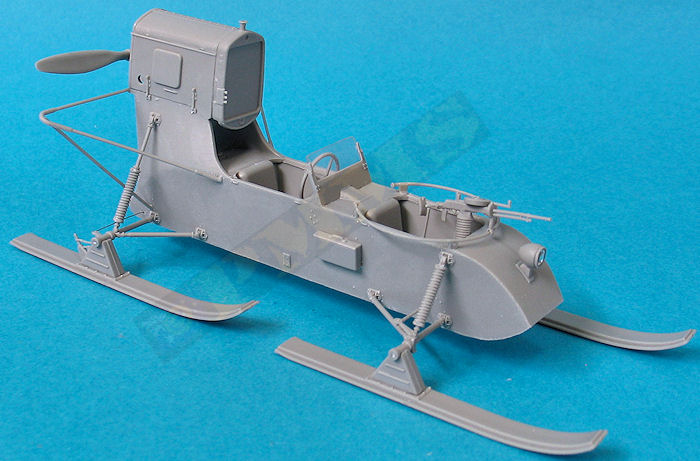
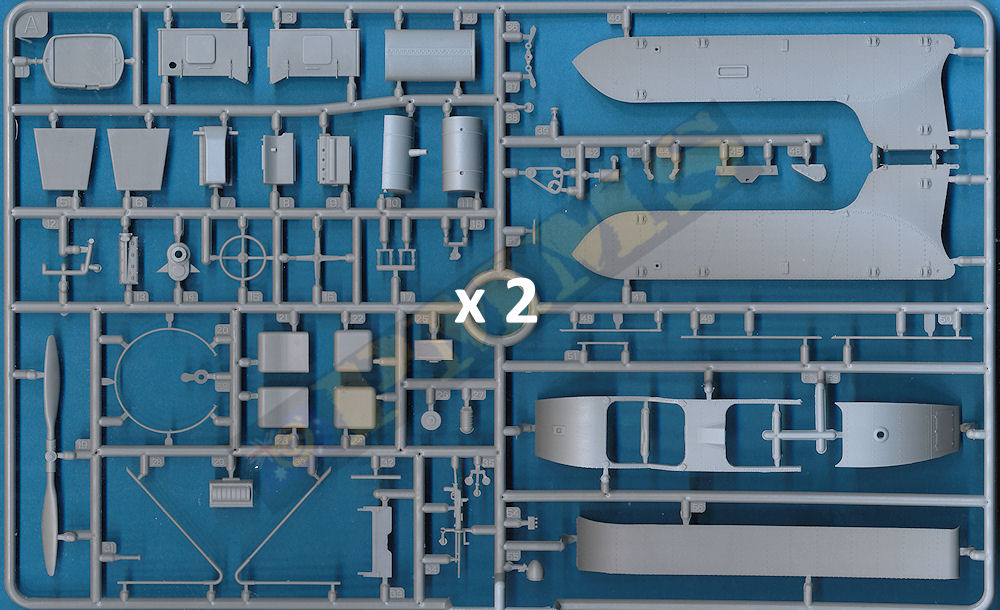
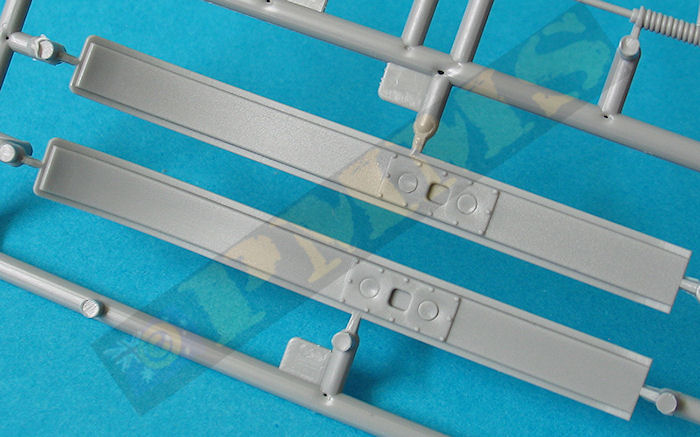
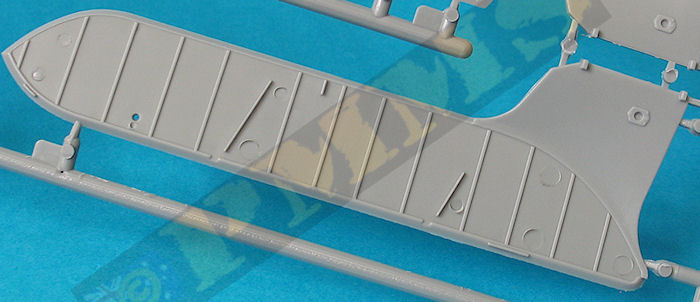
The parts includes hundreds of very finely moulded rivets especially on the hull parts as well as the inner hull frames and mountings for the suspension arms, one notable feature is the lack of locating pins on many of the parts such as the suspensions arms and other smaller parts that gives a cleaner finish but you do need to take a little more care to align the parts correctly in the process.
The only issue here is the RE8 didn’t have hundreds of rivets, not raised in any case as the hull was smooth apart from a group of five rivets under the windscreen and three tie down loops, these are on the kit as slightly larger rivets than the hundreds.
Therefore the first job is to remove all the fine raised rivets on the hull parts leaving just those under the windsceen, this will make assembly easier as you don’t need to worry about the rivets with the joins.
Dimensionally the kit measures out extremely well against the 1:35 plans in the recent Tankograd Aerosan book in all areas such as length, width, height, propeller diameter and ski length given the usual tolerances for printing etc.
Note there are some large pins marks on the inside of the hull sides that are hidden after assembly so don’t be tempted to work on these at first glance.
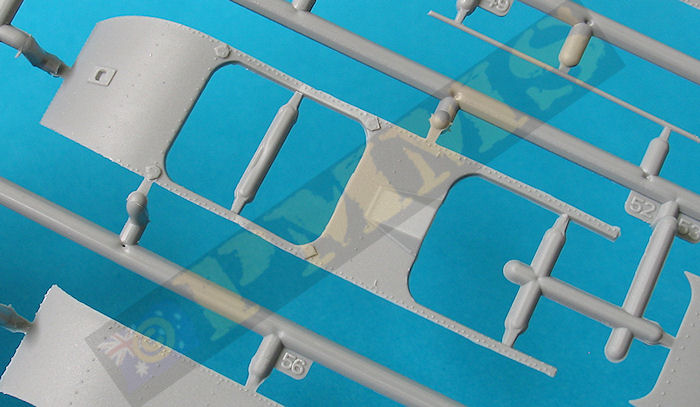
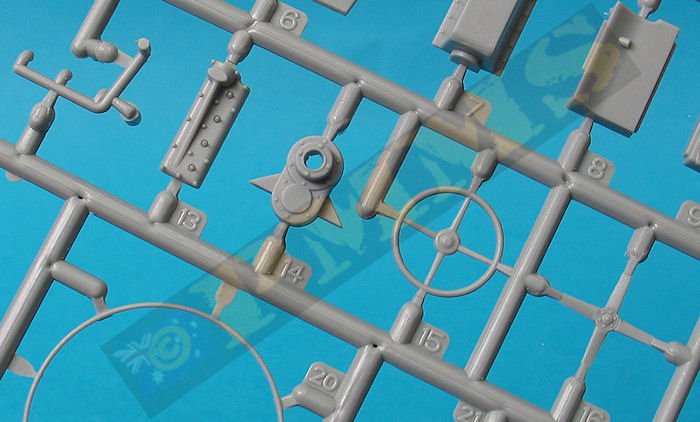
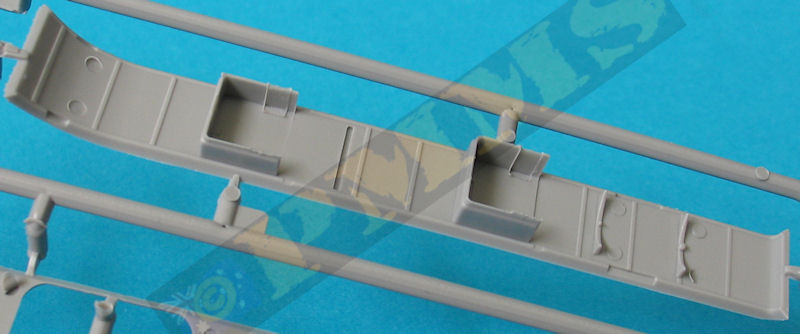
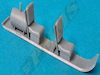
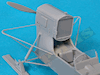
The interior consists of the Commander’s and Driver’s seat/bulkhead with the 10 magazine racks for the Commander and steering wheel and foot pedals for the Driver. The two part fuel tank is also provided but is completely hidden after assembly so you could not bother with this if you wished?
The fit of the top rear panel is also very good as is the front top panel but this had minor distortions on the thin side trips of the Commander’s station due to the location of the sprue attachment points but after lightly bending these back into alignment and ensuring the alignment while being glued there shouldn’t be any problems. The top panel again has bevelled join edges that eliminate any join seam when glued to the hull sides so long as you take care while gluing as there is scope for miss-alignment if not careful but otherwise the fit is excellent.
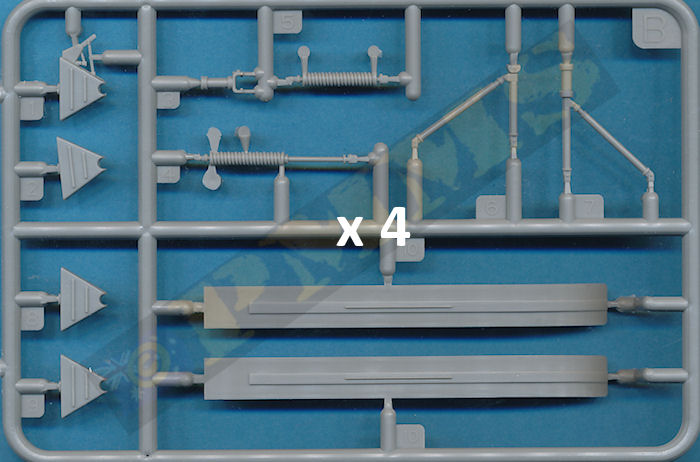
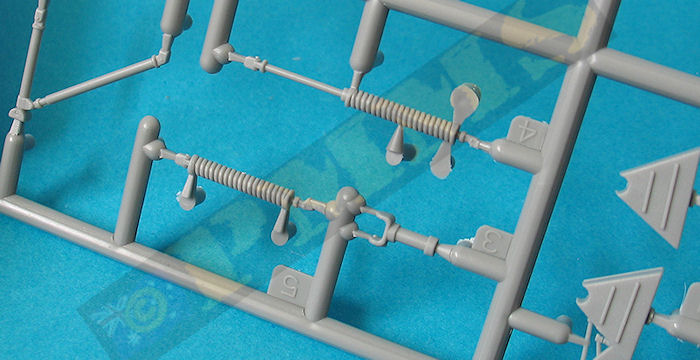
The suspension arms and rear propeller guards all require careful removal of the fine mould seams and this is best done while the parts are still on the sprues to provide some support with the sprue burs cleaned up after removal. The mould seams on the coil springs are rather troublesome and take a bit of effort to remove without damaging the spring detail so care is needed here.
The front suspension has separate outer ski attachments and steering arms so you can reposition the front skis if you wish for a different appearance of the final model. While there are no locating pins for the suspension arms they do fit snugly into the mounting brackets on the hull sides you just need to make sure the all fit perfectly level as the glue dries, adding the coil springs also helps with this alignment.
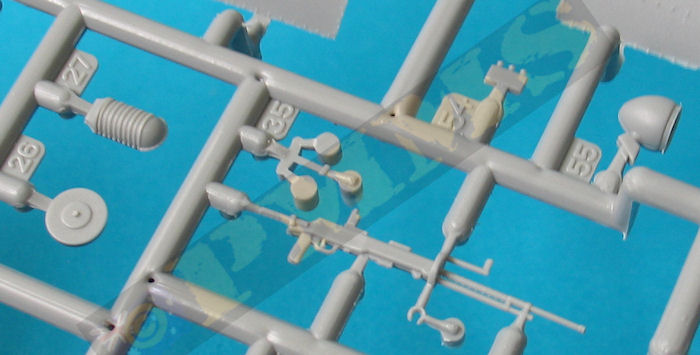
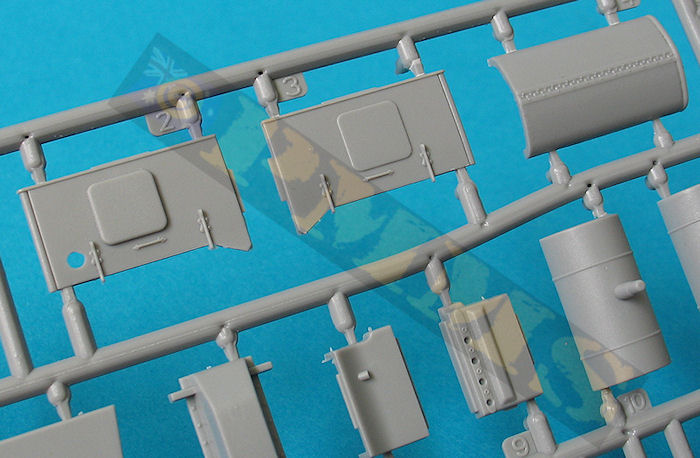
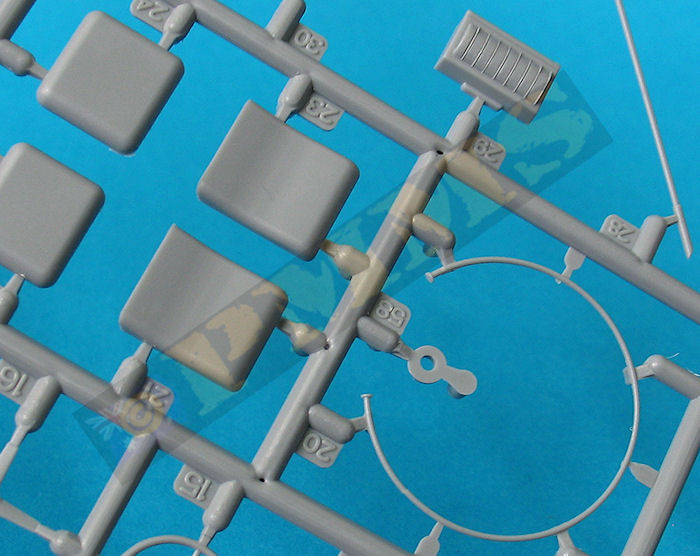
Other parts added to the hull are the front headlight with clear plastic ‘glass’ the circular gun ring with finely moulded DT machine gun with separate ammo drum and spent shell container, the mounting for the gun ring is quite basic to say the least and would benefit from some detailing with the driver’s windscreen having a clear plastic screen added to the frame but some minor trimming of the recess over the steering wheel hump was needed after some test fitting.
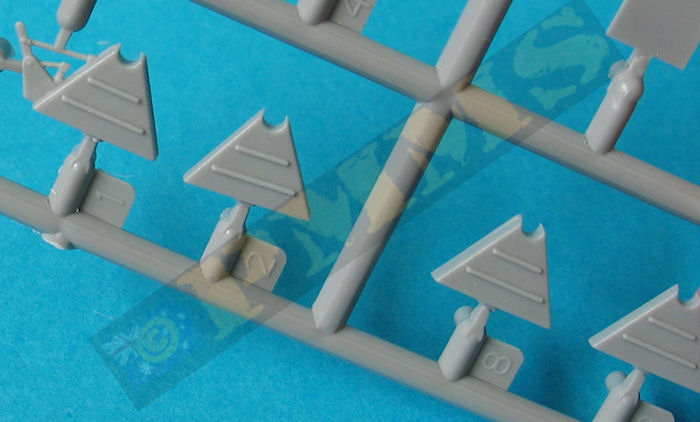
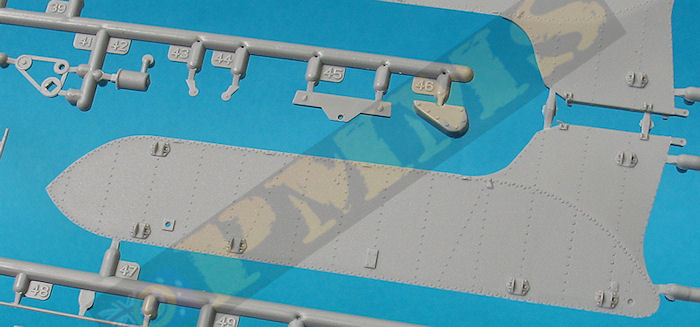
The four ski mounting ‘triangles’ are in two halves each but you will need to clean up the mating surfaces for a good fit and there were two raised pin marks on the ski bracket mounting plates that will also need to be removed. Unfortunately this is difficult to do with the surrounding bolt heads and rear most bolts had to be sacrificed to allow access for removing the pin marks, once trimmed will allow the ski mountings to fit flush but this missing bolt isn’t that noticeable afterwards.
At the back you have to add the fine brake cables with the instructions indicating to use stretched sprue which is okay but I used thin wire as sprue thin sprue tends to bow a bit when used in longer lengths but this is up to the individual?
Fitting the long thin propeller guards needs a little care as apart from the top join they are just butt joins to the hull and you need to ensure all the guards are aligned correctly, the top of the guard should be parallel with the ground line so the bottom support rids (parts A49, A50) have to be positioned to allow this.
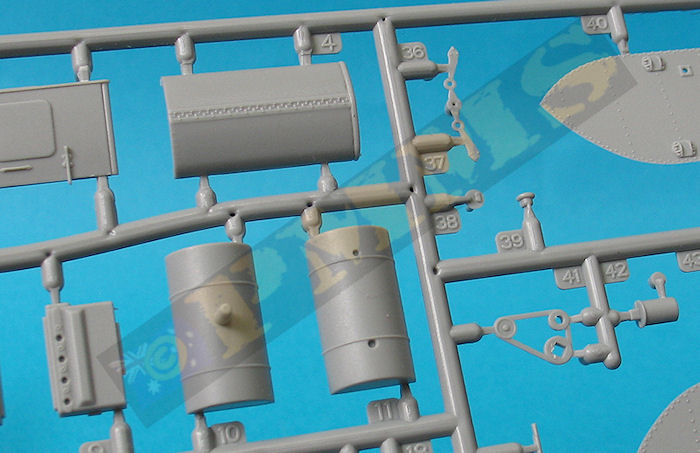
The large radiator at the front has very fine screen mesh texture and added to this are the two side panels and top hood and I temporarily fitted to the assembly to the hull while gluing the sides (not to the hull yet) to ensure that mated exactly to the hull brackets. As the compartment sides are designed to glue to the radiator it would need a little work if you wanted to show the engine exposed but nothing excessive.
Care is needed when fitting the rear propeller gearbox (part A14) as the two attachment brackets have to be aligned perfectly in line with the brackets on the front of the oil pan to ensure the engine sits correctly when added to the engine mounting tabs on the hull sides. Also there is a small round bushing trapped inside the gearbox supposedly to mate with the propeller shaft when this is added later to allow the propeller to be movable but it’s impossible to glue this to the propeller shaft once trapped inside the gearbox so it’s best to just insert the propeller shaft into the gearbox if you want it to rotate?
Once the engine is attached to the hull mounting tabs the assembled engine compartment can be added with the fit very good without any fouling of the inner engine parts and the compartment can be left unglued if you wish to expose the engine at any time
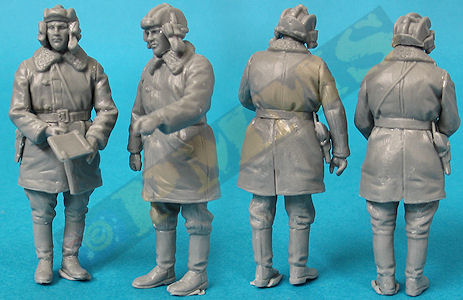
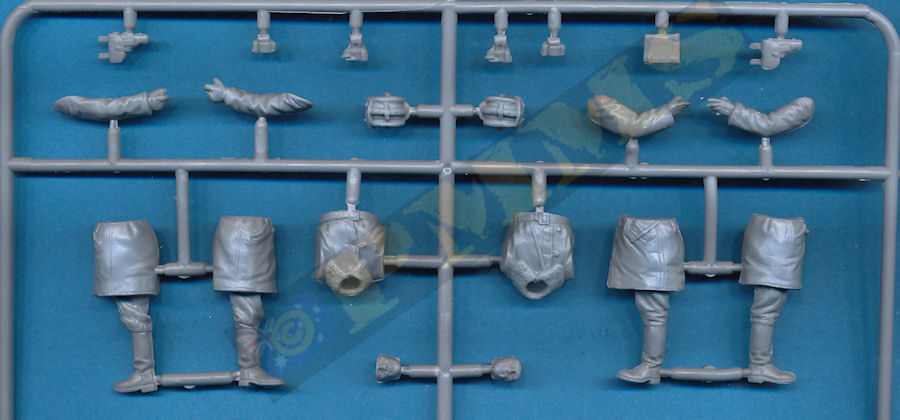
The bonus of two full aerosleds in the kit along with a couple of crew figures adds to the appeal of the kit.
Rating 8.5
Click on thumbnails for larger view
Sprue detail images

Close new window to return to page
Build and Detail Images
| AEROSAN Soviet Aero-Sleighs of World Wat Two Tankograd Special No.2010  |
