
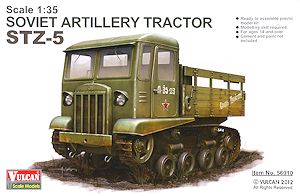
Soviet Artillery Tractor STZ-5
Vulcan Scale Models 1:35 Kit #56010
Review by Terry Ashley
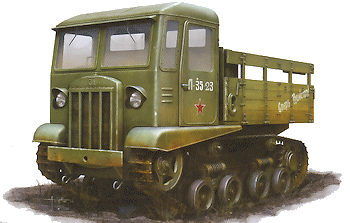
As with many other items of Russian equipment captured tractors were used by the German Wehrmacht after Operation Barbarossa from June 1941 and the basic design of the STZ-5 can be seen in the development of the German RSO tractor which was designed specifically for the harsh Russian conditions.
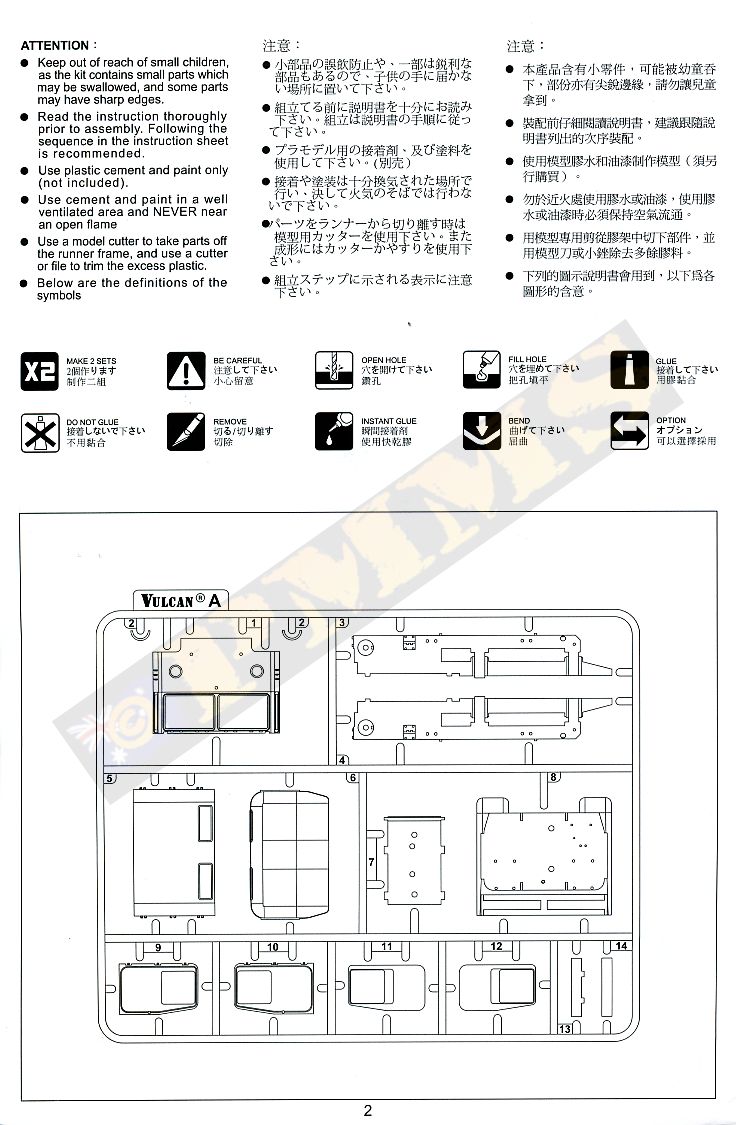
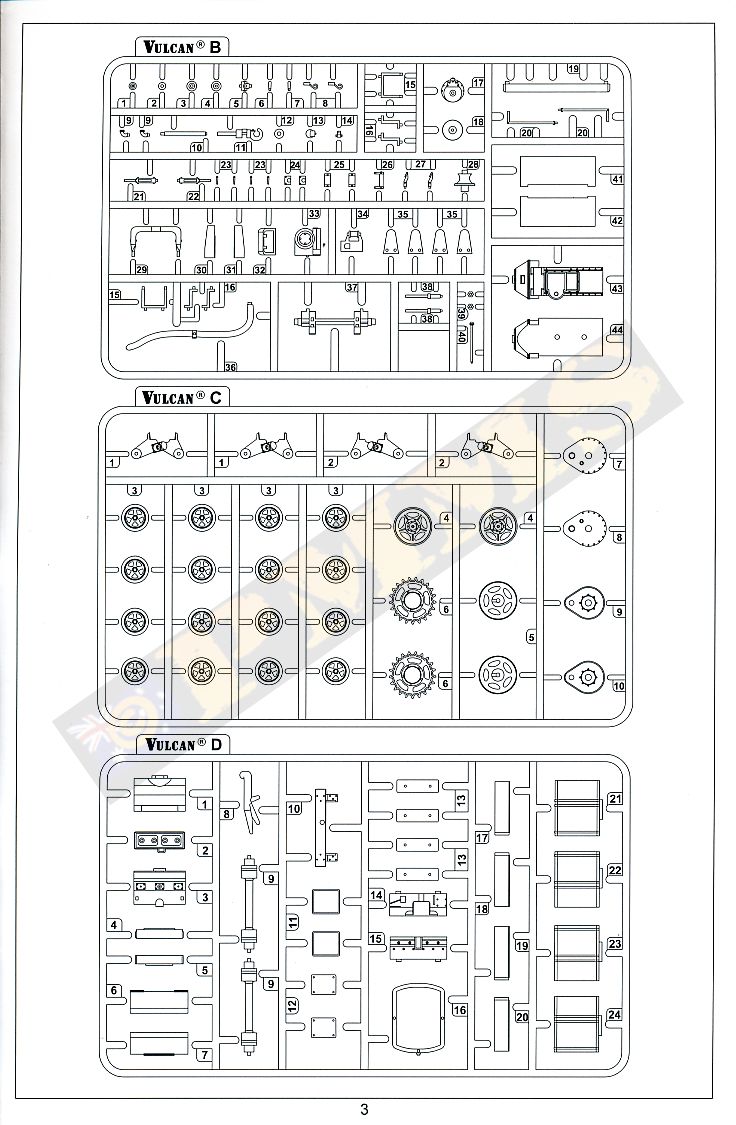
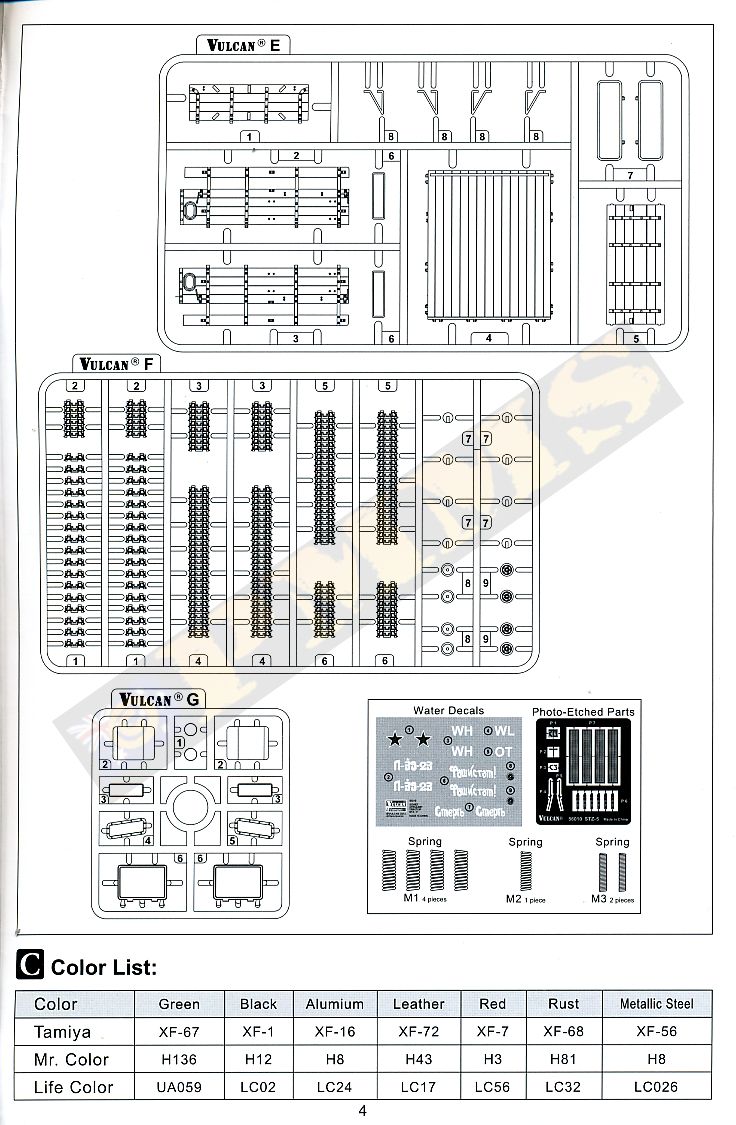
The kit consists of:
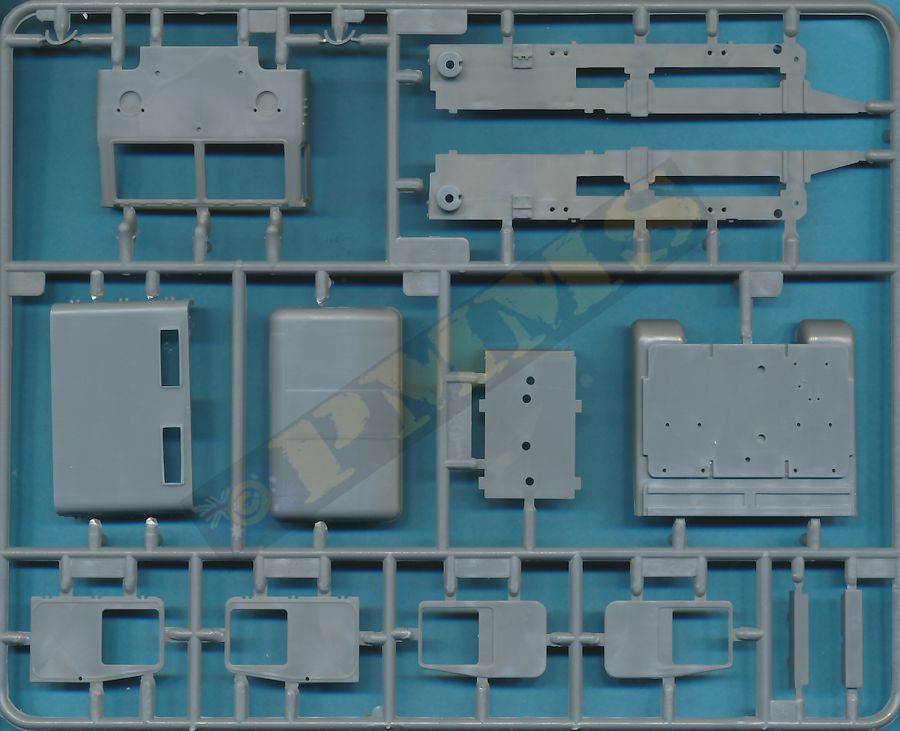
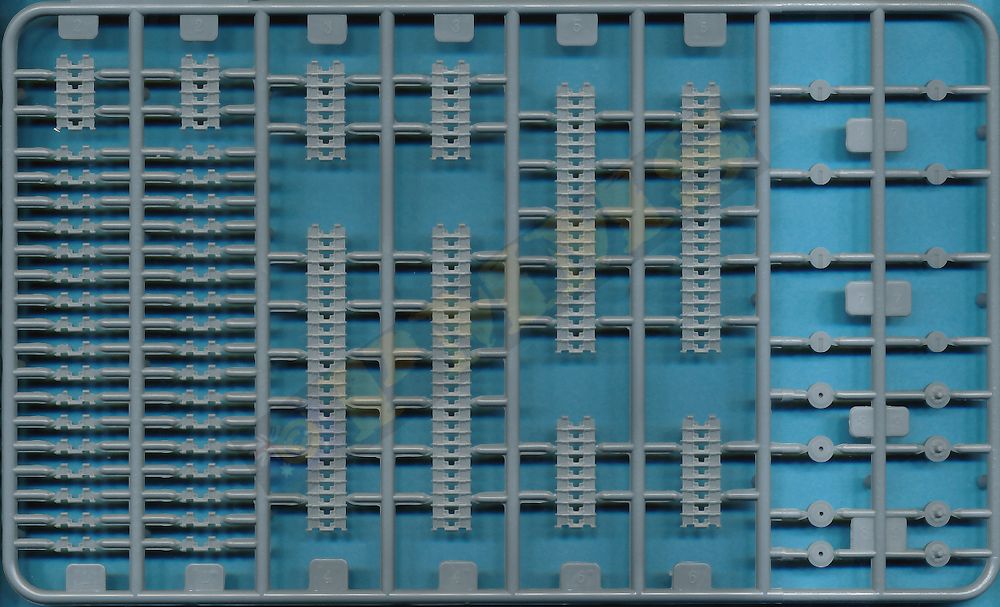
211 parts in light grey plastic
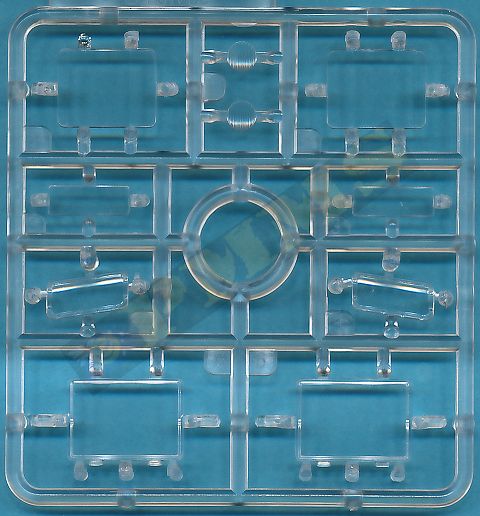
10 parts in clear plastic
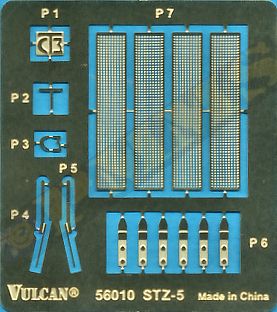
15 etched brass parts
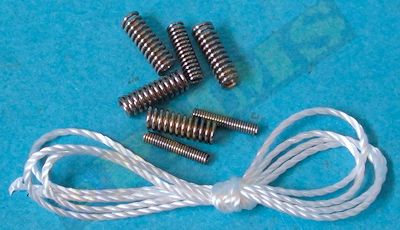
7 real metal springs of 3 sized
1 length of twine
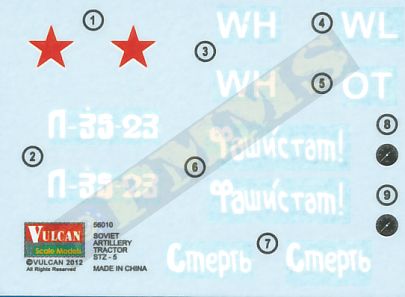
1 small decal sheet
1 A5 sized 12 page fold out instruction sheet
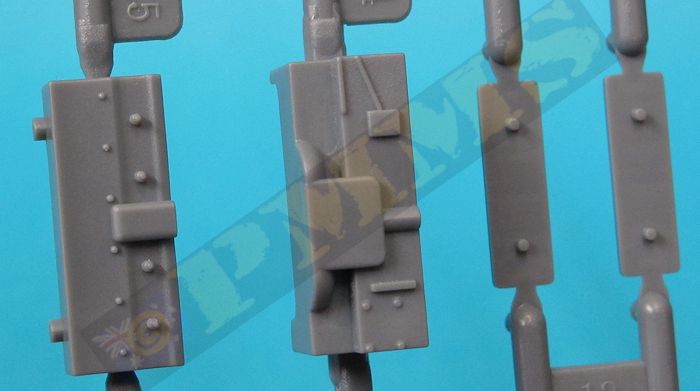
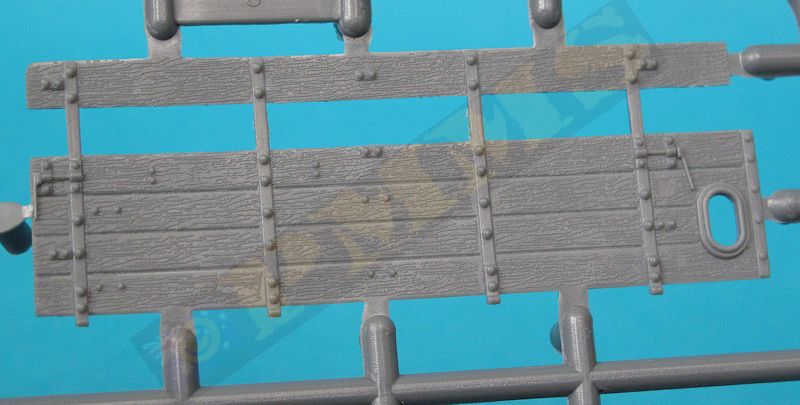
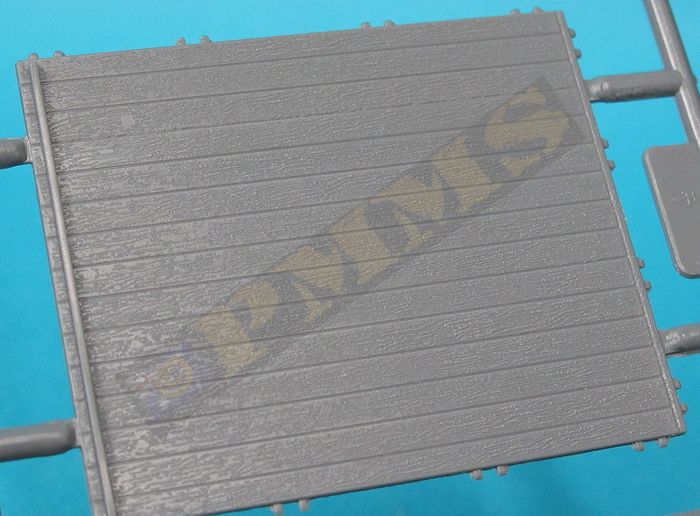
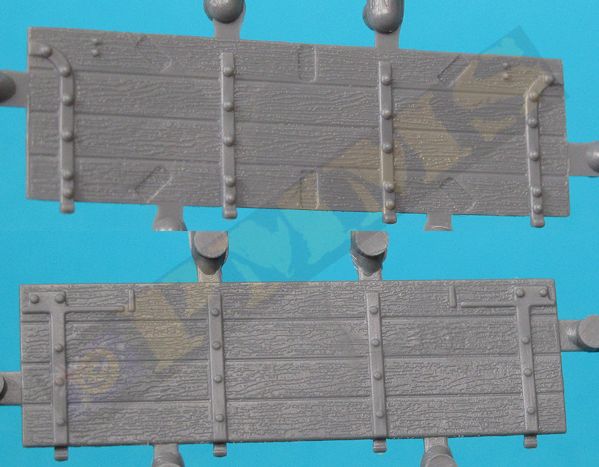
The standard of plastic moulding is quite good with some nice crisp surface details while others are a little on the thick side. There is only some very minor flash on a few parts and some pin marks to contend with although parts such as the doors and wood panels on the rear cargo platform are totally free of pin marks inside and out for a good appearance especially with the wood grain texturing included on the wood panels.
The plastic used is fairly soft and easy to work with when trimming off the sprue attachment burs but you need to make sure so to remove too much as a consequence, you also need to rake care as the sprue attachments are quite large and a few overlap the part detail and needs special care to not damage the detail as you clean up the parts.
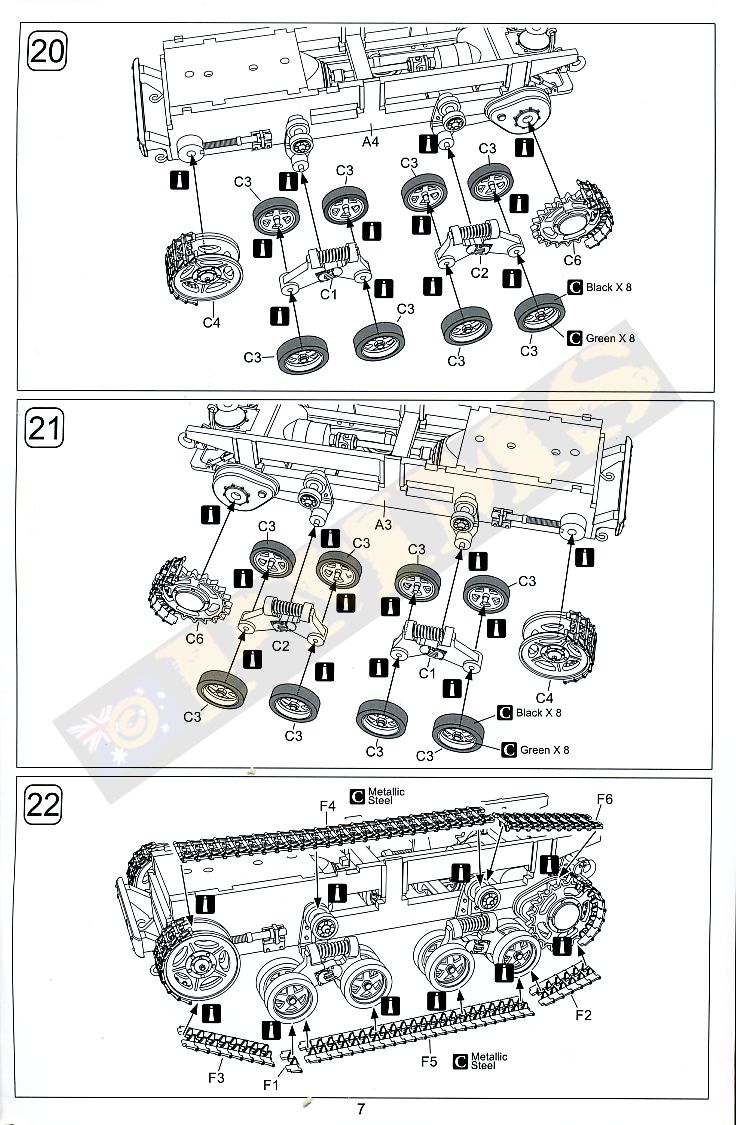
Dimensionally the kit measures out well overall against the 1:35 plans in the Tankograd book listed below in areas such as suspension component size (Road wheel, Idler and Drive Sprocket diameter), cab and cargo platform dimensions and track width; there is unfortunately one substantial issue with the drive sprockets. The actual drive sprocket has 23 drive teeth but the kit sprocket only has 21 teeth, this is confirmed by the plans and available photos showing the drive sprocket with enough detail to check the number of teeth. This issue has a follow effect with the track which is designed to fit the 21 teeth and is subsequently slightly out in pitch (track link length). Just a quick side note, the CAD images of the announced Riich Models STZ-5 Tractor show the correct 23 drive teeth on the sprocket.
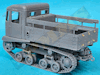
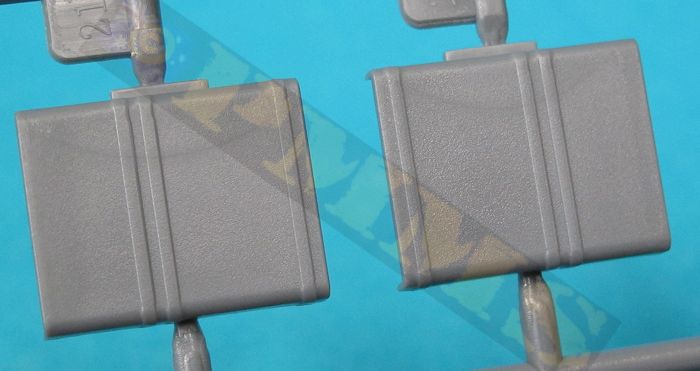
Moving on to the kit this features a basic engine and gearbox, these don’t have a lot of detail but as they can’t be seen after assembly apart from under the vehicle not a lot of detail is needed and they do have the basic structures should anyone want to detail these up to display with the model. The cab interior has again the basic details of seats, driver’s controls including foot pedals and the small instrument panel with small decals for the two dials with the rear cargo platform made up of wood panels that have wood grain texturing included.
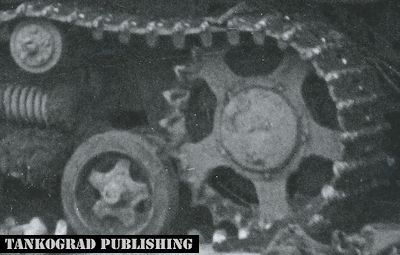
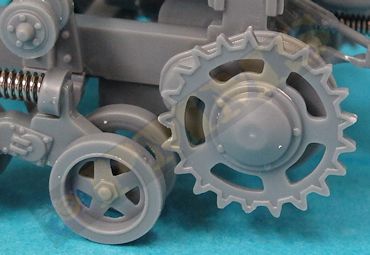
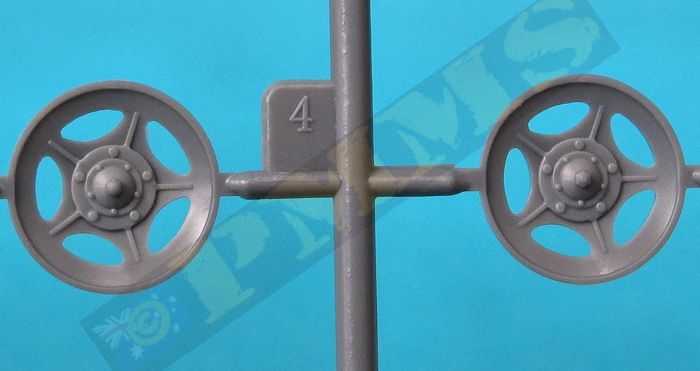
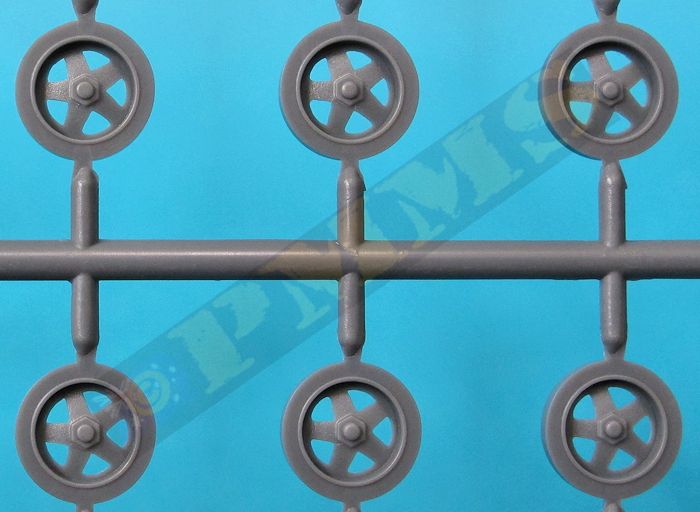
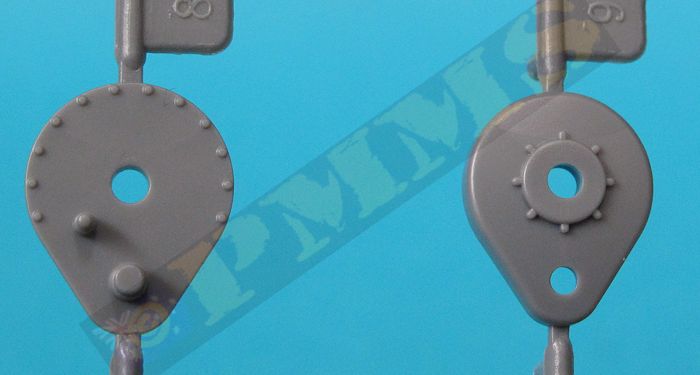
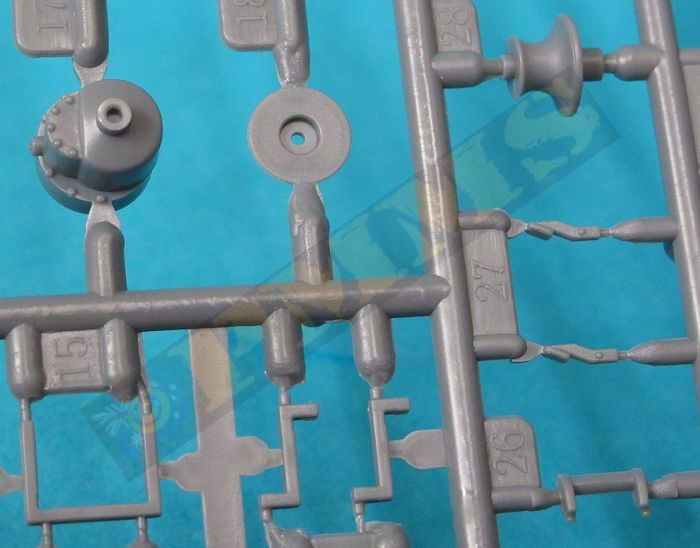
Detail wise the individual components are the correct diameter as mentioned but the actual details on the idlers sees the central hub detail a little understated and “flat” for want a better word and should be extend further out from the wheel disc hub. Also the lightening holes in the idler dish are too shallow and should be a little shorter in length and deeper. See image below.
The road wheels also have some minor detail issues with the central wheel disc again being too “flat” and there should be a greater dish profile with the central hub bolt sitting higher within the wheel dish. Also note the wheel lightening holes on the images show the wheels have four rounded cut-outs with one larger “pointed” lightening hole as opposed to all the lightening holes being the same “pointed” style on the kit road wheels.
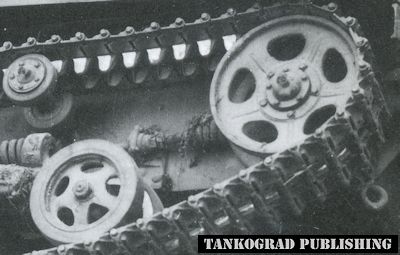
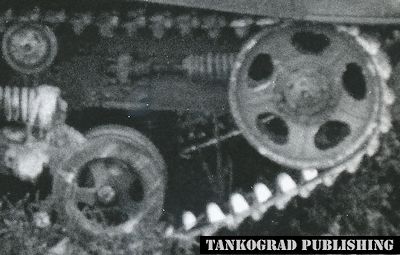
The drive sprocket lightening holes are also slightly the wrong shape again being too long and not deep enough, the lightening holes should extend further out towards the outer edge of the sprocket dish allowing the lightening holes to be deeper. Added to this is the number of sprocket teeth as mentioned above.
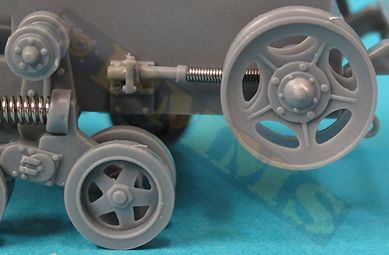
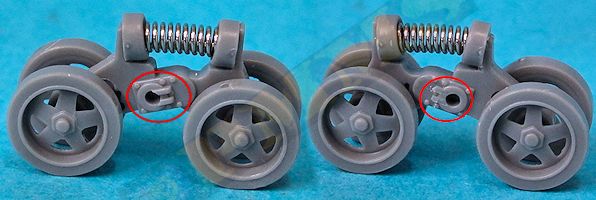
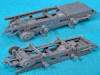
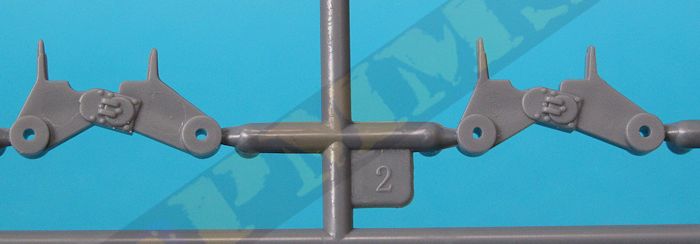
The suspension bogies, final drive housings and idler mountings all fit to the lower hull tub but when assembling the bogies there are two raised notches on the centre bracket and these need to be trimmed off the rear of the bogies to allow these to sit properly to the bogie mountings. You also need to make sure the four road wheels on either side all sit flat on the floor for a good sit unless building the model going over rough ground in a diorama.
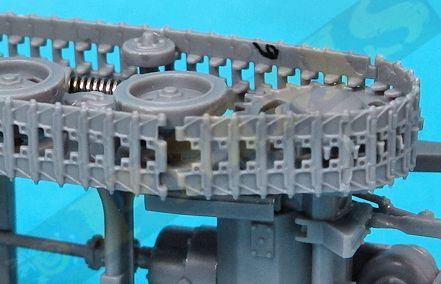
You should not glue the drive sprockets in place until fitting the track as they may have to be rotated slightly to allow the tracks to mate properly and as mentioned above the links are compromised a little by the incorrect number of drive teeth on the sprockets but there is little you can do about this with the kit as it comes.
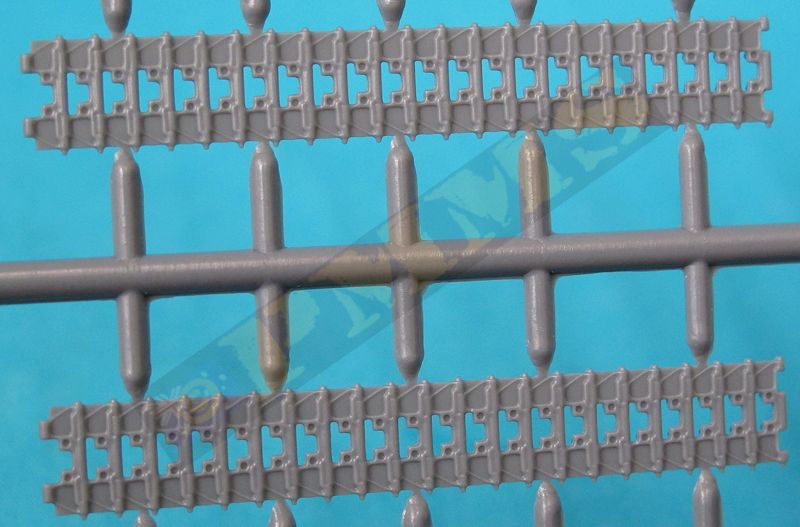
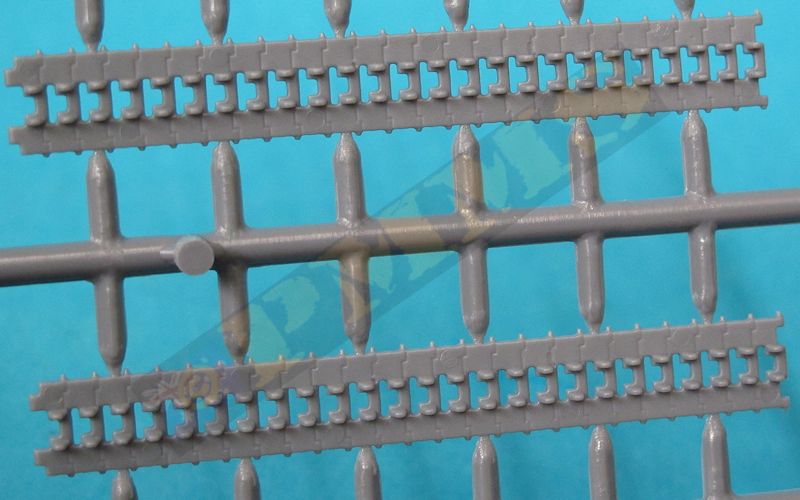
The tracks are link and length with longer track sections for the top and bottom runs, shorter sections for the gradients to the drive sprockets and idlers plus individual links for around the drive sprockets and idlers. Detail on the tracks is a little basic with not a lot of definition on the link itself being rather “flat” compared to the actual link that has quite pronounced detail or between the links. The individual links are easily fitted around the idler and drive sprocket with the other sections added as per the instructions although there is an issue where the links on my kit didn't meet leaving a gap of about half a link, I have "hidden" this under the last road wheel in the images, this is probably a consequence of the drive teeth issue.
A couple of things to watch out for are parts indicated as D25 in step 8 should actually be number B25 and when fitting the rear tow hitch the long shaft on part B11 should be shortened by about 1.5mm to allow it to fit properly, likewise the two idler adjustment bolt shafts (parts B38) also need to be shortened at the thicker end by 1mm to fit correctly. The rest of the assembly was quite straightforward although some of the part fit wasn’t that positive and you need to make sure all locating surfaces are trimmed smooth for the best fit.
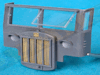
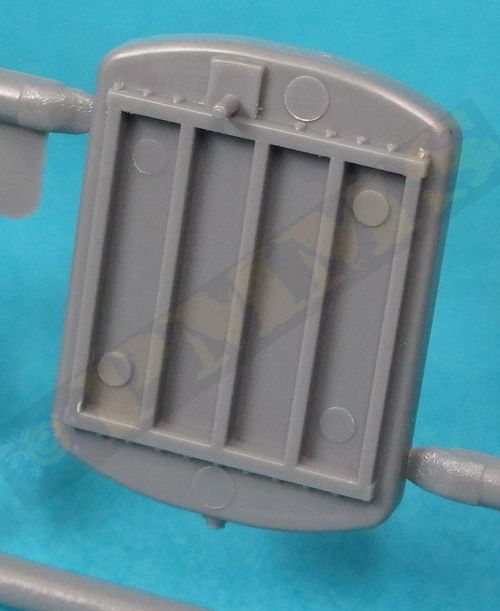
On the exterior there are mould lines down each side of the rear panel between the door hinges that will require care to remove without damaging the hinges as well as two fine mould lines down the side corners of the front cab that again requires care to remove. Also on the sides of the cab front are the three small solid moulded louver vents but these are a little undersized and should extend a little around the panel curve, this is basically impossible to do the way the part has been moulded and most will leave the louvers as they come.
The curved side windows have the frames included with the clear windows which make for a far better appearance than just clear windows as you are gluing the frames and not the clear windows so getting glue on the windows isn’t an issue here. The two clear windscreens also include frames on the clear part and these can be glued closed or in the open position, which is quite common in period photos, the only issue if showing the screens open is there are no support brackets included with the kit, these will most likely be provided by the inevitable etched update set to come for the kit.
The head lights are clear with separate peak covers; these could be thinned for a better appearance as could the sun shield added above the windscreens. Included are two etched windscreen wipers to add and period photos show quite a few tractors with just one wiper on the driver’s side or none at all, this could be due to damage so you add both or just one wiper if you wish. A note on the etched wipers, the instructions indicate to bend the wiper blade away for the wiper arm but this is easier said than done due to the very small size of the wipers and because there is not enough material for a bending tool to grip and I fitted the blades without bending after almost destroying one trying to make the bend.
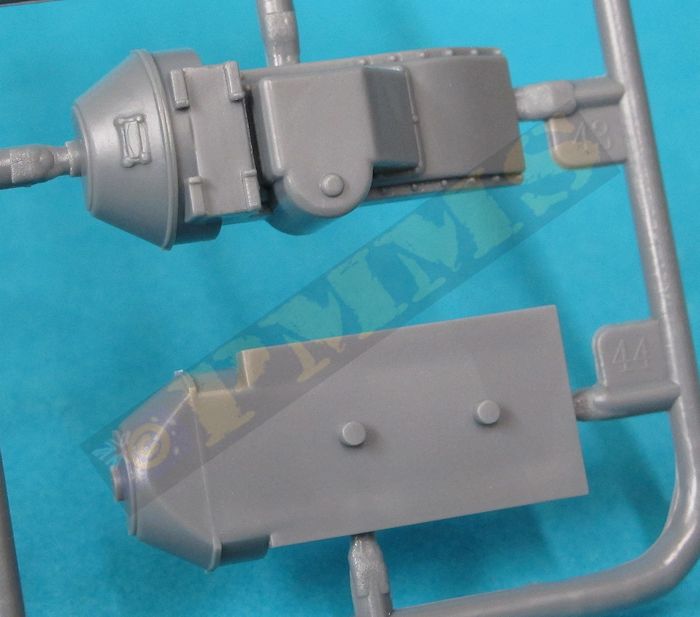
At the front is the large radiator as a separate part but this has some large pin marks to be removed included four inside the radiator grills, these pin marks are all raised thankfully so it’s easier to shave flush using a #11 blade or whatever method you prefer. The ones inside the grills require a little care to not damage the grill frames and you get four etched mesh panels to fit inside the grill frames and the etched name badge for the top of the radiator. The etched mesh is very fine and not actually mesh but a series of very fine strips within each section and this means any sort of distortion either while removing from the frets or while fitting will see the strips come out of alignment and I only managed to get one of the etched strips fitted without any distortion to the fine mesh strips so you need to take extreme care here.
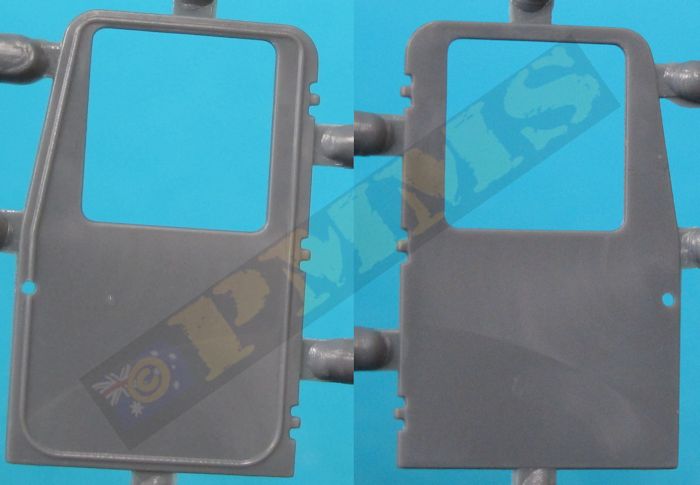
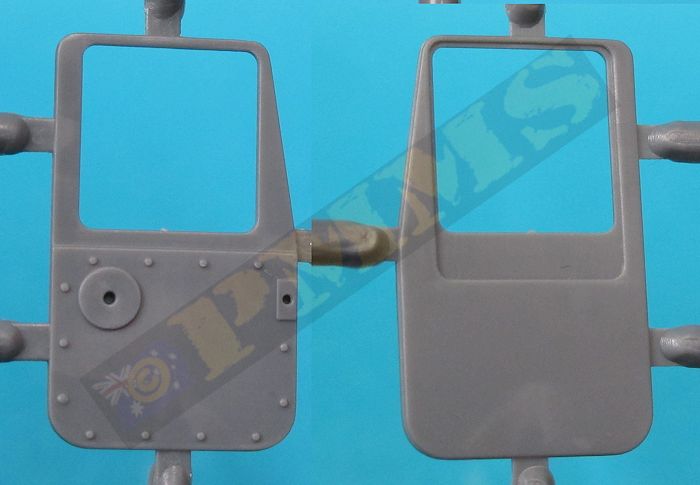
The two doors come with inner and outer panels that when joined trap the clear window glass between them and along with separate door handles and window winder make for nicely detailed doors that can be fitted open or closed as required. The fit of the doors is also good as they actually overlap the cab sides rather than fit into the opening making for easy fitting and no gap problems.
The fit of the cab wall panels is very positive with large attachments of the front and rear panels to the roof and then to the cab floor and makes for very easy assembly of the cab and as mentioned the doors can be fitted open or closed.
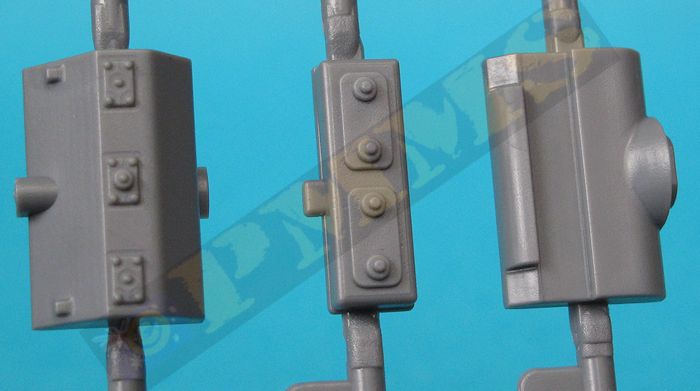
Added behind the cab is the large fuel tanks and these fit to the rear of the cab floor panel behind the rear cab wall, the tanks fit together well with just the top joins needing attention as the ends of the fuel tanks have embossed inserts to cover the join. Note; you shouldn’t attach the two tank filler pipes (parts B9) until after fitting both the cab and cargo platform to the chasses as the extended sides of the platform won’t fit over the filler pipes if they are already attached.
The fully assembled cab sub-assembly attaches to the chassis/hull tub by way of large locating lugs for a positive fit.
On the inside of the side panels are fold up troop seats and these can be fitted folded or extended as required, if fitting folded down you should not use the two supports (parts E8) as the large seat hinges prevent these fitting properly in the folded position. The fit of the side panels is very good not requiring any trimming other than the usual mould lines along the panel edges, the rear tailgate can be fitted raised or lowered but there is no latch or chain support if shown lowered.
The assembled cargo platform is an excellent fit to the rear chassis by way of the front locating lugs and the rear mounted on the winch assembly, this good fit allows you to leave the cargo platform off during the painting process should you wish. There is no canvas tilt cover included in the kit by most of the period photos in the Tankograd book show the tractor in Russian service mostly without the tilt cover in any case, those in Wehrmacht service on the other all seemed to have the tilt cover fitted.
The part fit is good overall but you need to ensure the mating surfaces on some parts are smoothed out and test fitting would be advisable mostly with the chassis and suspension, the fit of the main cab and cargo platform parts was also good not requiring any major trimming other than the usual clean-up of the parts. The inclusion of the metal springs on the bogies, idler adjustments and rear tow hitch adds nice definition and saves the usual clean-up of plastic moulded springs.
The main issue with the kit is the incorrect number of drive teeth on the sprocket and the resulting compromises with the track to fit the kit sprockets. There is also the fairly basic detail on the track links but as there is little you can do about this with the kit as it comes some may choose to overlook this and possibly aftermarket track producers will help out those wanting to correct the sprocket and track issues.
The kit does build into a nice looking model of the STZ-5 without much trouble overall and looks the part and will be welcomed to add to the stable of Russian Artillery Tractors now available in plastic kit form.
Rating 7.5/10
Click on thumbnails for larger view
Click on thumbnails for larger view
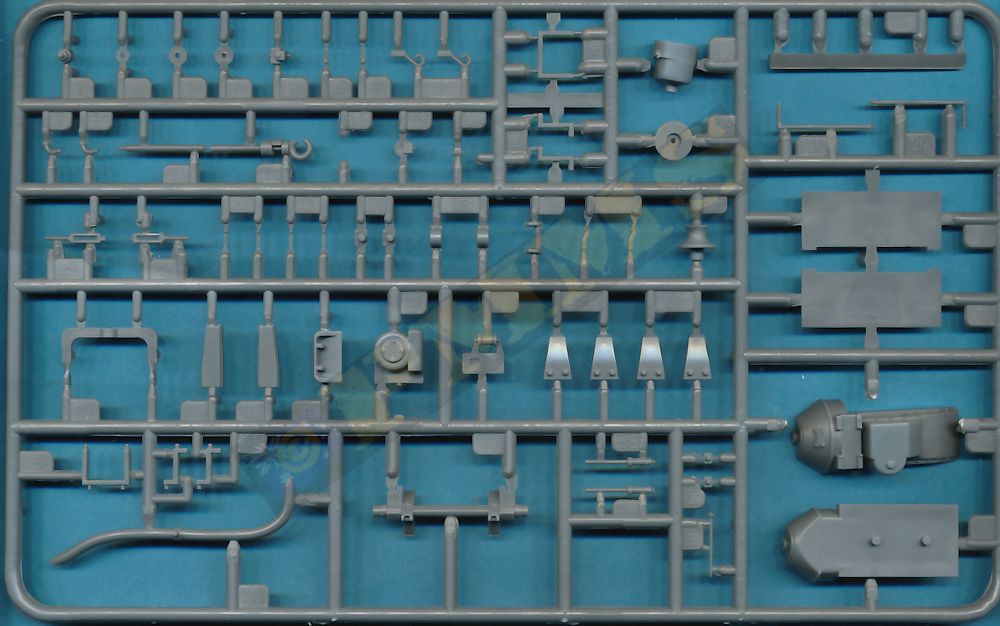
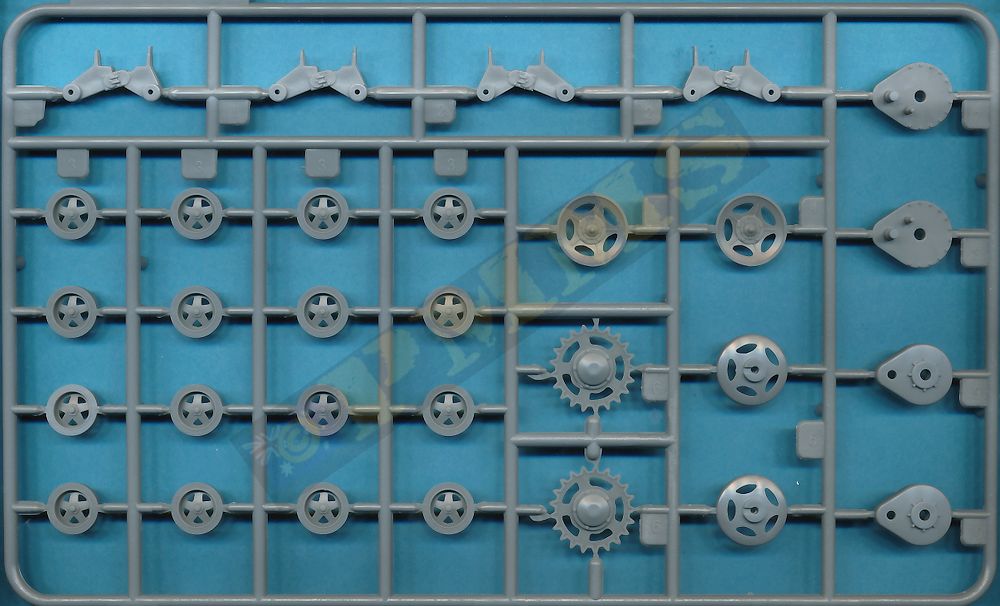
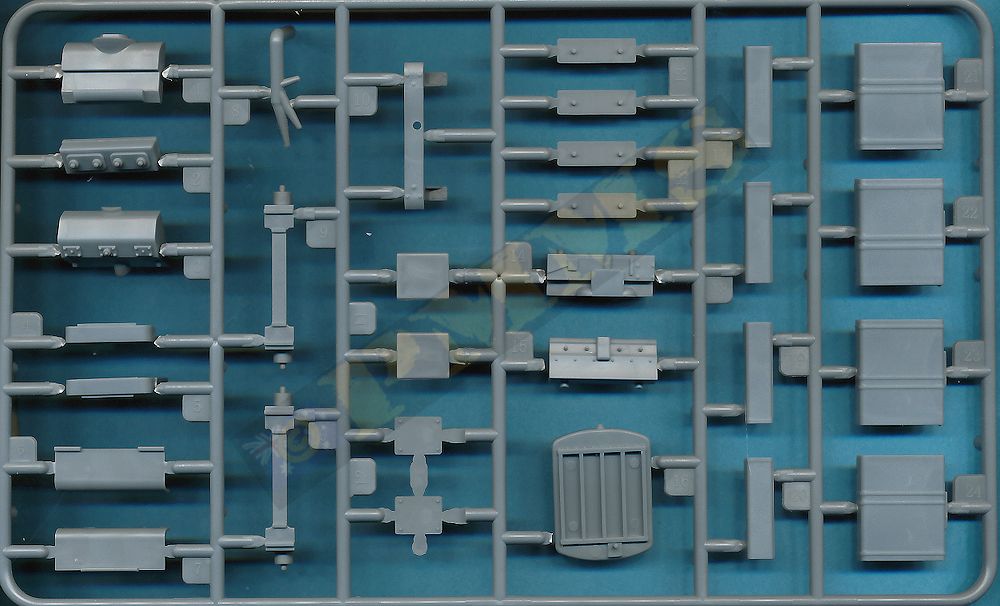
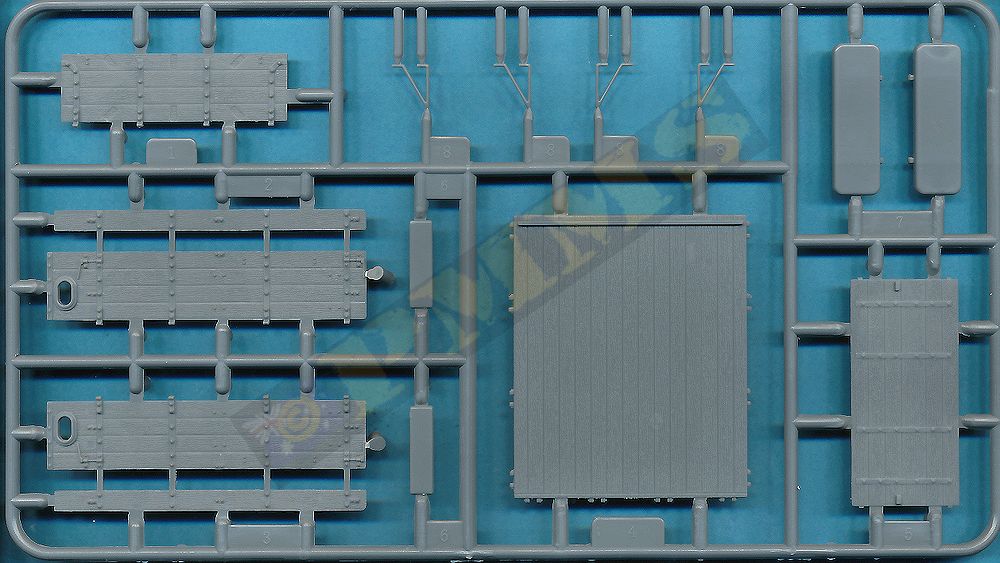
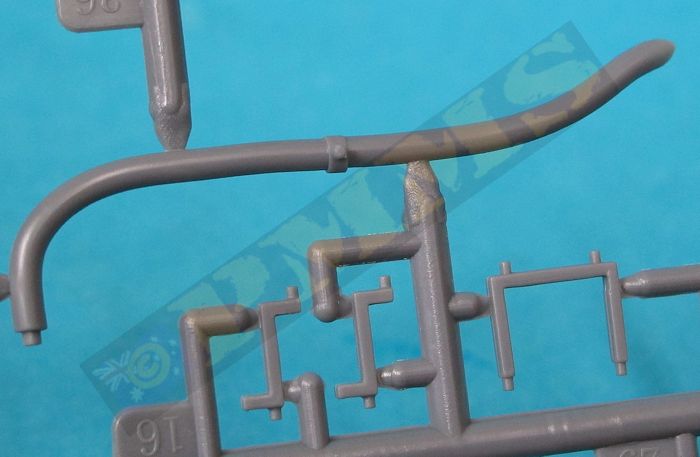
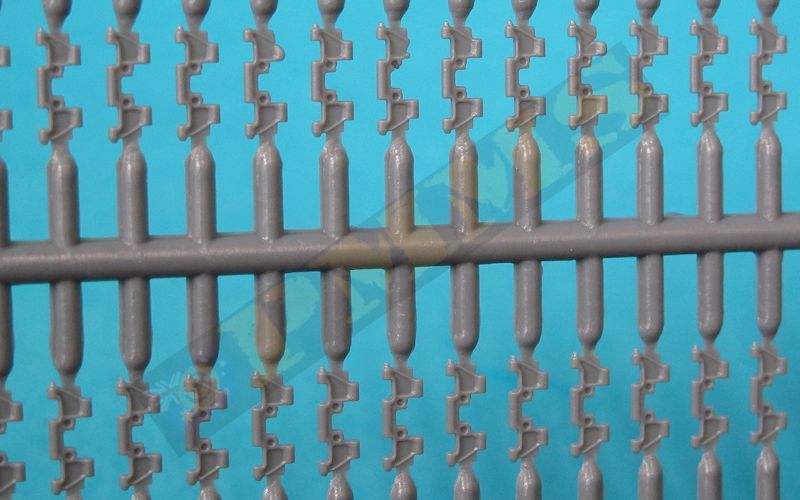
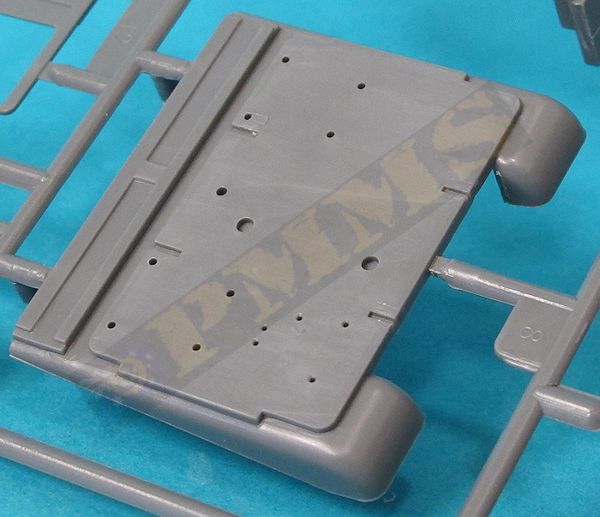
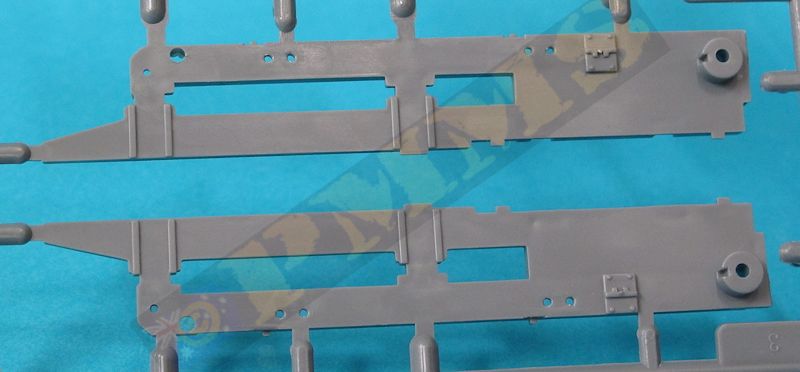
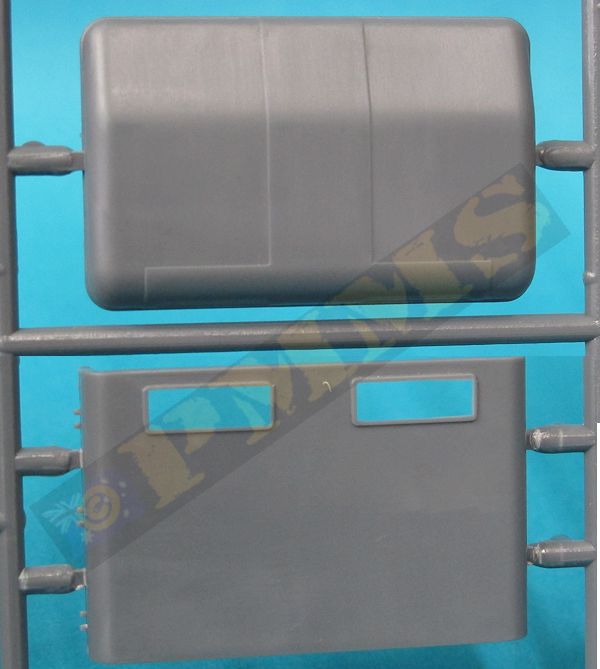
Sprue detail images


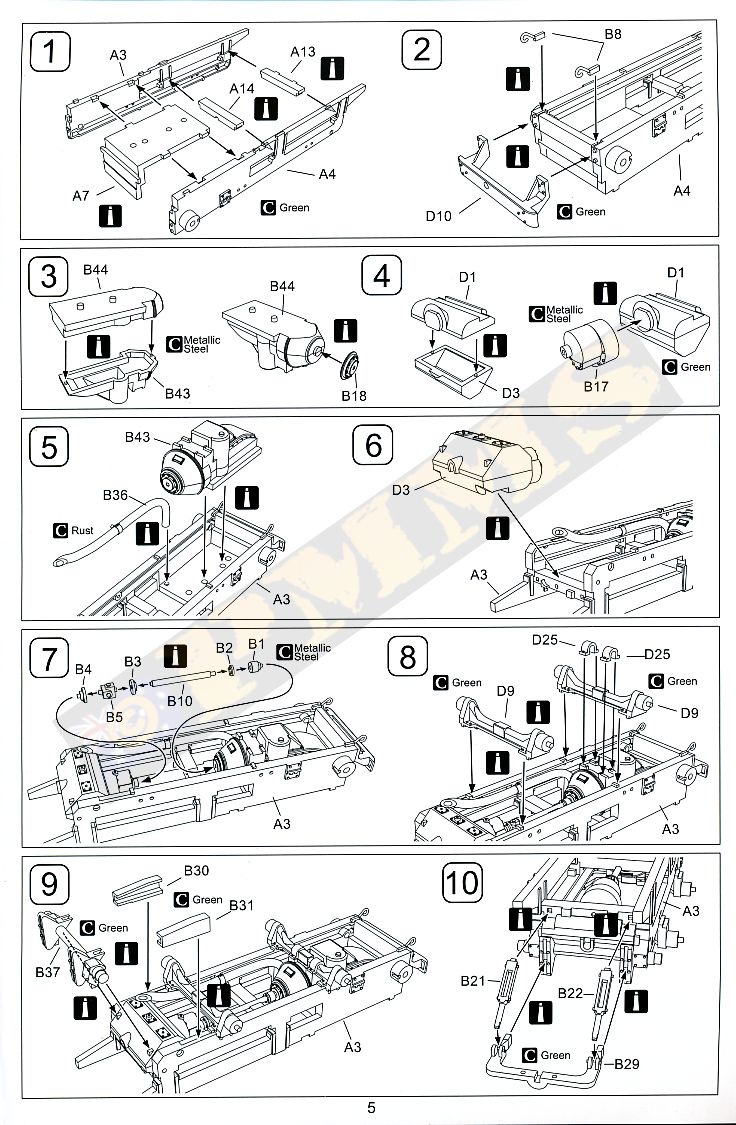
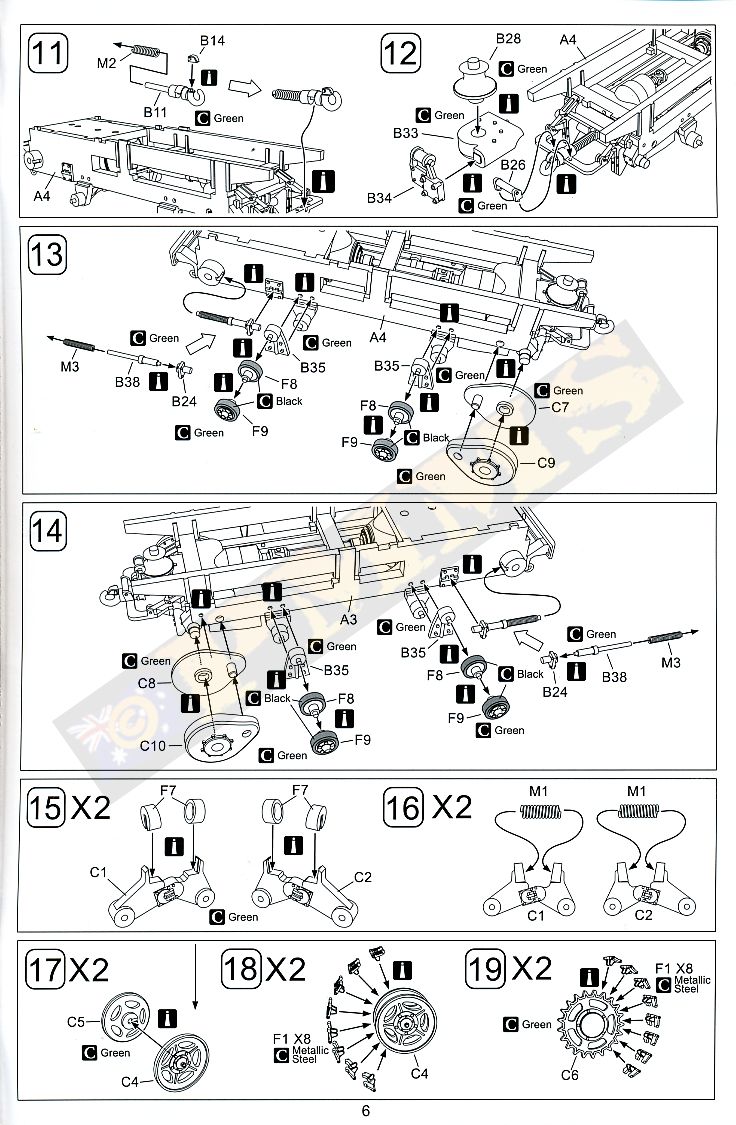
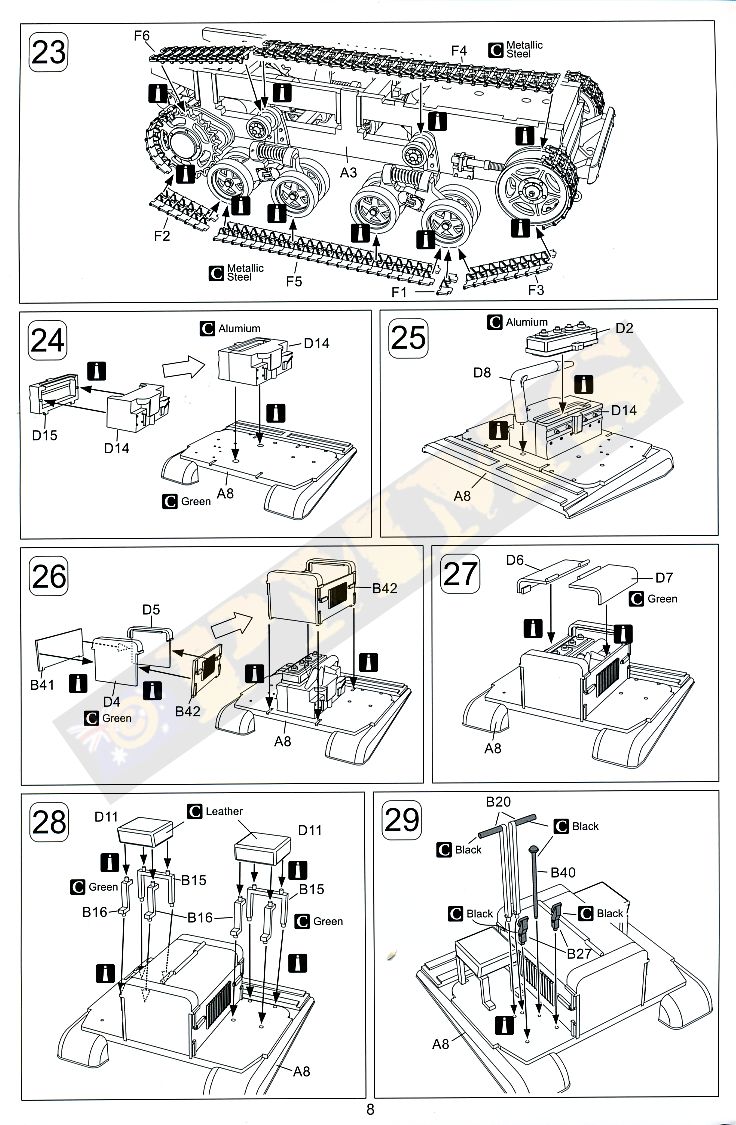
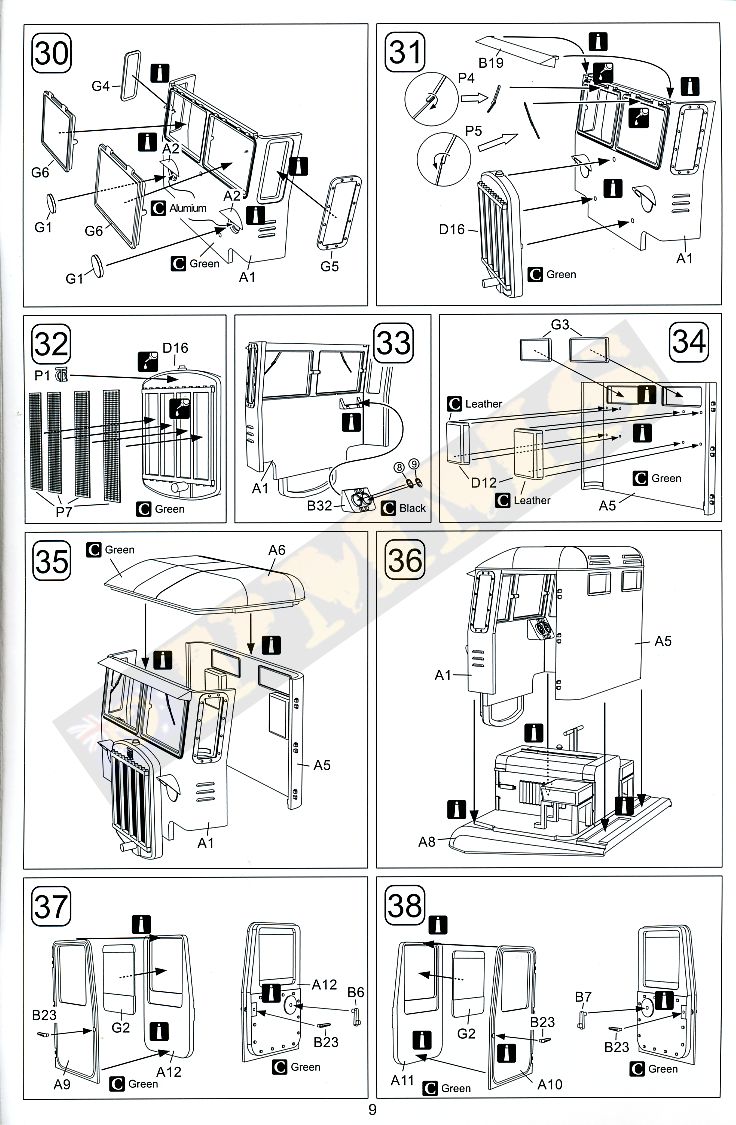
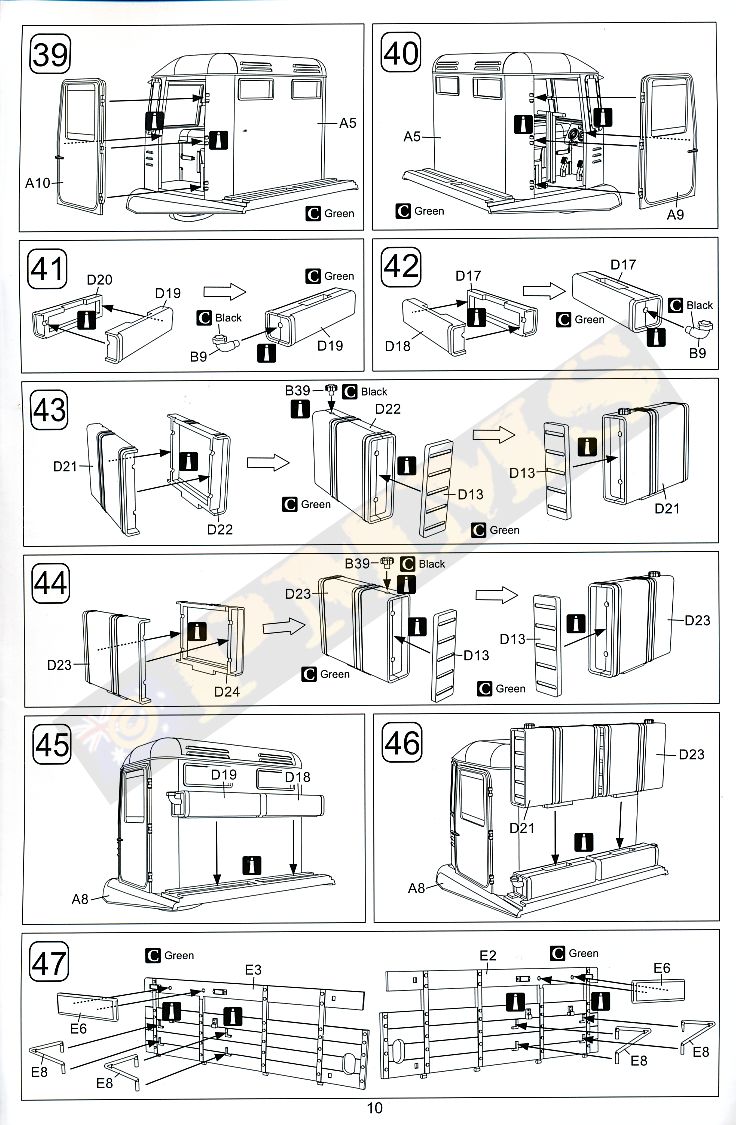
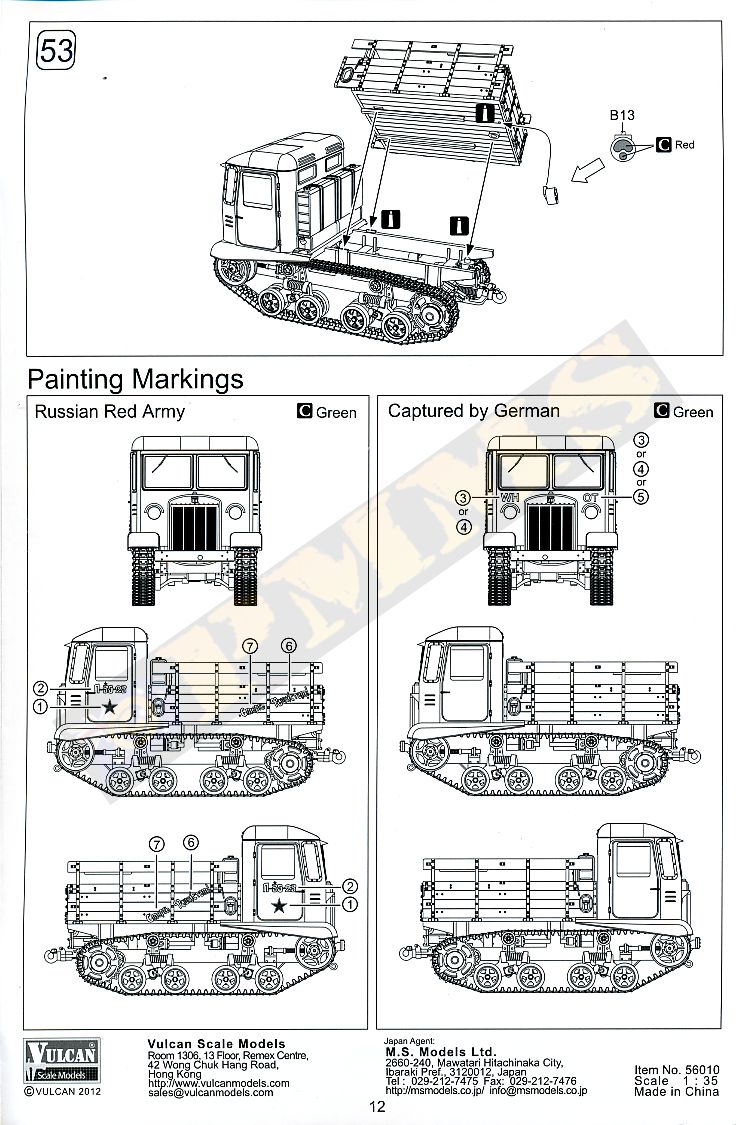
Instruction sheets

Close window to return to review
| Tyagatshi Soviet Full-Tracked Artillery Tractors of World War 2 in Red Army and Wehrmacht Service Tankograd Publishing ISBN: 3-936519-02-1 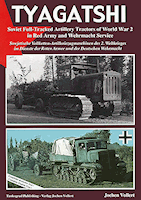 |
Thanks to my traumatised bank account
 and
and  for the review kits.