British Heavy Tank Mk.V Male
Meng Model 1:35 Scale Kit #TS-020
Review by Terry Ashley
Part 2 the Kit Build
Page 4 of 4
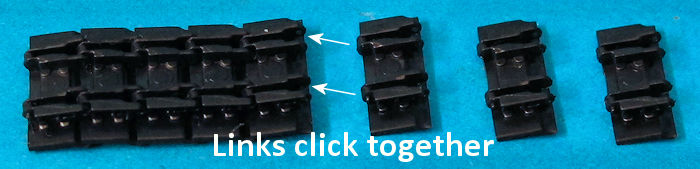
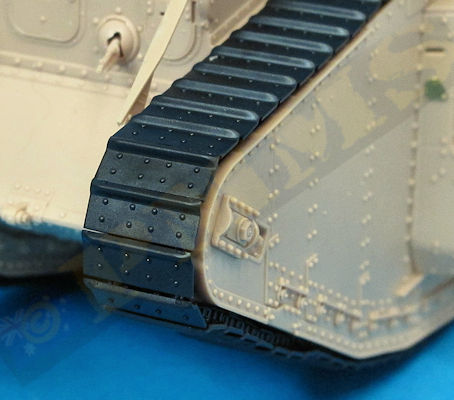
After the clean-up of the three sprue attachments per link assembly is quite quick and easy with you clicking the small pin on one side into the bracket and then clip the other, the plastic is slightly flexible so there is a little flexing available to get the links clipped together but a few of the links lost their pin in the process. Thankfully you get more than the 91 links required per track run for a total of 182 links so you get an extra 10 to take care of any attrition but I only replaced 3 out the lot so not a real problem.
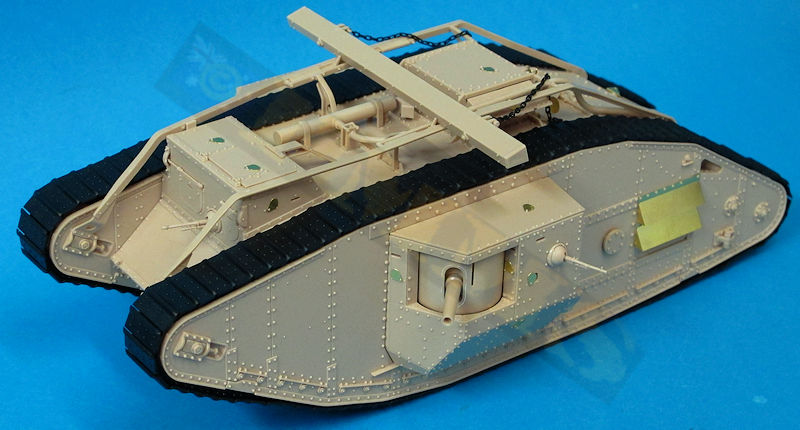
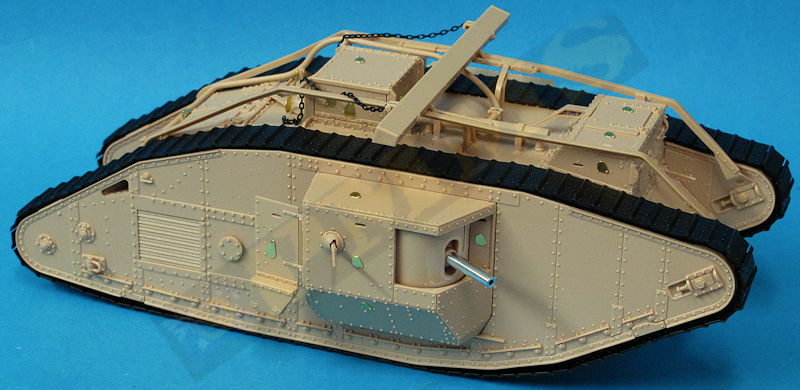
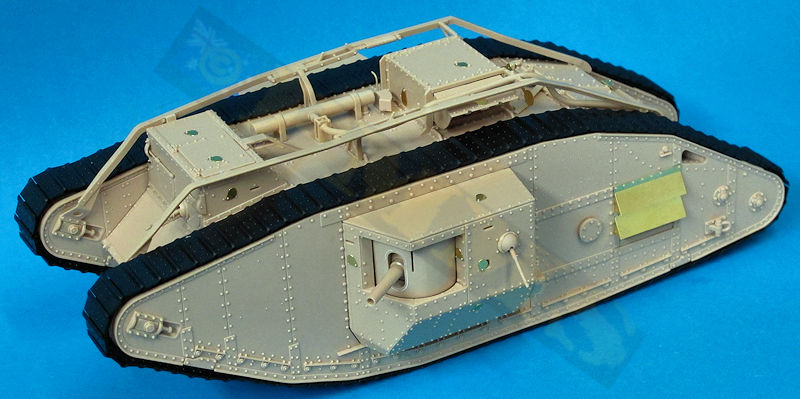
The assembled track runs articulate freely but do not like at all any lateral or sideways movement and will come apart quite easily so remember to keep the tracks on a nice straight line when handing, to fit the tracks runs to the kit just run them around the track frames noting the correct direction of the track links and click the end links together to secure the run. The tracks fit nicely but there is little extra slack but unless you try to actually move the tracks around the hull they don’t tend to sag or bunch up and look quite ok in situ.
Tracks fitted to track frames.
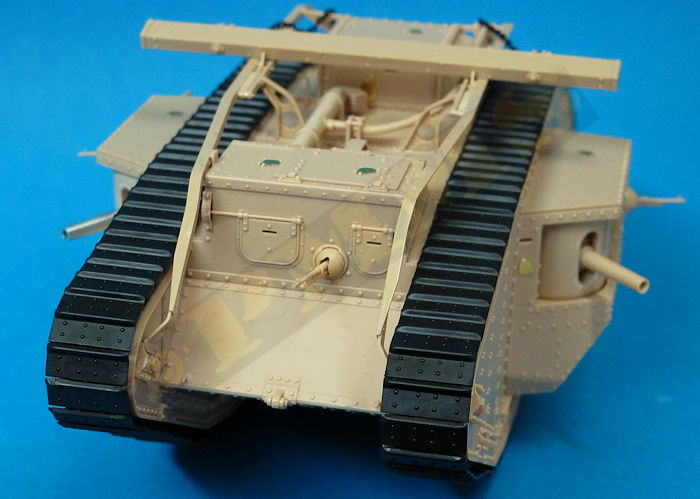
Tracks details.
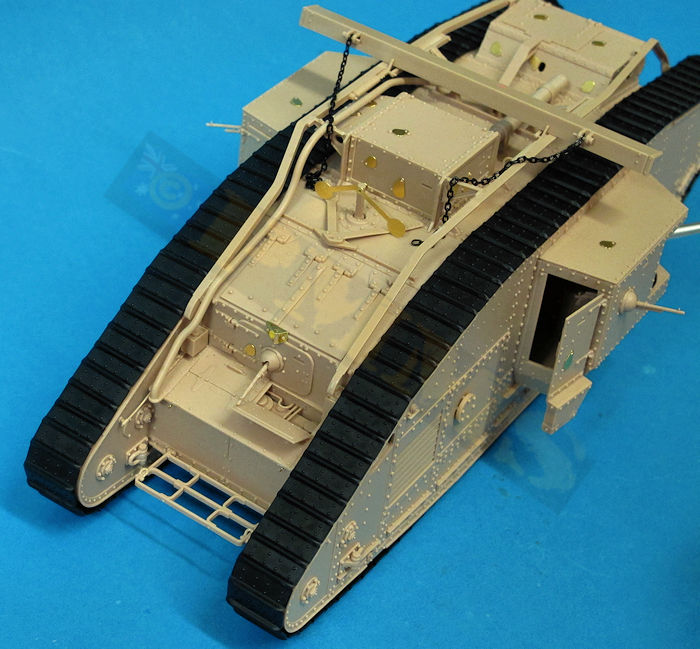
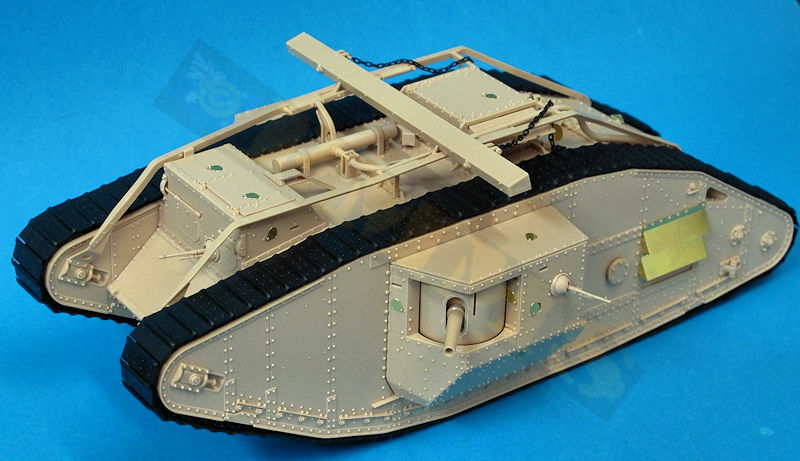
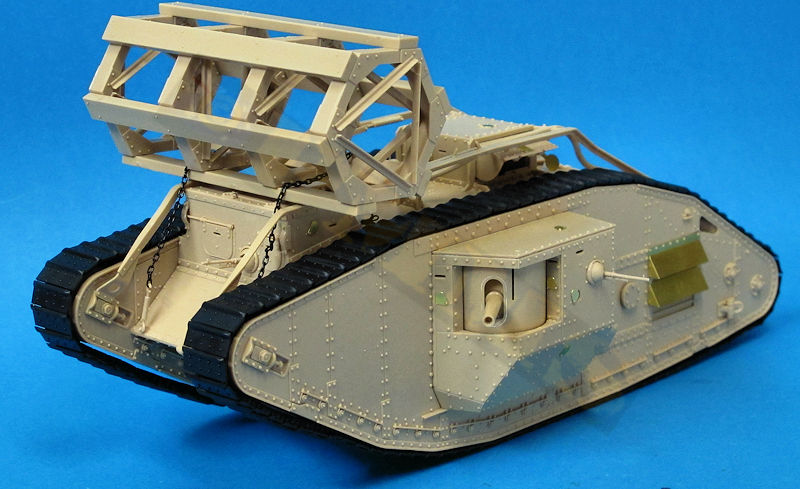
The later CRIB Trench crossing devise has four preformed six-sided frames moulded in two parts each and the six wooden beams that join the frame together, you have to be careful when assembling the frames as the triangular braces on the frame should be fitted overlapping and not symmetrical but there isn’t anything to prevent you fitting the symmetrically so take care to overlap these as you assemble the frames.
There are large locating lugs on the beams which makes assembly straightforward and robust. The CRIB is usually carried on the front of the top unditching rails and secured by the chain provided, the kit gives you fine hooks to attach the chain to the hull front clips and the other end of the chain attached to the brackets added previously through the rear cab plate when using the CRIB.
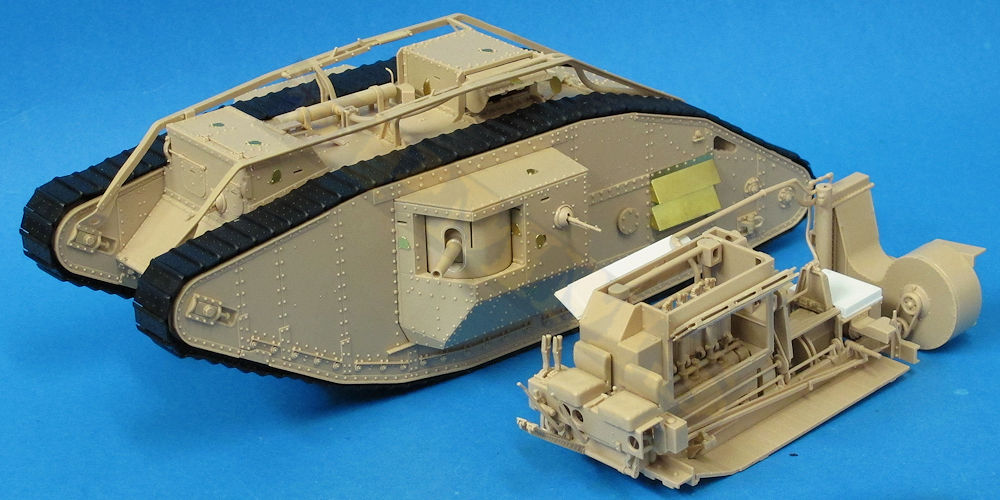
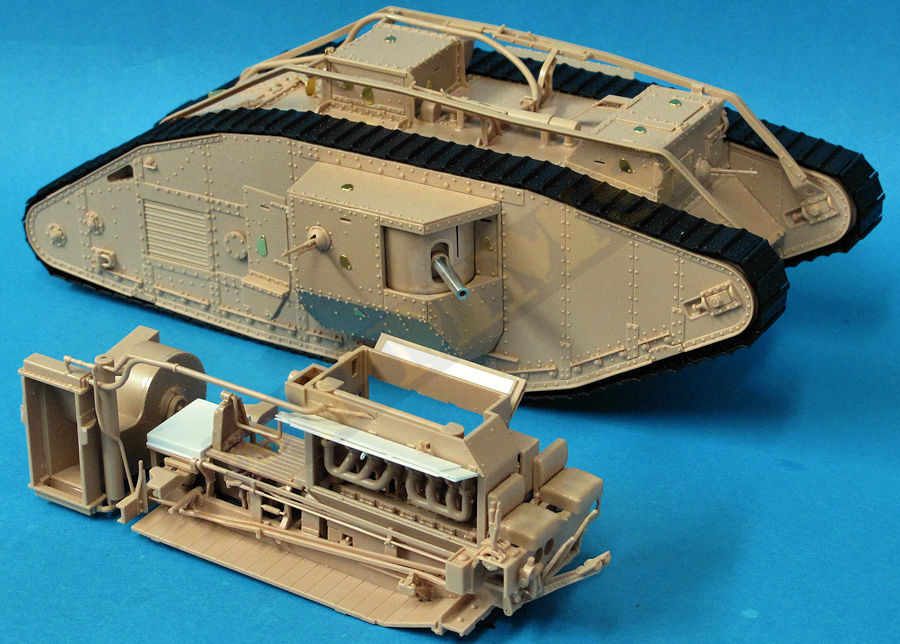
It cries out to display the full interior in some way as it is a shame to hide all that excellent detail when the hull is closed up and the options of the standard unditching beam or the CRIB offers more finishing opetions.